


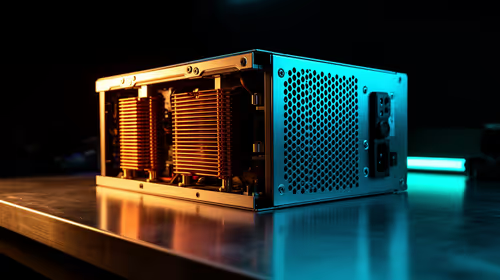
1000W PSU Planning for RTX 5090 Builds in SA
1000W for RTX 5090 needs a full-build check, not a simple yes. Review GPU guidance, CPU draw, transient load, connectors, PSU quality, and upgrade plans before deciding.
Read moreA processor cooler seated wrong usually shows up as one side of the chip running noticeably hotter, idle temperatures sitting above spec, or temperatures spiking fast under light load, all signs of uneven mounting pressure. Reseating with fresh paste fixes most cases.
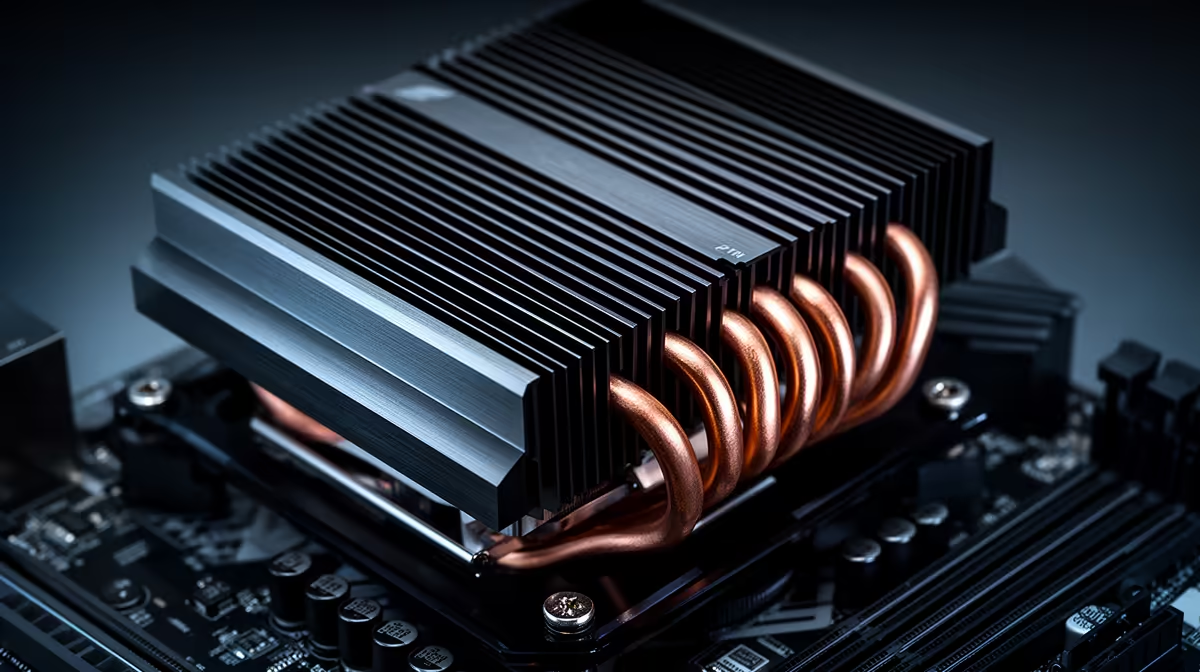
A poor CPU-cooler mount often shows up as a rapid climb to the thermal limit, lower performance than comparable stock results or temperatures that stay high after the load ends. One warm core alone does not prove uneven pressure because active cores and chiplet position can create normal differences.
Check package power, Effective Clock, hottest-core temperature and fan or pump speed during a repeatable load. Confirm the mounting hardware, header and fan direction before removing the cooler. If the behaviour still points to weak contact, clean both surfaces, apply fresh paste and tighten the mount in an alternating pattern.
Identify the exact chip in the AMD CPU catalogue or Intel processor selection. Thermal targets, package layouts and power differ, so a temperature from another CPU is a weak comparison.
Let the PC idle for ten minutes and note room temperature. Run a ten-minute all-core workload with stock CPU settings. Log temperature, package power, clock and score from start to finish.
An immediate rise followed by throttling can mean poor heat transfer, a stopped pump or too little cooler capacity. A slow rise as the case warms may point to airflow or radiator heat soak. Performance and power tell you whether the temperature came from useful work.
Check that the cooler uses the bracket and spacers for the socket. Confirm any contact-plate film was removed. The fan should connect to the intended header and move air through the heatsink towards an exhaust.
An AIO pump needs the power and control mode specified by its maker. A speed reading proves the controller sees rotation; it does not guarantee full flow. Listen for grinding and check for a sharp temperature difference that persists despite working radiator fans.
Shut down, remove mains power and let the system cool. Clean the cooler and heat spreader with a lint-free method. Apply the paste amount and pattern recommended for the cooler and CPU package.
Lower the cooler squarely. Tighten opposite screws in small turns until the specified stop or torque. Extra pressure can bow the motherboard and will not rescue the wrong bracket.
Repeat the same test after the reseat. A lower temperature with matching package power and a stable score is useful evidence that contact improved.
Do not compare the new result with a screenshot taken under different BIOS power limits. Load the same stock profile, wait for the room and coolant to settle, and keep the case panels in the same position. A fair before-and-after test can save another unnecessary reseat.
No. Core activity and physical die layout can create differences. Use a repeatable even load and supporting sensors.
Clean and replace it. Lifting the cold plate can trap air and disturb the spread.
No. Use the cooler's specified sequence and end point to avoid board or socket damage.
Log one stock load with power and clocks, inspect the full mounting kit and repeat the identical test after a careful fresh-paste reseat.
No. Core activity and physical die layout can create differences. Use a repeatable even load and supporting sensors.
Clean and replace it. Lifting the cold plate can trap air and disturb the spread.
No. Use the cooler's specified sequence and end point to avoid board or socket damage. {{PRODUCTS: { facets: { query: "CPU cooler for AMD and Intel processors" }, limit: 12, title: "Match a Cooler to Your CPU", style: "4" } }}
1000W for RTX 5090 needs a full-build check, not a simple yes. Review GPU guidance, CPU draw, transient load, connectors, PSU quality, and upgrade plans before deciding.
Read more
RTX 5080 Super with a 750W PSU is more comfortable than lower wattage if the unit is quality. SA builders should still confirm GPU guidance, CPU draw, connector type, airflow, and upgrade room.
Read more
How to fix FPS drops after a RX 9070 XT starts with driver cleanup, chipset updates, thermals, and power checks. For SA gaming PCs, confirm PCIe seating, monitor refresh, frame caps, and per-game graphics settings before replacing parts.
Read more
How to fix low FPS Windows 11 Wi-Fi 7 issues starts by checking whether the problem is frame rate or network lag. Test ping, drivers, power settings, Ethernet, and game FPS before adjusting visuals.
Read more
AM5 is smart for SA builders because it supports newer Ryzen CPUs, DDR5 memory, and a longer upgrade path. Compare board cost, cooling, gaming needs, and local part availability before choosing your next PC platform.
Read more
AM5 gives Randburg gaming builders a longer upgrade path. For SA buyers, DDR5 support, newer board features, and future CPU options can justify the platform. Weigh board cost, cooler support, BIOS maturity, and upgrade timing before choosing.
Read more
RTX 5090 on a 550W PSU leaves almost no practical room for OC plans. Treat the setup as constrained, with CPU draw, power spikes, cable quality, thermals, and stability checks more important than chasing extra clocks.
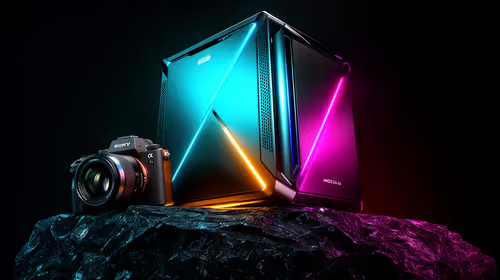
FPS drops on a Ryzen 9 9950X3D build often have a fixable cause. Check settings, drivers, thermals, background tasks, network conditions, and bottlenecks before assuming a part must be replaced.

The difference between PCIe 5.0 and PCIe 4.0 for SA gamers is mostly bandwidth headroom. Compare GPU slot needs, NVMe speed, motherboard support, and upgrade timing before paying extra for a newer platform.
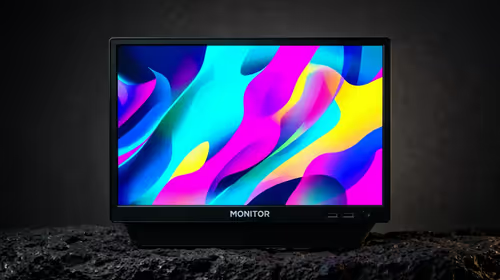
Gaming PC stuck pixel checks in South Africa should confirm the monitor fault first. Use colour tests, screenshot comparison, cable swaps, display menu checks, and clear photos before deciding on support.

AMD's current driver now lists a Radeon RX 9050 4GB, while product coverage details a narrowed memory system. SA buyers should weigh the low VRAM ceiling against current local Radeon options.

Samsung Display has demonstrated a 16-inch 2.5K OLED laptop panel running at 300Hz. SA buyers should wait for a named notebook, full panel specifications and a local price before planning an upgrade.

Microsoft says some Windows 11 game crashes after recent updates are linked to RGB-related drivers. Affected SA gamers should confirm the update and driver before using the published registry workaround.
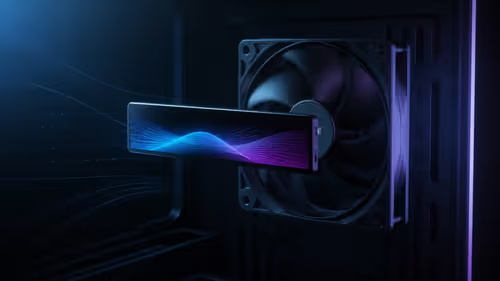
Thermalright's Fan Frame Vision-1 adds a 640x172 status screen to a standard 120mm fan. SA builders should check clearance, USB routing and local support before treating it as an easy upgrade.
1000W for RTX 5090 needs a full-build check, not a simple yes. Review GPU guidance, CPU draw, transient load, connectors, PSU quality, and upgrade plans before deciding.
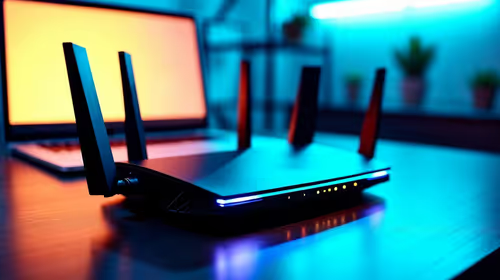
Wi-Fi 6E vs Wi-Fi 6 matters for 4K video editing when files move across a network. The real-world difference between Wi-Fi 6E and Wi-Fi 6 for video editing in 4K depends on NAS access, cloud uploads, router range, and SA creator workflows.
RTX 5080 Super with a 750W PSU is more comfortable than lower wattage if the unit is quality. SA builders should still confirm GPU guidance, CPU draw, connector type, airflow, and upgrade room.
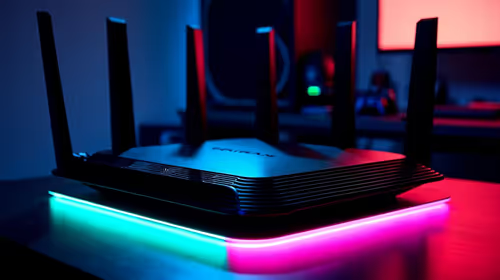
Wi-Fi 6E vs Wi-Fi 6 for Video Editing in 4K comes down to router support, latency, client devices, band support, and home network layout. SA buyers should match the choice to their setup instead of assuming one option always wins.