


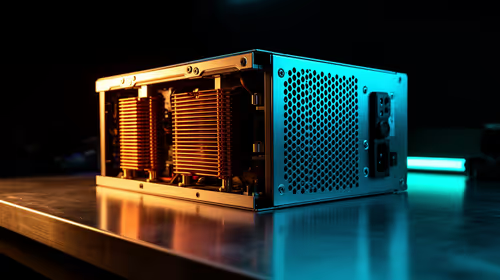
1000W PSU Planning for RTX 5090 Builds in SA
1000W for RTX 5090 needs a full-build check, not a simple yes. Review GPU guidance, CPU draw, transient load, connectors, PSU quality, and upgrade plans before deciding.
Read moreSet up auto bed levelling by preparing the surface, running the printer routine and checking a first layer. The R7,799 Neptune 4 Plus includes auto levelling across a 320 x 320mm build area. Follow its instructions for the exact sensing method.
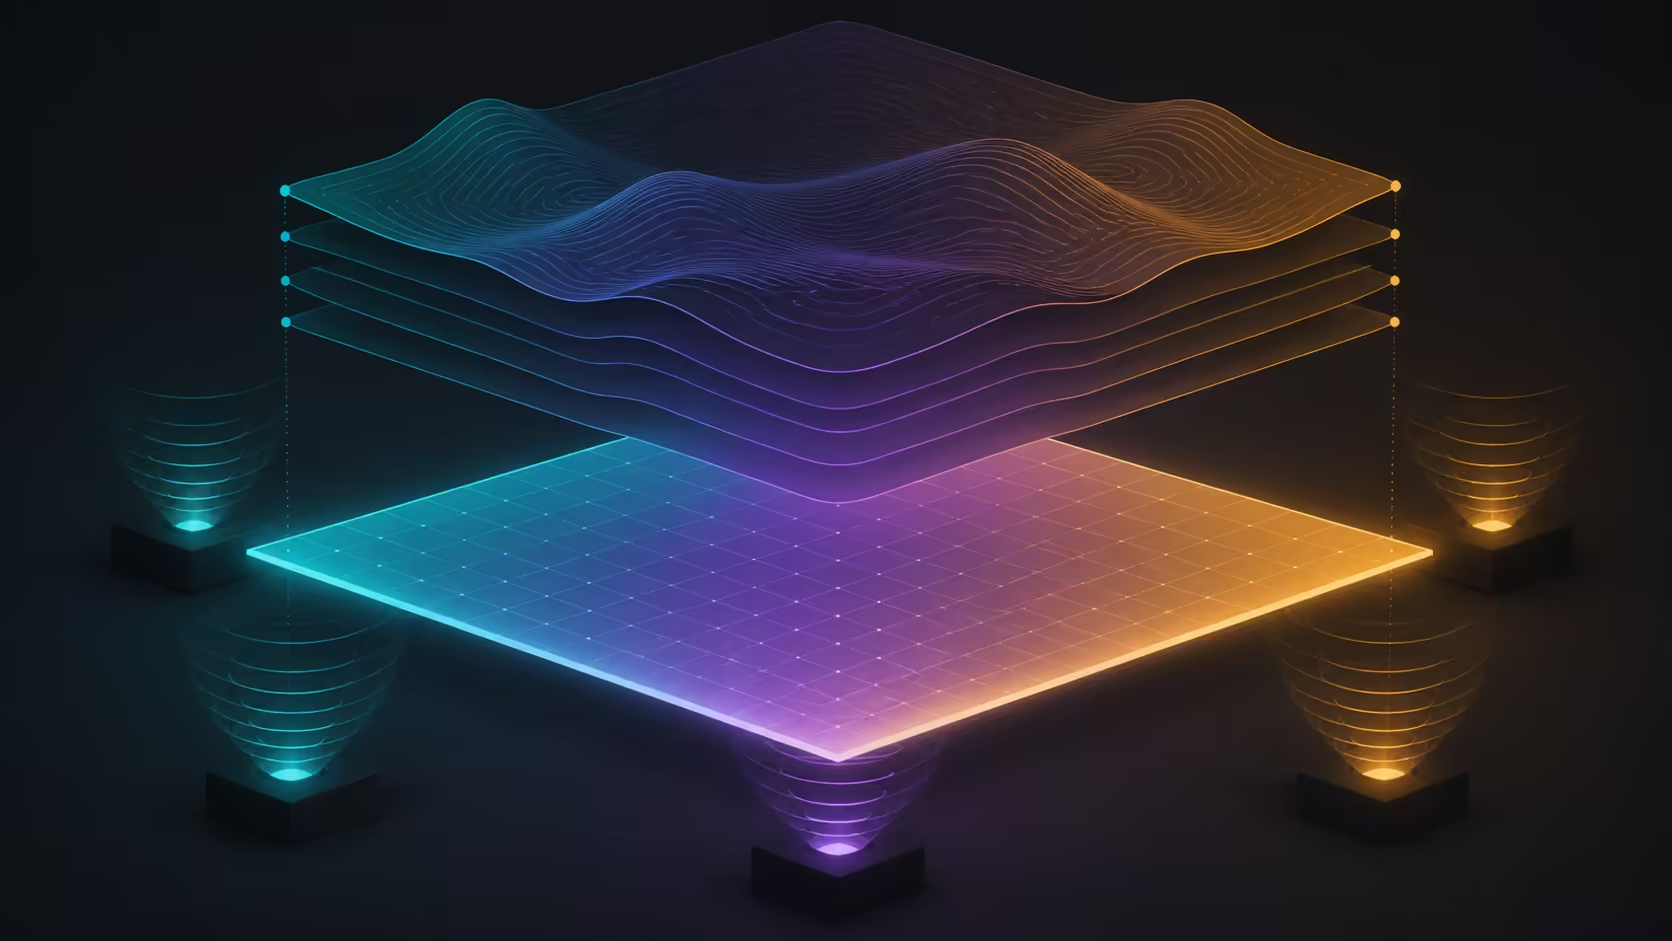
Setting up automatic bed levelling on an FDM 3D printer works best as a controlled preparation routine, not a one-button cure for every first-layer issue. Start with a clean, correctly assembled machine, understand the model's levelling sequence and verify the result with a simple print.
The Neptune 4 Plus automates bed levelling, then uses its double-sided PLA and textured PEI plate to match adhesion with the chosen material.
At R7,799, the ELEGOO Neptune 4 Plus includes automatic bed levelling across a 320 x 320mm area. Prepare the bed, run the model-specific routine, set the initial layer as directed and print a broad test before committing to a tall or wide job.
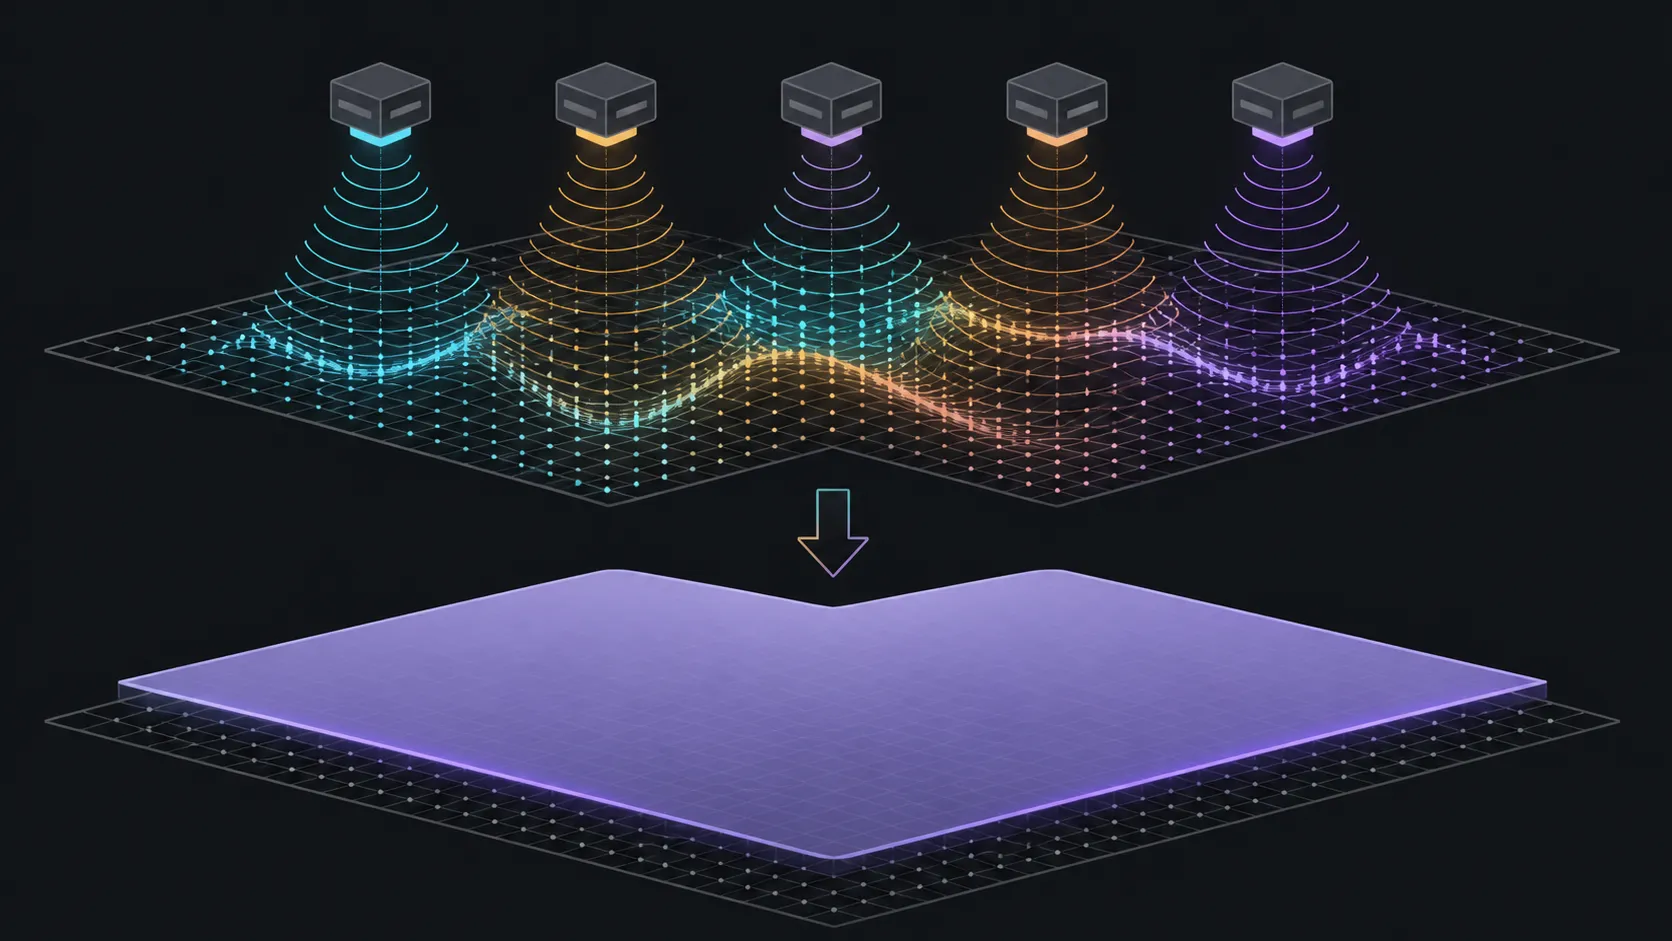
Let the printer reach a normal, stable starting condition and remove leftover filament or debris from the build area. Identify which supplied face is active: specialised PLA coating or textured PEI. Use a cleaning method suited to that surface before applying solvents, tools or adhesion products.
Check that the nozzle area is free of hardened residue that could interfere with the distance to the surface. The Neptune 4 Plus has a 300C nozzle, but levelling preparation should use the machine's proper handling and temperature procedure rather than the maximum as a default.
Keep the build area clear and make sure the printer sits on a suitable workspace. The 320 x 320 x 385mm build volume describes printable space, not the machine's external footprint or required access clearance.
Automatic bed levelling is part of the Neptune 4 Plus feature set. Confirm the exact controls, sensing method and any user steps for this model before beginning. Do not borrow probe, mesh or adjustment instructions from a different printer simply because both use the word automatic.
Allow the routine to finish without touching the bed or frame. If the printer requires an initial height or offset step, follow its own sequence. Saving an unrelated value can undermine the next test even when the levelling cycle itself completes.
Buyers comparing the broader category can browse large 3D printers at Evetech with levelling procedure and bed size on the checklist.
Use a low-risk pattern that reaches several parts of the bed. Watch whether adjacent lines meet consistently and whether material is being placed rather than dragged or left loose. Stop the test if the nozzle or surface appears at risk.
Automatic levelling cannot guarantee a perfect layer because surface condition, initial settings, material flow and the selected filament profile still matter. Change one variable at a time after the test so the cause remains visible.
Choose a known spool from Evetech's 3D printing filament range, then follow the material maker's full printer and temperature requirements.
Record the successful preparation order, model-specific levelling command and test result. Repeat the routine when the machine's own guidance calls for it or after a physical change that affects the bed relationship.
Explore Evetech's wider 3D printer selection when comparing automation with build volume, extrusion and firmware.
Only move to a large print after the sample layer is acceptable across the needed area. The machine also offers direct drive extrusion and Klipper firmware, but those features do not remove the need to establish a sound first-layer baseline.
Clean the selected plate face, run the printer's levelling routine and set the first layer before filling the 320 x 320mm area. Use the specialised low-temperature PLA surface for PLA; turn to textured PEI for materials such as ABS, TPU and carbon-fibre blends. Print a broad grid and correct only the remaining offset or flow issue.
After the first-layer grid passes, store the working offset beside the plate face and material. The printer's X/Y resonance sensors and pressure-advance tools solve different motion issues, so they should not be used to compensate for poor bed contact. A reliable base layer comes before high-speed calibration.
Prepare a clean surface using the correct plate method, inspect the nozzle area and confirm the exact model-specific levelling sequence.
Yes. The feature covers the printer's 320 x 320mm build area and remains one stage of complete first-layer preparation.
Use the Neptune 4 Plus controls and operating instructions rather than assuming a probe type, mesh size or process from another machine.
Print a broad, simple first-layer pattern and compare line contact across the region that the next job will occupy.
No. Surface condition, initial height, material flow and profile choices can still alter the deposited layer after levelling.
The printable height is 385mm, completing a 320 x 320 x 385mm build volume for parts that fit all three axes.
Ready to establish a repeatable first-layer routine? Compare auto-levelling 3D printers at Evetech with the exact bed process, test pattern and material route mapped first.
Prepare a clean surface using the correct plate method, inspect the nozzle area and confirm the exact model-specific levelling sequence.
Yes. The feature covers the printer's 320 x 320mm build area and remains one stage of complete first-layer preparation.
Use the Neptune 4 Plus controls and operating instructions rather than assuming a probe type, mesh size or process from another machine.
Print a broad, simple first-layer pattern and compare line contact across the region that the next job will occupy.
No. Surface condition, initial height, material flow and profile choices can still alter the deposited layer after levelling.
The printable height is 385mm, completing a 320 x 320 x 385mm build volume for parts that fit all three axes.
1000W for RTX 5090 needs a full-build check, not a simple yes. Review GPU guidance, CPU draw, transient load, connectors, PSU quality, and upgrade plans before deciding.
Read more
RTX 5080 Super with a 750W PSU is more comfortable than lower wattage if the unit is quality. SA builders should still confirm GPU guidance, CPU draw, connector type, airflow, and upgrade room.
Read more
How to fix FPS drops after a RX 9070 XT starts with driver cleanup, chipset updates, thermals, and power checks. For SA gaming PCs, confirm PCIe seating, monitor refresh, frame caps, and per-game graphics settings before replacing parts.
Read more
How to fix low FPS Windows 11 Wi-Fi 7 issues starts by checking whether the problem is frame rate or network lag. Test ping, drivers, power settings, Ethernet, and game FPS before adjusting visuals.
Read more
AM5 is smart for SA builders because it supports newer Ryzen CPUs, DDR5 memory, and a longer upgrade path. Compare board cost, cooling, gaming needs, and local part availability before choosing your next PC platform.
Read more
AM5 gives Randburg gaming builders a longer upgrade path. For SA buyers, DDR5 support, newer board features, and future CPU options can justify the platform. Weigh board cost, cooler support, BIOS maturity, and upgrade timing before choosing.
Read more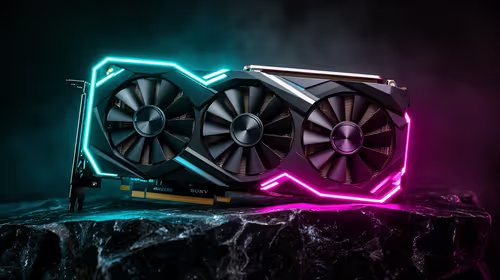
RTX 5090 on a 550W PSU leaves almost no practical room for OC plans. Treat the setup as constrained, with CPU draw, power spikes, cable quality, thermals, and stability checks more important than chasing extra clocks.
FPS drops on a Ryzen 9 9950X3D build often have a fixable cause. Check settings, drivers, thermals, background tasks, network conditions, and bottlenecks before assuming a part must be replaced.

The difference between PCIe 5.0 and PCIe 4.0 for SA gamers is mostly bandwidth headroom. Compare GPU slot needs, NVMe speed, motherboard support, and upgrade timing before paying extra for a newer platform.

Gaming PC stuck pixel checks in South Africa should confirm the monitor fault first. Use colour tests, screenshot comparison, cable swaps, display menu checks, and clear photos before deciding on support.

AMD's current driver now lists a Radeon RX 9050 4GB, while product coverage details a narrowed memory system. SA buyers should weigh the low VRAM ceiling against current local Radeon options.

Samsung Display has demonstrated a 16-inch 2.5K OLED laptop panel running at 300Hz. SA buyers should wait for a named notebook, full panel specifications and a local price before planning an upgrade.

Microsoft says some Windows 11 game crashes after recent updates are linked to RGB-related drivers. Affected SA gamers should confirm the update and driver before using the published registry workaround.
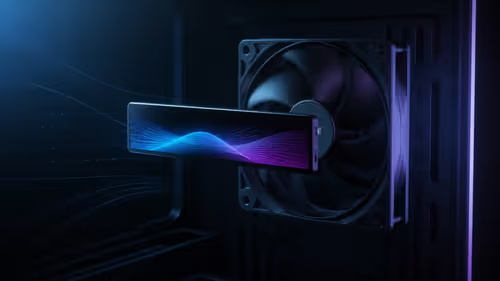
Thermalright's Fan Frame Vision-1 adds a 640x172 status screen to a standard 120mm fan. SA builders should check clearance, USB routing and local support before treating it as an easy upgrade.
AMD's current driver now lists a Radeon RX 9050 4GB, while product coverage details a narrowed memory system. SA buyers should weigh the low VRAM ceiling against current local Radeon options.
Microsoft says some Windows 11 game crashes after recent updates are linked to RGB-related drivers. Affected SA gamers should confirm the update and driver before using the published registry workaround.
Samsung Display has demonstrated a 16-inch 2.5K OLED laptop panel running at 300Hz. SA buyers should wait for a named notebook, full panel specifications and a local price before planning an upgrade.
Thermalright's Fan Frame Vision-1 adds a 640x172 status screen to a standard 120mm fan. SA builders should check clearance, USB routing and local support before treating it as an easy upgrade.