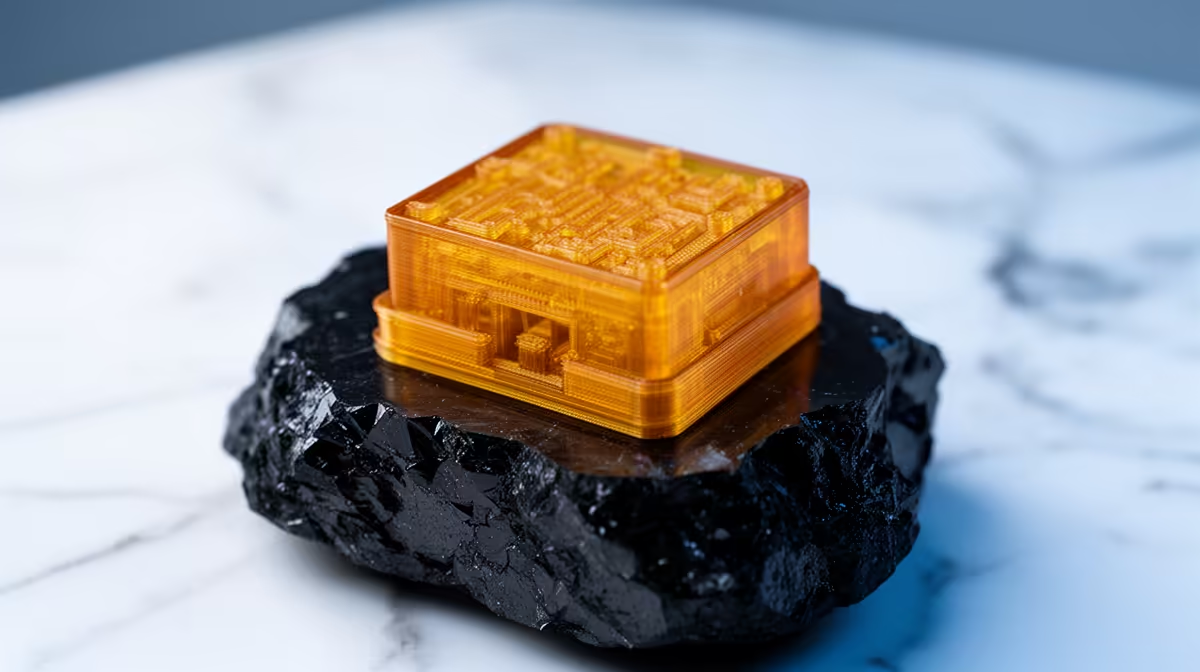
Sharp edges turn soft, raised text smears, and slots that should stay open close up into solid blocks. When resin prints losing fine detail and fusing together become a pattern across every model, the cause is almost always over-exposure: the masking LCD holds each layer under UV for too long, and that excess light scatters sideways into resin that was meant to stay liquid. The fix is a calibration problem, not a hardware fault.
Quick Answer
Reduce your normal layer exposure time by 10 to 20 percent and reprint a calibration test. Over-exposure lets UV bleed past pixel boundaries into neighbouring resin, fattening features and welding fine gaps shut. On a mono LCD printer, normal exposure usually lands somewhere between 1.5 and 3.5 seconds depending on resin and layer height.
Why Over-Exposure Destroys Detail
UV light does not stop neatly at the edge of a lit pixel. The longer a layer stays exposed, the further that light travels through the surrounding liquid resin, curing material the slice never intended to harden. This is light bleed, and it shows up as bloated dimensions, rounded corners that should be crisp, and thin channels that fill in completely.
The effect compounds on small features. A 0.4 mm gap between two raised areas might survive at the correct exposure, but add a second of cure time and the bleed from both sides meets in the middle and fuses them. Miniatures lose facial detail, mechanical parts lose tolerance, and text becomes an illegible ridge.
How to Dial It Back
Run an exposure calibration print, most commonly a graded test that prints the same features at several exposure values. Start from your current setting and step down in roughly 0.3 second increments until small text reads cleanly and gaps stay open. Tune for one layer height at a time, since switching from 50 micron to 25 micron layers changes the ideal exposure.
If your slicer offers XY compensation, a small negative value can shave off the dimensional growth that over-curing leaves behind. Keep cleaning consistent too, because a cloudy FEP film and a dusty LCD both scatter light and mimic over-exposure. The same accessory tools that keep a printer healthy are worth keeping stocked, and you can browse practical add-ons in the accessories that sell fastest at Evetech for spares like spatulas, filters and gloves.
Frequently Asked Questions
How do I know it is over-exposure and not under-exposure?
Over-exposure thickens and fuses features, while under-exposure leaves them brittle, soft or missing entirely. If prints are growing and gaps are closing, you are exposing too long, not too little.
Does resin type change the right exposure?
Yes. Faster, more reactive resins need shorter exposure, and a setting that suited one bottle can over-cure the next. Recalibrate whenever you change brand or even colour.
Will XY compensation alone fix the problem?
No. XY compensation corrects dimensional growth but does not stop light bleed welding fine gaps. Lower the exposure first, then use compensation to fine-tune size.
Can a warm room cause over-exposure symptoms?
Warmer resin cures faster, so a hot space can push a borderline exposure into over-cure territory. If your prints fuse only in summer, trim exposure slightly for the warmer months.
Getting crisp, accurate resin prints starts with the right hardware. Explore Evetech's range of 3D printers and resin machines and pair them with a calibrated exposure routine for detail that holds.