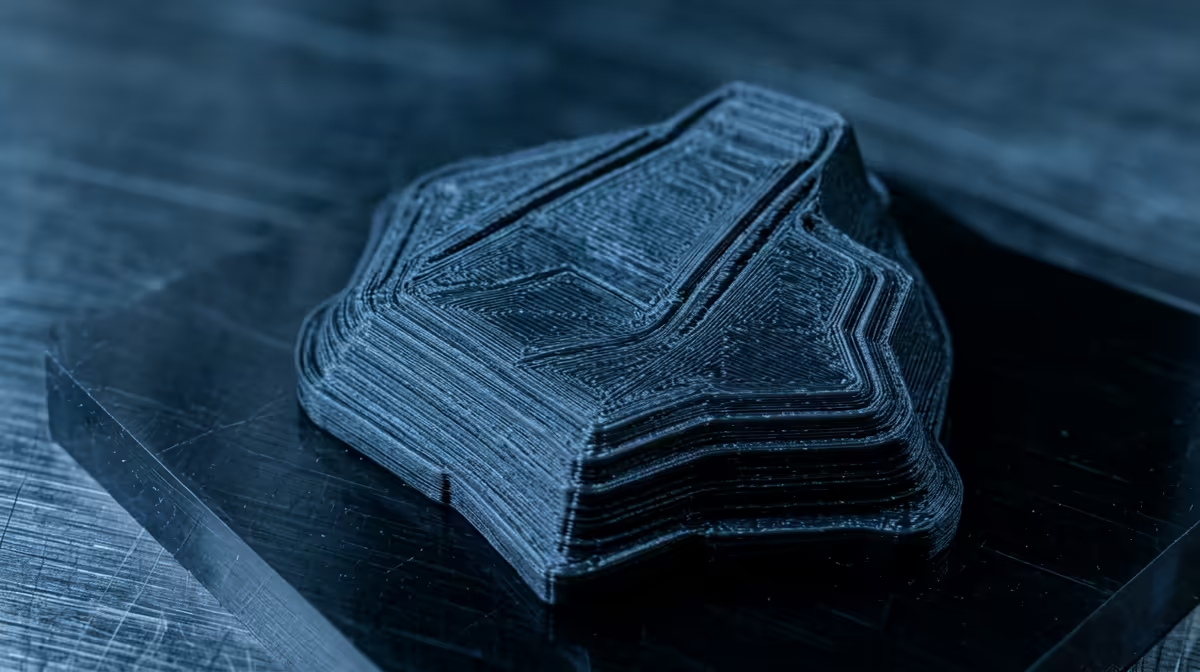
Crack open any slicer and the walls setting decides far more about a print's strength than most beginners realise. Walls, also called perimeters, are the solid outer shells the nozzle traces around the edge of every layer before any infill is laid down. Get the count right and a part becomes rigid and watertight. Get it wrong and you pour filament into infill that does little.
Quick Answer
Two to three walls is the standard for everyday prints, and four or more walls boosts strength and water-tightness more efficiently than raising infill density. With a 0.4 mm nozzle and a 0.4 mm line width, three walls give you a 1.2 mm shell, which is plenty for most functional parts.
What Walls Actually Are
Each wall is one continuous loop of extruded plastic following the model's outline. The slicer prints the outermost loop first (the one you see and feel), then works inward. The number of these loops is your wall count, sometimes labelled "perimeters" in slicers like PrusaSlicer or Cura.
The thickness of each loop is the line width. At the default, line width roughly matches nozzle diameter, so a 0.4 mm nozzle lays down a 0.4 mm wall. Multiply line width by wall count and you get total shell thickness: three walls at 0.4 mm equals a 1.2 mm shell. That shell, not the honeycomb inside, carries most of the load on a finished part.
Why More Walls Beat More Infill
Strength in a 3D print comes mostly from the outer skin. When you push on a part, the walls resist bending and cracking, while infill mainly stops the top and bottom surfaces from sagging. Going from 15 percent to 40 percent infill adds a lot of print time and weight for a modest strength gain. Adding a fourth or fifth wall costs far less plastic and time while making the part noticeably tougher.
For anything that needs to hold water or air, walls are non-negotiable. Gaps between infill lines leave tiny channels, so a low-wall part leaks. Bumping to four walls closes those paths and gives you a watertight vase, planter or enclosure. A good selection of nozzles, build plates and spare parts in the 3D printing accessories range makes it easy to swap line widths when you want a thicker shell from a wider nozzle.
Tuning Line Width
You can also change shell thickness by adjusting line width rather than wall count. Pushing line width to 0.45 mm or 0.5 mm on a 0.4 mm nozzle gives slightly fatter, stronger walls and better layer bonding, at the cost of a little surface detail. Dropping it to 0.35 mm sharpens fine features. Most slicers let you set this per object, so detailed minis and rugged brackets can use different values.
FAQ
How many walls should I use for a functional part?
Four walls is a safe default for brackets, hooks and clips that take real stress. It roughly doubles the shell over the standard two without the time penalty of high infill, and it stays rigid under load.
Will more walls make a print watertight?
Largely yes. Three to four walls close the small gaps that let water seep through, especially when paired with a few extra top and bottom layers. Slow the print slightly for the cleanest seal.
Does line width change strength?
Yes. A wider line width lays down more plastic per pass and bonds layers more firmly, so the same wall count becomes stronger. The trade-off is slightly softer fine detail on the surface.
Is it better to add walls or raise infill for strength?
Walls almost always win. They sit on the outside where bending stress is highest, so each extra perimeter does more for rigidity than the equivalent jump in infill density.