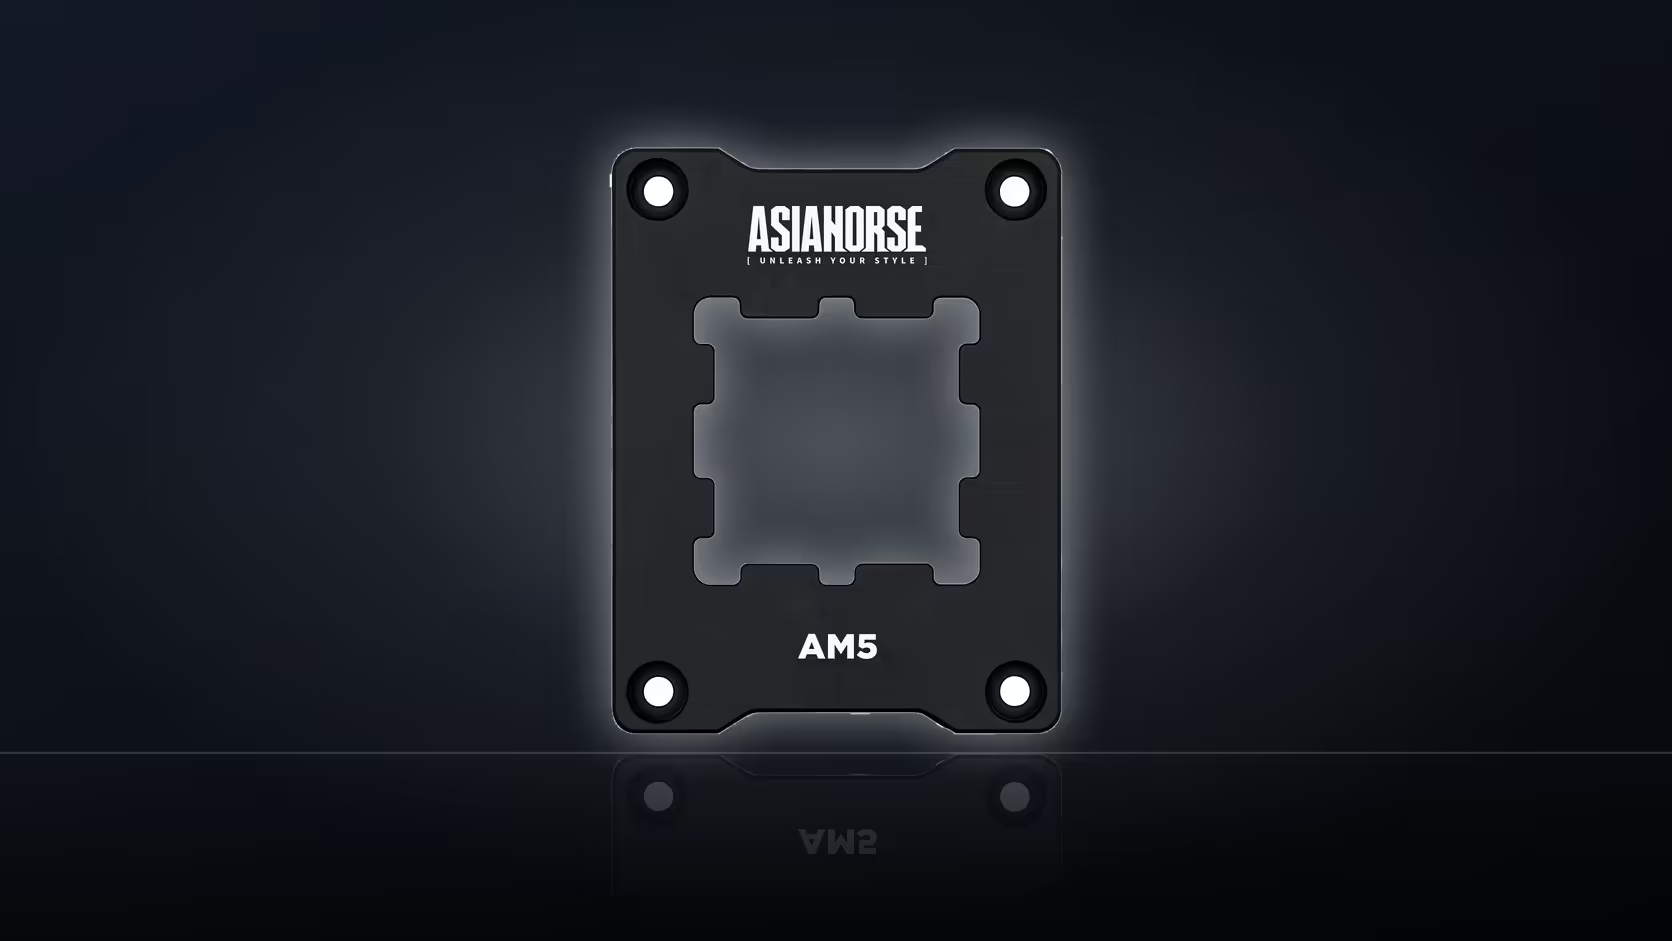
Pulling apart an AM5 socket to swap retention hardware without the right paperwork open on the desk is a common way to turn a thirty-minute job into an afternoon of confused troubleshooting. A CPU contact frame swap involves two separate sets of instructions, and knowing that before the screwdriver comes out saves a lot of frustration.
Quick Answer
Before changing AM5 retention arms for the AsiaHorse Pulsar frame, gather the frame's own fitting instructions and your cooler's separate mounting instructions for AM5. They describe two different stages of the same job, and starting with only one of them is how a straightforward swap ends up with a machine in pieces and no clear next step.
📄 Two documents, two different jobs
The frame's fitting instructions cover removing the stock AM5 retention arms and installing the frame in their place - a job that happens directly around the socket, before any cooler goes anywhere near it. The cooler's own mounting instructions cover an entirely separate stage: attaching that cooler on top of the newly fitted frame, using whatever bracket or backplate arrangement the cooler manufacturer specifies for AM5. Treating these as one continuous set of steps, rather than two documents read in sequence, is where people get lost partway through.
Where the board manual fits in
Your motherboard's own manual is worth having open too, even though it is not specific to this frame. It shows the socket area and the original retention arrangement clearly, which is genuinely useful reference when removing parts you may never have looked at closely before. It will not tell you how the AsiaHorse frame fits, but it shows you what you are removing and roughly what it should look like once the original hardware is off.
🔩 What is missing from the paperwork
One thing worth knowing upfront: there is no stated tightening torque for this frame anywhere in its documentation. The hex wrench included in the box is there to drive the four screws, but without a specified torque value, a careful, even hand rather than maximum force is the sensible approach when bringing everything down snug.
Instructions for the frame itself may also not appear in the box - manufacturer websites are usually the more reliable source, and it is worth tracking these down and reading them through once before starting rather than mid-job.
🧰 Getting the workspace ready
Beyond the paperwork, a few practical items make the actual job smoother. Fresh thermal solutions are worth having on hand, since fitting the frame means the cooler has to come off and go back on, and reusing old paste is never the better option. A small tray or container for the screws stops anything rolling away across the desk, and decent light directly over the socket area makes it much easier to see whether the frame is seated flat before tightening anything down. Writing a short numbered list of your own, drawn from both sets of instructions, also helps keep the sequence straight on a first attempt.
📝 Sequencing it properly
Read both documents fully before touching anything, rather than working through the frame instructions and only then discovering what the cpu cooler mounting stage requires. Knowing the whole sequence upfront means you are never caught fitting something in the wrong order or realising halfway through that a step needed doing earlier.
Frequently Asked Questions
Which documents are needed?
The frame's own fitting instructions, plus the cooler's separate mounting instructions for an AM5 board.
Why both?
They cover two different stages - replacing the hardware around the socket, then mounting the cooler on top of it afterwards.
Where does the board manual fit in?
It shows the socket area and the original retention setup, which helps when removing the stock parts.
What if instructions are not in the box?
Manufacturer websites carry them, and locating those before starting is worth the few extra minutes.
Is a torque figure given anywhere?
No - the frame's documentation specifies none, so the included hex wrench is used without a stated tightening value.
Should the sequence be written down?
A short written list helps, particularly on a first attempt where the order of steps matters.
What else is worth having ready?
Fresh thermal paste, cleaning materials, a tray for small parts, and good light directly over the socket area.
Getting ready to fit new AM5 mounting hardware?
Check out Evetech's cooling and thermal range so you have every part on hand before you start.