Watch a tall print fail near the end and you will often find the culprit was not the model itself but the print head clipping a curled corner on its way across the bed. Z-hop is the slicer setting that prevents exactly that: it lifts the nozzle a fraction of a millimetre during travel moves so the hot tip glides over already-printed features instead of dragging through them.
Quick Answer
Z-hop raises the nozzle by 0.2mm to 0.6mm whenever the print head travels between two points without extruding. That small lift clears printed walls, curled edges and stray blobs, which protects the part from collisions and scarring. The trade-off is slightly more stringing, so most people set it between 0.2mm and 0.4mm rather than higher.
What Z-hop actually does during a travel move
A 3D printer constantly switches between two kinds of motion: printing moves, where plastic is being laid down, and travel moves, where the head repositions without extruding. During a travel move the nozzle is still hot and still sitting at the current layer height. If anything on the bed has lifted even slightly, the moving nozzle can catch it.
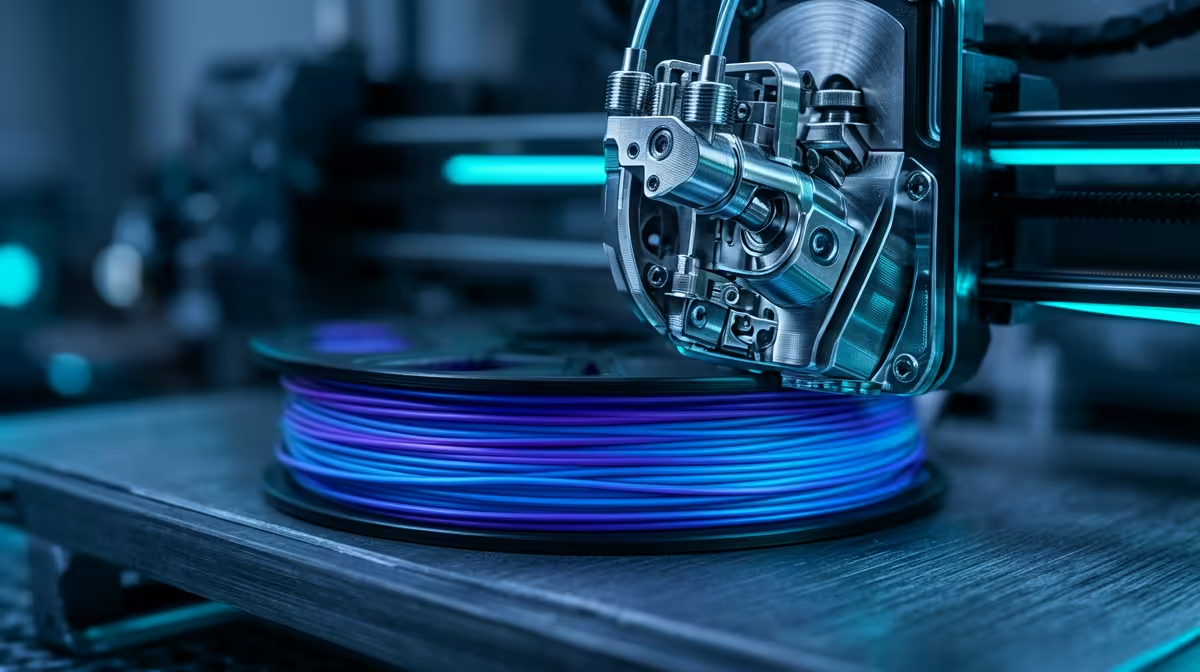
With Z-hop switched on, the firmware lifts the Z axis by your chosen distance the instant a travel move begins, carries the head across at that raised height, then drops back down to resume printing. The lift and the drop add a few seconds across a long print, but they remove the single most common cause of knocked-over parts on detailed models. If you are still choosing a machine, the lineup of 3D printers stocked at Evetech covers entry FDM units where this setting lives in the slicer rather than the printer.
When Z-hop earns its keep
Not every print needs it, and leaving it on by default has a cost worth understanding.
Tall, thin and detailed prints
Miniatures, lattice structures and anything with delicate spires benefit most. These features curl upward as they cool, and a flat travel move will shear them off. A 0.4mm hop usually clears the worst of it without slowing the print noticeably.
Prints that warp or curl at the edges
Materials like ABS lift at the corners as they contract. That raised corner sits directly in the travel path. Z-hop lets the head step over it instead of catching the edge and either marking the surface or tearing the part loose from the bed.
When you can usually leave it off
Flat, chunky prints with no fine detail rarely need it. Turning it off there gives you cleaner surfaces because you avoid the extra retraction artefacts that hopping can introduce. A good pop filter for stringing here is simply tuning retraction first and only adding hop if collisions persist.
The stringing trade-off and how to minimise it
Every time the nozzle lifts, a little molten plastic can ooze and trail as a fine string between points. The higher the hop, the more time the nozzle spends suspended and the more oozing you get. Keep the distance modest, pair Z-hop with properly tuned retraction, and print at the lower end of your material's temperature range. A clean nozzle and dry filament also reduce stringing far more than people expect, so a few printing accessories and consumables like a brass cleaning kit or filament storage often solve the problem you were blaming on the hop.
Frequently Asked Questions
What Z-hop distance should I start with?
Begin at 0.2mm to 0.4mm. That clears most curled features while keeping stringing low. Only raise it toward 0.6mm if you are still seeing collisions on very tall or warped prints.
Does Z-hop slow down printing?
Slightly. The lift and drop at every travel move add a few seconds over the course of a print, but the time penalty is small compared with re-printing a part that the nozzle knocked over.
Why am I getting more stringing after enabling Z-hop?
The raised nozzle spends longer suspended, giving molten plastic time to ooze. Tune your retraction distance and speed first, drop the printing temperature a few degrees, and make sure your filament is dry.
Is Z-hop a printer setting or a slicer setting?
It lives in your slicer, under the travel or retraction section. The slicer writes the lift commands into the G-code, so the same printer can run with or without it depending on the profile you load.
Can Z-hop fix a print that keeps failing partway up?
If the failures are caused by the nozzle catching printed features, yes. If the part is detaching from the bed or under-extruding, Z-hop will not help and you should look at bed adhesion or flow instead.
Dialling in settings like Z-hop is half the fun of 3D printing, and the right hardware makes it far easier. Browse the current range of 3D printers at Evetech and kit yourself out with the consumables to keep them running clean.