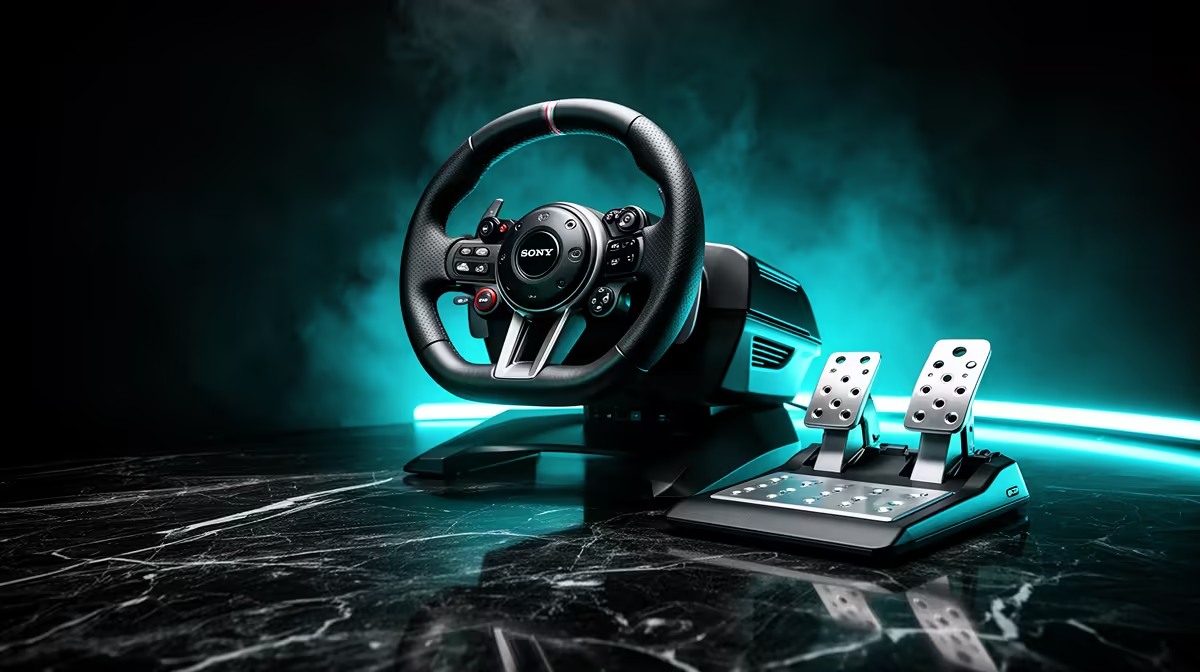
Automobilista 2 can deliver deep handling without demanding a showroom-grade cockpit on day one. A budget AMS2 starter setup needs stable wheel and pedal inputs, sensible force feedback and a seat you can repeat.
Quick Answer
Automobilista 2 is a strong place to begin sim racing because one wheel-and-pedal setup can cover karts, touring cars, prototypes, open-wheel cars, and changing weather. Spend your first budget on force feedback you can read and pedals that stay in place. The game rewards clean steering and braking far more than a long accessory list.
Start at the sim racing gear page when comparing wheels, pedals, and stands. If you are planning a seat or frame, the mounting hardware around the flight simulator equipment range can help you think through shared cockpit space and adjustment, even though the controls themselves serve a different style of play.
The budget build that gets you racing
Use the PC and monitor you already own if they can deliver a steady frame rate. Add an entry force-feedback wheel with pedals, mount the wheel to a solid desk, and stop the chair from rolling. That is the whole first build.
Check the desk before tightening the clamp. You want a solid edge, enough depth for the clamp, and space below for its screw or handle. Thin skins over a hollow core can flex under steering load. If the surface feels questionable, use a wheel stand rather than gambling on furniture damage.
The pedal base should stay fixed under your hardest brake input. Put it on a high-grip mat or against a safe stop, keeping cables away from pressure points. Office-chair castors need cups or a mat that prevents retreat under braking.
Set the wheel at chest height with bent elbows. Your shoulders should stay against the chair as you steer. Align the pedals so your knees retain a bend at full travel. This position gives you a repeatable reference across very different cars.
Configure Automobilista 2 in a clean order
Run device calibration before adjusting car setups. Confirm the wheel turns through the expected range, every pedal reaches its full input, and no control shows movement while untouched. Use only enough dead zone to remove a real unwanted signal.
Choose the correct wheel profile when the game provides one. Then set steering rotation so the virtual wheel and your physical rim agree. Different cars use different steering locks, and correct soft-lock behaviour keeps them feeling distinct without forcing you to reconfigure hardware each time.
Set force feedback at a moderate level. Drive a car with predictable steering on a circuit you can repeat. Watch for clipping in loaded corners, where every stronger force begins to feel the same. Lower gain until detail remains as the tyres load up. Adjust damping and low-force effects only after the main force is clean.
Do not judge the setting from one dramatic car. Test a light car and a heavier one. The wheel should communicate both without making them feel identical. Save notes before changing values so you can return to a known baseline.
Keep the PC target realistic
Automobilista 2 can look excellent on a single screen without pushing every option to its ceiling. Pick a frame target your PC can hold with a full grid and poor weather. A solo lap in clear daylight does not represent race load.
Reduce reflections, shadows, visible vehicles, and weather effects in separate steps when performance dips. Keep textures at a level that fits the graphics memory available. If the frame rate swings, cap it at a stable value supported by the monitor. Consistent visual timing helps you place braking and steering inputs.
Set the monitor close enough to see corner references while keeping a comfortable eye distance. Use a measured field of view as your base. A wider virtual view shows more of the cockpit but can shrink distant braking markers. Make small changes and drive the same circuit after each.
Headphones can help you hear tyre scrub and engine load without requiring speakers around the rig. Keep volume at a comfortable level. Audio cues are useful for learning when grip begins to fade, especially while you are still developing a feel for force feedback.
Spend the second budget where the first build moves
If the desk flexes, the pedals creep, or setup takes too long, add a wheel stand. A stand ties the controls together, preserves calibration, and can fold or move aside in a shared room. Confirm its mounting plates match the exact wheel and pedals.
If braking is inconsistent after the platform is stable, stronger pedals may offer the next useful step. A firmer brake needs a stronger mounting surface and a chair that cannot move. Plan those pieces as one system.
Add a shifter for the car classes that use it. Paddle shifters already cover a broad part of the Automobilista 2 roster, so a separate lever can wait until historic touring cars or manual machines become your focus. A handbrake is even more specialised and should follow the content you drive.
A dedicated cockpit makes sense when the equipment stays assembled and the room can spare the footprint. Measure the full seated length, adjustment range, and access space. Check whether the frame can accept a monitor mount without placing the screen too far away.
A simple practice plan
Choose one forgiving car and a circuit with clear braking markers. Drive short sets of consistent laps and focus on one skill at a time. Begin with braking points, then work on releasing the brake as you turn, and finally compare corner exits.
Use the same fuel load and tyres while learning. Changing the car setup after every mistake hides the pattern in your driving. When lap times settle, try another car class and notice how steering weight and braking distance change.
Longer races reveal setup problems that hot laps miss. Run a twenty- or thirty-minute session before buying an upgrade. Tingling hands suggest excess force or poor wrist angle. A sore knee points to pedal distance or resistance. A moving chair calls for a physical fix.
FAQ
Is a controller enough for Automobilista 2?
It can get you started and help you explore the car list. A force-feedback wheel and pedals make small steering corrections, brake release, and changing grip easier to feel and repeat.
Do I need a direct-drive wheel?
No. A well-mounted entry force-feedback wheel can deliver an engaging experience. Direct drive becomes attractive when you want cleaner detail, more torque, and a larger upgrade ecosystem, provided the stand or cockpit can handle it.
What should I upgrade first?
Fix movement first. Add a wheel stand when the desk, pedals, or chair undermine consistency. Consider stronger pedals after the mounting base is solid, then buy specialised controls for the car classes you drive most.
Start your Automobilista 2 build with stable controls and a steady PC target, then choose sim gear that solves the next limit you can feel.