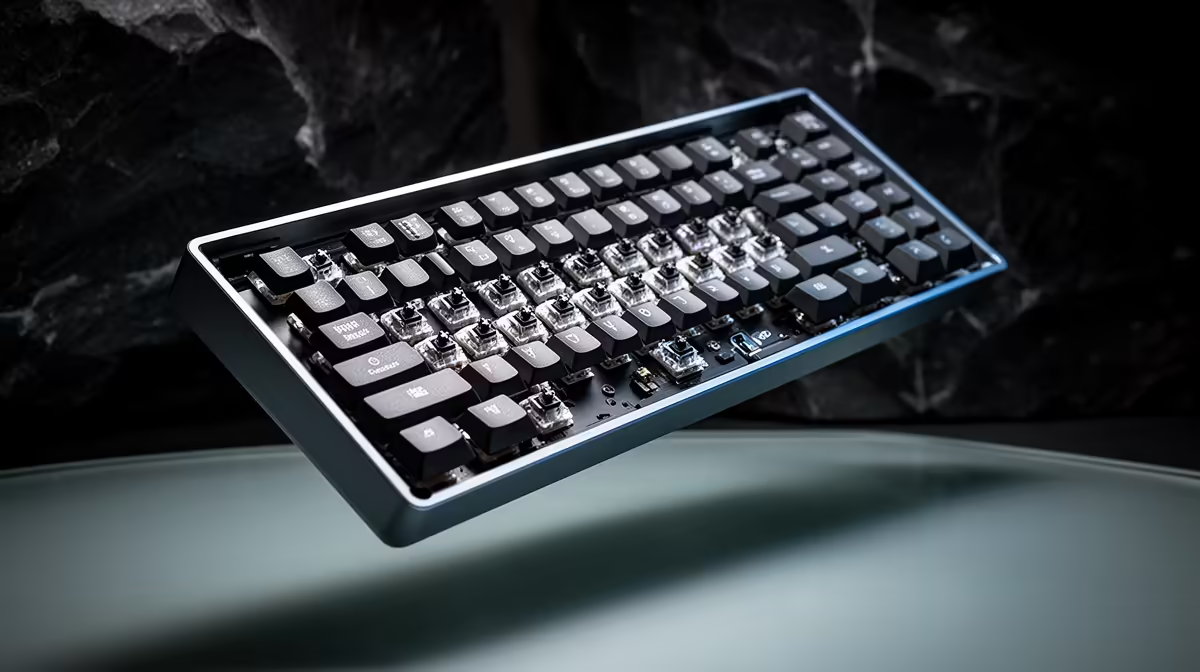
A crisp packet leaves crumbs under the spacebar; a month later the stabiliser sounds gritty and one key returns slowly. You can clean a mechanical keyboard without flooding the switches or turning keycap layout into a puzzle. Take a photo, unplug it and separate washable parts from the electronics.
Quick Answer
Photograph the layout, unplug the keyboard and remove keycaps with a wire puller. Wash loose keycaps away from the board, use a soft brush plus controlled air on the plate and apply a small amount of high-percentage isopropyl alcohol only where the maker permits it. The median gaming-keyboard price at Evetech was R899 in July 2026, so spend half an hour cleaning before replacing a board that still works.
📷 Save the layout before the first cap comes off
Take one full photo and close views of the bottom row, Enter key and navigation cluster. Keycap profiles can differ by row even when the legends make their position obvious.
Lay out small containers for keycap groups. Keep screws, pullers and stabiliser pieces away from the wash bowl. A baking tray or shallow box stops a spring or clip rolling under the desk halfway through the clean.
Disconnect the cable or switch wireless power off. Remove small keycaps with a wire puller, lifting straight. For the spacebar, Shift, Enter and Backspace, raise each side with care and watch how the stabiliser attaches. Stop if the manual shows a non-standard clip.
Evetech's keyboard deal page provides replacement context, but keep the current board's manual open while the stabilised keys come apart.
🫧 Wash keycaps away from electronics
Place standard plastic keycaps in warm water with a small amount of mild dish soap. Agitate them by hand, rinse and spread them on a towel. Let every stem dry before reassembly; trapped water can run into the switch.
Stand the caps stem-side up after the surface dries so water can leave the cross-shaped recess. Give them a full day when the room is cool or humid. A hair dryer can warp plastic or drive moisture deeper into a cap.
Check the keycap material and printed legend before using any cleaner. Avoid hot water, bleach and solvents. Artisan caps, coated legends and wooden parts may need a dry cloth only.
🖌️ Clear the plate and switch gaps
Turn the unplugged keyboard over and tap the case with your palm. Use a soft brush to lift crumbs from the plate. Short bursts of air can move debris out, but hold fans or loose pieces and keep canned air upright so it does not spray propellant.
Put isopropyl alcohol on the brush or lint-free swab, not straight onto the board. Wipe grime around switch housings and the case edge. A drink spill inside a powered keyboard needs a deeper teardown or repair assessment, since dried sugar can sit below the plate.
Wipe the cable, underside and rubber feet with a separate cloth. Keep liquid away from detachable USB sockets and charging ports. Clean the desk before the keyboard returns, otherwise the same dust and crumbs move straight back through the case gaps.
Inspect the cable for cuts while it is unplugged. Replace a damaged detachable lead before power returns to the board.
⌨️ Reassemble after everything is dry
Fit stabilised keys first and check that both sides move together. Use the photo to return each row. Press caps onto the switch stem with even pressure; a cap that sits crooked may be on the wrong row or a damaged stem.
Reconnect the keyboard and test every key in a text editor or key-test page. Listen to the stabilised keys. If one binds, remove the cap and confirm the wire remained clipped into both sides.
Use Evetech's keyboard best-sellers if cleaning reveals a failed switch on a soldered board or damage from a spill. A hot-swap model can make the next single-switch repair easier.
Frequently Asked Questions
What tool should you use to remove keycaps?
A wire keycap puller grips opposite sides and lifts with less scratching than a tight plastic ring.
How do you remove a stabilised spacebar?
Lift each side with care and follow the board's stabiliser design. Photograph the wire and clips before separation.
What should you use to clean switches?
Use a soft brush and a controlled amount of approved isopropyl alcohol around the housing. Avoid pouring liquid into switches.
Can you submerge a keyboard in water?
No. Wash removable compatible keycaps on their own and keep the electronics dry.
Is compressed air enough?
It removes loose dust and crumbs. A brush or swab handles grime stuck to the plate and case.
Does cleaning affect hot-swap switches?
The sockets remain vulnerable to liquid and rough handling. Remove switches only when debris sits below the plate or a switch needs replacement.
Replacing a keyboard that cleaning could not save? Compare mechanical and hot-swap options at Evetech, then choose a layout whose keycaps and switches you can maintain with confidence.