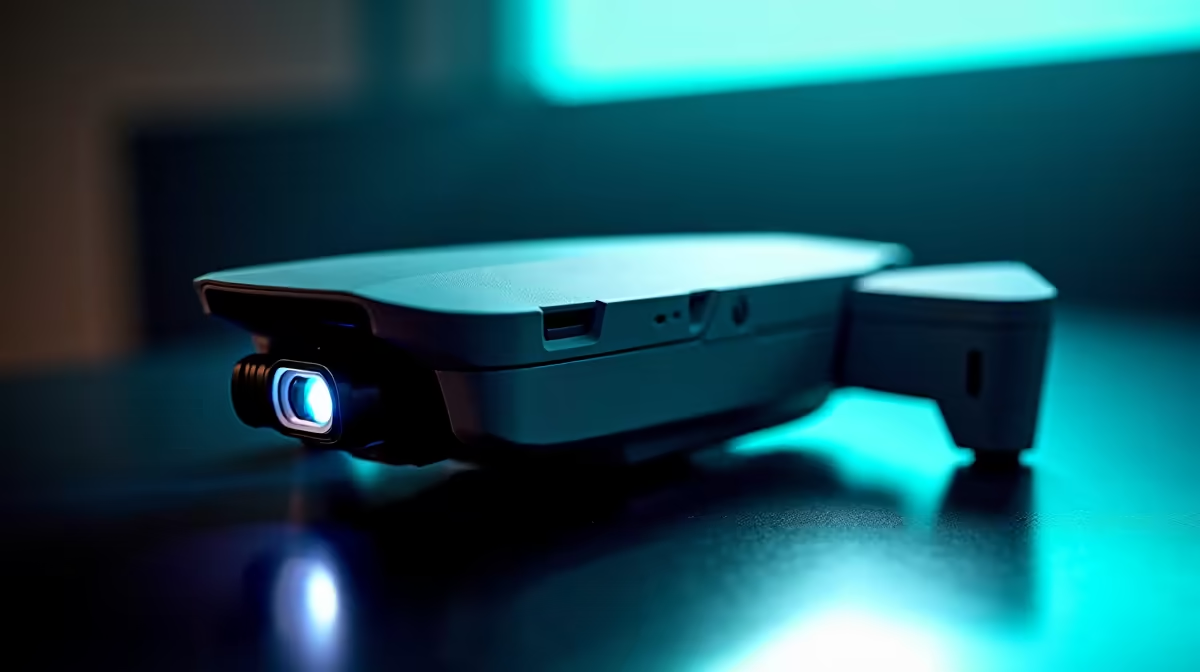
Most beginner drone footage looks off for one reason: the shutter speed is wrong, so the motion comes out either stuttery or unnaturally smeared. Getting drone camera settings right starts with a single rule that fixes the look instantly, the 180-degree shutter rule, and then leans on ND filters and a low ISO to keep your 4K clean. Master those three and your clips jump from amateur to cinematic.
Quick Answer
Set your shutter speed to roughly double your frame rate, so 1/50 of a second at 25fps. That is the 180-degree shutter rule, and it produces natural motion blur. In bright daylight, fit an ND filter (ND8 to ND64) so you can keep that slow shutter, and keep ISO as low as possible, ideally the base value, for clean noise-free footage.
Rule One: The 180-Degree Shutter
The single biggest upgrade to beginner drone video is matching shutter speed to frame rate. The 180-degree shutter rule says: set your shutter speed to about twice your frame rate.
So if you film at 25fps, set the shutter to 1/50. At 30fps, set it near 1/60. At 50fps, aim for 1/100. This gives each frame the right amount of motion blur, the same blur the eye expects from cinema, which is what makes footage read as smooth rather than robotic.
Get this wrong and the problems are obvious. A shutter that is too fast, like 1/500 in daylight, removes motion blur entirely and the footage looks stuttery and stroboscopic, especially on panning shots. A shutter too slow over-smears everything. The doubling rule is the anchor you set first, then build the rest of your exposure around it.
Rule Two: ND Filters Let You Keep That Shutter
Here is the catch. In bright South African daylight, a shutter as slow as 1/50 lets in far too much light, and the footage blows out to white. You cannot just speed the shutter up, because that breaks the 180-degree rule and brings back the stutter.
The fix is a neutral density (ND) filter. An ND filter is like sunglasses for the lens: it cuts the amount of light reaching the sensor without changing colour, so you can keep a slow shutter even under a harsh sun.
Choosing the Right ND Strength
ND filters come in strengths, and you match the strength to the brightness.
- ND8 for overcast or softer light, cutting light by three stops.
- ND16 to ND32 for typical bright daylight, the everyday workhorses.
- ND64 for very harsh midday sun or shooting over bright water or sand.
A common approach is to carry a small set and swap up or down until, at your chosen frame rate and the matched shutter, the image is correctly exposed. Drones and their filter kits usually live alongside the wider Evetech smart home and gadget range, which is a useful place to see what filter sets pair with current models.
Rule Three: Keep ISO Low
ISO controls the sensor's sensitivity, and on a small drone sensor it is the main source of grainy, noisy footage. The rule is simple: keep ISO as low as it will go, ideally the camera's base ISO, often 100.
In good light you should rarely need to raise it. If your exposure is too bright at base ISO with the right shutter, that is a sign you need a stronger ND filter, not a higher ISO. Only lift ISO when light genuinely runs short, like dusk, and accept that noise rises as you do. Bright daylight plus the right ND means base ISO and clean 4K.
Putting It Together: A Daylight Workflow
Here is the order to set up a shot in bright conditions.
- Choose your frame rate. 25fps or 30fps for a standard cinematic look, higher if you plan to slow the clip down later.
- Set the shutter to double the frame rate. 1/50 at 25fps, 1/60 at 30fps.
- Set ISO to base, around 100.
- Fit an ND filter and check exposure. If the image is too bright, go to a stronger ND; if too dark, a weaker one. Adjust the filter, not the shutter or ISO.
- Confirm and fly. Once exposure looks right with the rule intact, your footage will carry natural motion blur and minimal noise.
This habit, set the rule first, fix brightness with ND, leave ISO low, turns guesswork into a repeatable process.
A Note on Flying Legally in SA
Before chasing the perfect shot, fly responsibly. South African rules restrict where and how you may fly, including keeping clear of airports and not flying over people or property without the right permissions. Know the local regulations for your area and stick to line-of-sight flying, especially while you are still learning the camera settings.
Frequently Asked Questions
What shutter speed should I use for drone video?
Set it to roughly double your frame rate, so 1/50 at 25fps or 1/60 at 30fps. This 180-degree shutter rule gives natural motion blur and is the single most important setting for smooth, cinematic footage.
Why do I need ND filters on a drone?
A slow shutter lets in too much light in bright daylight, blowing out the image. An ND filter cuts the light without changing colour, so you can keep the correct shutter speed and still get a properly exposed shot.
Which ND filter strength should I pick?
Use ND8 for overcast light, ND16 to ND32 for typical bright daylight, and ND64 for harsh midday sun or bright water and sand. Carry a small set and step up or down until exposure looks right at your chosen shutter.
What ISO is best for drone footage?
Keep ISO as low as possible, ideally the base value around 100, because a small drone sensor gets noisy quickly as ISO rises. If the image is too bright at base ISO, fit a stronger ND filter rather than changing ISO.
Why does my footage look stuttery when panning?
Your shutter is almost certainly too fast, which removes motion blur and creates a stroboscopic look. Slow it to double your frame rate and use an ND filter to control the resulting brightness.
Ready to get cinematic results from your drone? Browse current models and ND filter kits in the Evetech smart home and gadget range, or stock up on spare props, batteries and cards from the Evetech accessories best sellers before your next shoot.