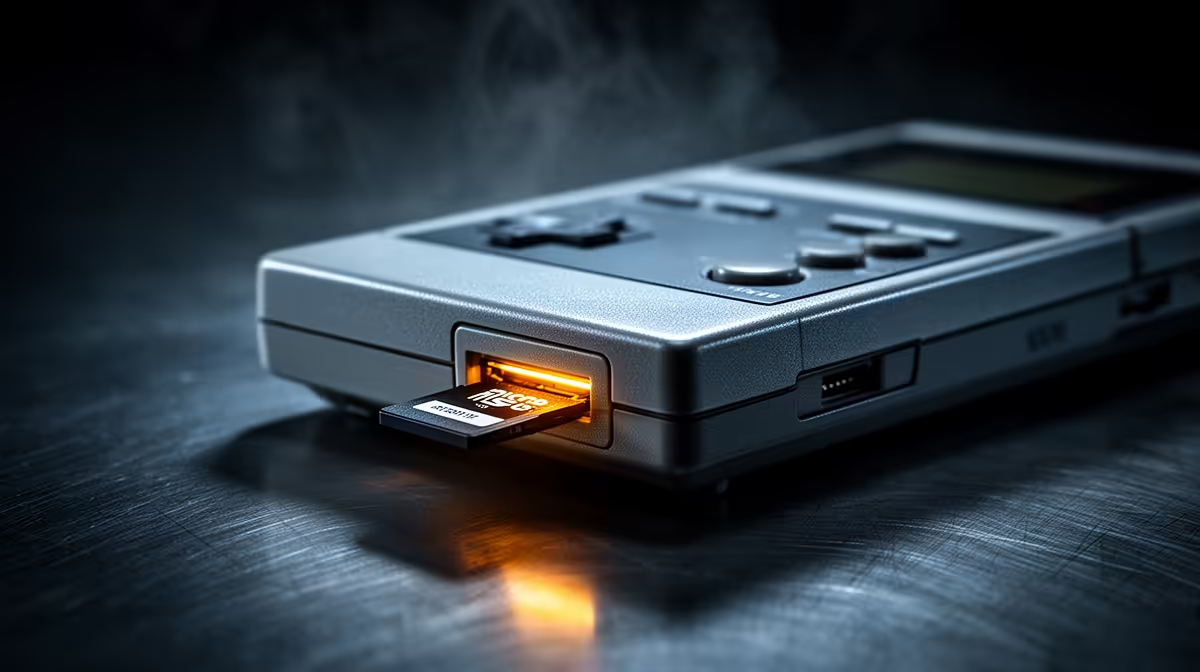
A new retro handheld arrives, you drop in a microSD card, and the device refuses to read it or only shows half its capacity. The problem is almost never the card and almost always the file system. Learning how to format and prepare a microSD card for a retro handheld comes down to one rule: FAT32 for cards up to 32GB, exFAT for larger ones, and a third-party tool when a fussy device demands FAT32 on a big card. Get the format right and the device just works.
Quick Answer
Format the card FAT32 for capacities up to 32GB and exFAT for anything larger. Windows automatically picks exFAT above 32GB and refuses to make a large card FAT32, so if your handheld only reads FAT32, you need a free third-party formatter like GUIFormat to force FAT32 onto a 64GB or 128GB card. Match the format to what your device's documentation specifies.
Why the file system decides everything
A retro handheld reads ROMs, BIOS files and save data straight off the card, and it can only do that if the card is formatted in a system the device understands. The two that matter are FAT32 and exFAT. FAT32 is the most universally supported format on consoles, older hardware and emulation devices, but it has one hard limit: no single file can exceed 4GB. exFAT lifts that limit and handles huge capacities cleanly, which is why Windows defaults to it on bigger cards.
The catch with retro handhelds is that many of them, especially flash-cart style and older firmware devices, only speak FAT32. They will ignore an exFAT card entirely or behave erratically. So the format you choose is not a preference; it is dictated by what your specific device supports.
The "32GB only" myth
Plenty of handhelds list compatibility as "supports up to 32GB" and buyers assume a 64GB card simply will not work. In most tested cases that is wrong. The real limit is the formatting, not the size. Windows will not let its built-in tools format a card larger than 32GB as FAT32, so a device that only reads FAT32 appears to reject anything bigger. Force the larger card to FAT32 with the right tool and it usually runs fine, giving you far more room for your library. Always check your device's actual documentation, but treat a blanket "32GB max" claim with healthy suspicion.
Step 1: Back up anything already on the card
Formatting erases everything. If the card holds ROMs, saves or BIOS files, copy them to your PC first. Save files in particular are easy to lose and painful to rebuild, so pull those off before you touch the format.
Step 2: Decide FAT32 or exFAT
Check your handheld's manual or its community wiki for the required format. If it asks for FAT32, you are on the FAT32 path regardless of card size. If it accepts exFAT and your card is over 32GB, exFAT is the simpler, faster choice and Windows handles it natively.
Step 3a: Format a card 32GB or smaller (FAT32)
For cards up to 32GB, use the SD Association's official SD Card Formatter, the recommended tool for SD media. Insert the card, select the correct drive (double-check the drive letter so you do not wipe the wrong disk), choose a full format and run it. The card comes out as clean FAT32 ready for the handheld.
Step 3b: Format a large card to FAT32 (third-party tool)
This is where most people get stuck. Windows will not make a 64GB or 128GB card FAT32 on its own. Download a lightweight free tool such as GUIFormat, which formats removable drives as FAT32 well past the 32GB ceiling. Select the card's drive, pick FAT32, and for allocation size use roughly a 32KB sector for cards under 64GB and a larger 64KB sector for cards above 64GB. Run it, and your large card now carries the FAT32 format the handheld insists on. RMPrepUSB is an alternative if you want more control.
Step 4: Format a large card to exFAT
If your device accepts exFAT, this is the easy route. Right-click the card in File Explorer, choose Format, select exFAT, and run a full format. Windows picks exFAT automatically for cards above 32GB anyway, so often there is nothing to override.
Step 5: Create folders and load files
With the card formatted, set up the folder structure your handheld's firmware expects, often separate folders per system, plus a BIOS folder where required. Copy your legally owned ROMs and any save data back across, eject the card safely so writes finish, and slot it into the device.
A reliable card makes the whole experience smoother, slow or counterfeit cards cause stutter and corruption, so buy quality storage to match the device. You can see the current devices in the handheld gaming console range, and if you are kitting out a wider gaming setup at the same time, the PC best sellers are a useful snapshot of what South African gamers are buying alongside their handhelds.
Frequently Asked Questions
Should I use FAT32 or exFAT for my retro handheld?
Use FAT32 for cards up to 32GB and exFAT for larger cards, but always defer to your device. Many retro handhelds only read FAT32, in which case you format that way regardless of card size, even if it means using a third-party tool.
Why won't Windows let me format a 64GB card as FAT32?
Windows caps its built-in FAT32 formatting at 32GB and switches to exFAT above that. The card can still be FAT32; you just need a free tool like GUIFormat to do it, which most retro communities recommend.
Does the 4GB file limit matter for retro gaming?
For older systems, no, individual ROMs are tiny. It only becomes an issue with large disc-based games or video, where a single file can exceed 4GB. Those need exFAT, assuming your device supports it.
Will a faster microSD card improve performance?
For most retro emulation the bottleneck is the device, not the card, but a genuine quality card prevents the stutter and file corruption that cheap or counterfeit cards cause. Buy from a reputable source and avoid suspiciously cheap high-capacity cards.
Picking up a new handheld or a fresh card to go with it? Browse the handheld gaming console range at Evetech and pair it with quality storage so your library loads cleanly every time.