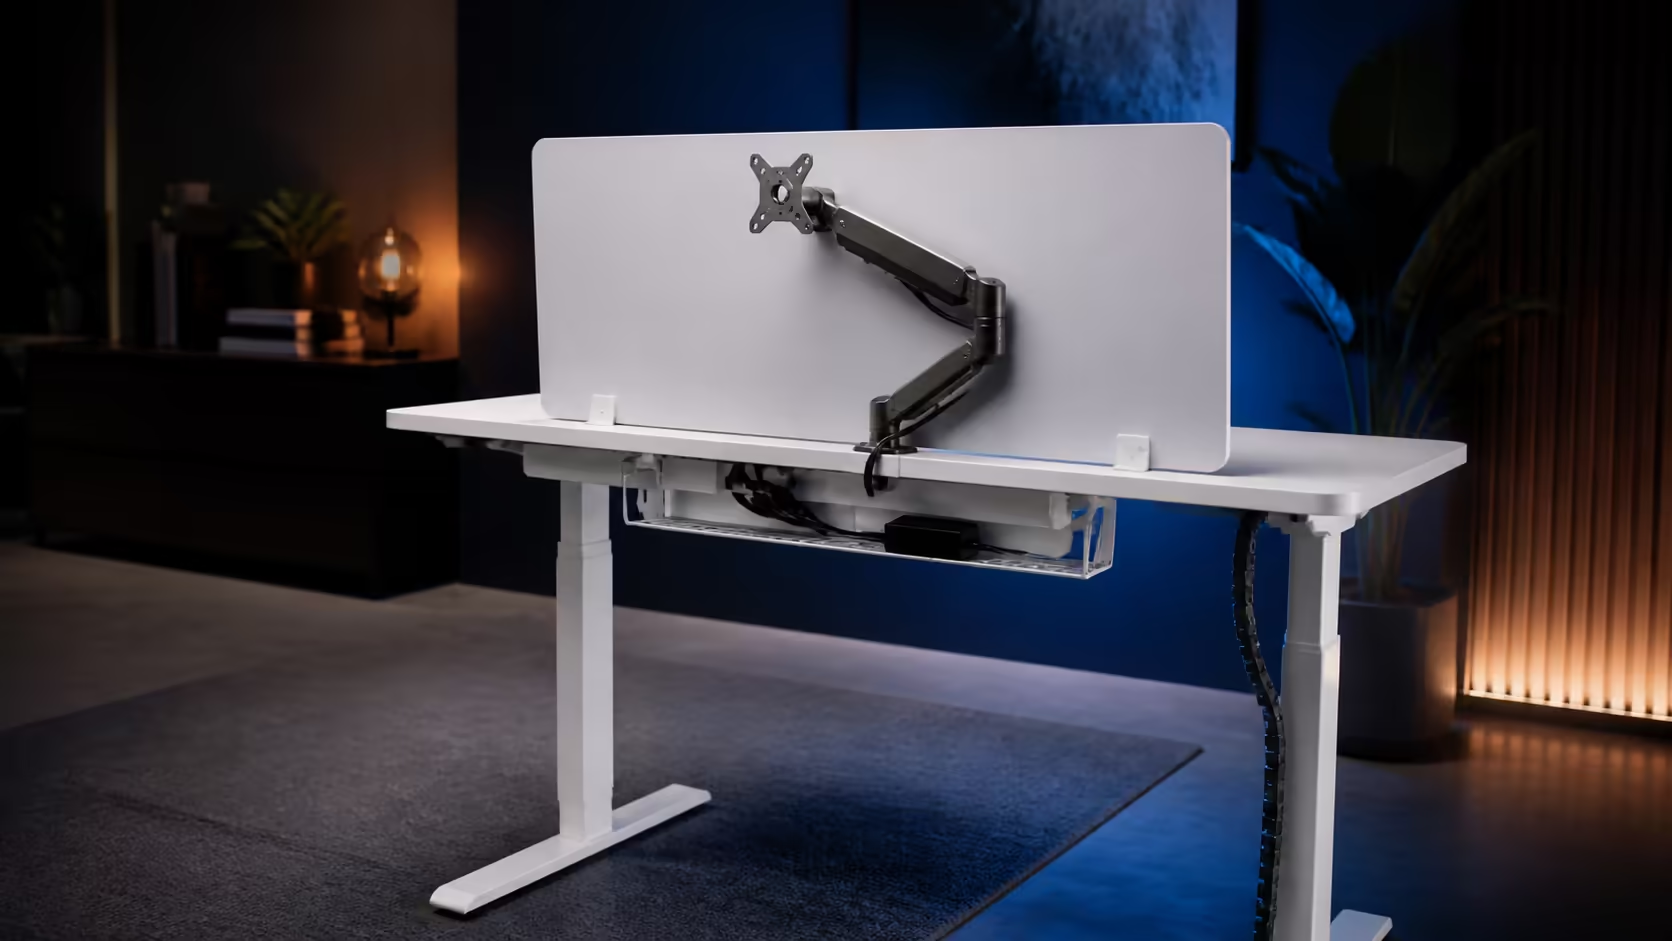
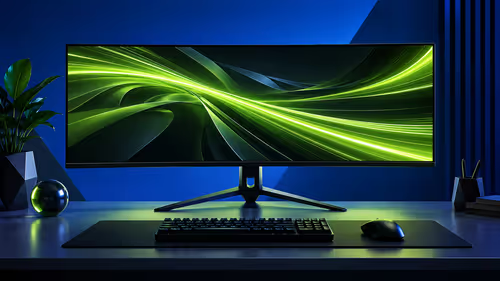
Mounting a screen on a moving desk joins four decisions: viewing position, clamp support, arm sweep and cable travel. A careful monitor arm installation on an adjustable standing desk solves them in that order. The R4,999 AROZZI Arena Nordico provides an adjustable rear panel and 71-115cm electric movement for the plan.
Quick Answer
Position the monitor for the user first, find a flat supported clamp site on the rear panel, balance the arm and route leads with slack for both arm articulation and desk travel. On the R4,999 Arena Nordico, test the complete mount at seated height, the standing preset and the 115cm upper limit.
🖥️ Mark the screen position before the clamp
Sit in normal keyboard posture and place the display where ordinary text is clear without leaning. Align the main screen with the busiest work zone. A secondary panel can sit within a short head turn.
Stand with desk height set for the hands and repeat. If the screen needs to move, let the arm solve it. Raising the whole desktop for a low monitor would lift the keyboard and shoulders.
Mark the useful screen centre and distance. The Evetech gaming desk category gives broader context, but the actual user and content decide placement.
Use the smallest text normally read as the distance test. A panel placed for a full-screen game may be too far away for detailed office work. Decide whether the arm needs two marked reach positions.
If a laptop acts as a second screen, reserve surface space before fixing the main display. Its open lid can block arm movement or tempt the user to rotate towards the side for sustained work.
Check camera direction and reflections at both postures. A screen that looks correct while seated may catch a window after it rises.
🔧 Choose and prepare the mounting site
Trace from the desired display location to the arm base. Use a flat, supported area of the Arena Nordico rear panel and keep cables or fabric away from clamp contact surfaces.
Leave hand access below for tightening and later maintenance. Map the full arm sweep behind the desk; a folded joint may touch the wall even when the base is well inside the rear edge.
Support the monitor while attaching it and set arm tension according to the hardware. A drooping joint needs correct balancing, not greater force on the desk clamp.
For multiple mounts, avoid concentrating every base at one distant corner. Reserve space for camera, light or microphone hardware and future cable service.
Check worktop-to-wall distance before installation. The arm may fold backwards as the screen comes closer, so a narrow gap can cause contact during an ordinary adjustment.
Clean the contact surfaces and inspect the underside for hidden trim. The clamp should load a supported flat zone, not pinch a cable or bridge an uneven layer.
🔌 Route leads along both movement systems
Run power and video cable along the arm, with a gentle curve at each pivot. Articulate the arm fully while the desk stays seated. Tight clips can block motion even when the lead appears long enough.
Bring cables through the rear zone towards a quick-release basket. Support power bricks below and keep the clamp area clear. Avoid tying a monitor lead across both baskets if it prevents independent service.
Use the second basket for other power or changing connections. The AROZZI gaming setup page supplies family context, and broader gaming setup options help inventory other attached equipment.
Preserve one flexible service loop where the moving desk meets a fixed wall socket or computer. Keep that loop away from chair wheels and frame parts.
Label the display ends before they disappear into the basket. A future video fault should be traceable without loosening the arm or pulling the neighbouring power lead.
Keep spare length as controlled curves rather than a tight coil at the pivot. Cable length must be usable by the movement, not merely present somewhere in the route.
↕️ Commission the installation through full travel
At seated height, move the arm to every practical viewing position. Raise to the saved standing height and repeat. Continue slowly towards 115cm, watching each connector and the gap to wall or shelf.
Lower towards 71cm and inspect cable return. Extra lead should remain controlled rather than dropping around feet. Test portrait rotation if it will be used, ensuring a monitor corner clears the desktop.
View a normal document and perform a broad mouse movement at both presets. The monitor should stay aligned without causing the body to chase it. Recheck clamp access after all leads are installed.
Photograph the completed rear panel. Inspect again after the first week because arm tension and cable loops may settle. A good installation stays adjustable and serviceable after the screen is mounted.
Recheck after moving the desk to another wall. Socket direction, overhead clearance and arm-fold space can all change while the mounting hardware remains the same.
If the monitor begins to droop, support it and adjust the arm mechanism according to its instructions. Do not compensate by forcing the clamp tighter against the desk.
Frequently Asked Questions
Should the arm clamp determine screen location?
No. Choose the comfortable display position first, then use a supported clamp point that can produce it.
How much wall clearance does an arm need?
Enough for its complete useful fold and sweep at every desk height. Trace the joint path before final tightening.
Where should monitor power bricks go?
Support them in a ventilated under-desk basket so their weight does not hang from display connectors.
Why test at 115cm if the preset is lower?
The upper point exposes the shortest cable condition and possible screen collision. It verifies the full mechanical path.
What does the Arena Nordico cost?
This white electric AROZZI desk costs R4,999, travels through 71-115cm and provides stored heights, rear adjustment and paired detachable baskets.
Ready to install the monitor around the viewing point, not the nearest clamp gap?
Explore Evetech gaming desks with the screen centre, wall clearance and complete cable arc already drawn.