A NAS fills up faster than anyone expects, and the moment it does you face a choice: buy a bigger box or grow the one you have. On a unit running SHR or a standard RAID array, you can swap small drives out for larger ones without losing a single file, but there is a strict catch most people miss. Replacing a NAS drive with a larger one only unlocks the extra space once every drive in the set has been upgraded, and you must do it one disk at a time with a full rebuild in between.
Quick Answer
Swap drives one at a time, let the SHR or RAID pool fully repair before pulling the next, and replace the smallest drives first. The new capacity only appears after the final drive in the set is upgraded, because the array sizes itself to the smallest member until then. A single rebuild can take many hours, so plan for several days across a full set.
Before You Touch a Drive
Two things first. Back up anything irreplaceable, because a rebuild stresses the remaining disks and is exactly the moment a second, already-tired drive can fail. RAID is redundancy, not a backup, and this is the procedure where that distinction bites. Second, buy drives rated for NAS duty, which are built for the constant vibration and round-the-clock running that desktop drives are not.
Now work through the swap methodically.
- Check which drive is smallest. Open Storage Manager, look at your storage pool, and note the smallest member drive. On SHR and on RAID 5 or 6, you replace the smallest disk first to make the best use of the new capacity. Replacing a larger one first wastes space.
- Power down if needed. If your NAS supports hot-swap, you can do this live. If not, shut it down cleanly before opening a bay. Check your model's specification rather than assuming.
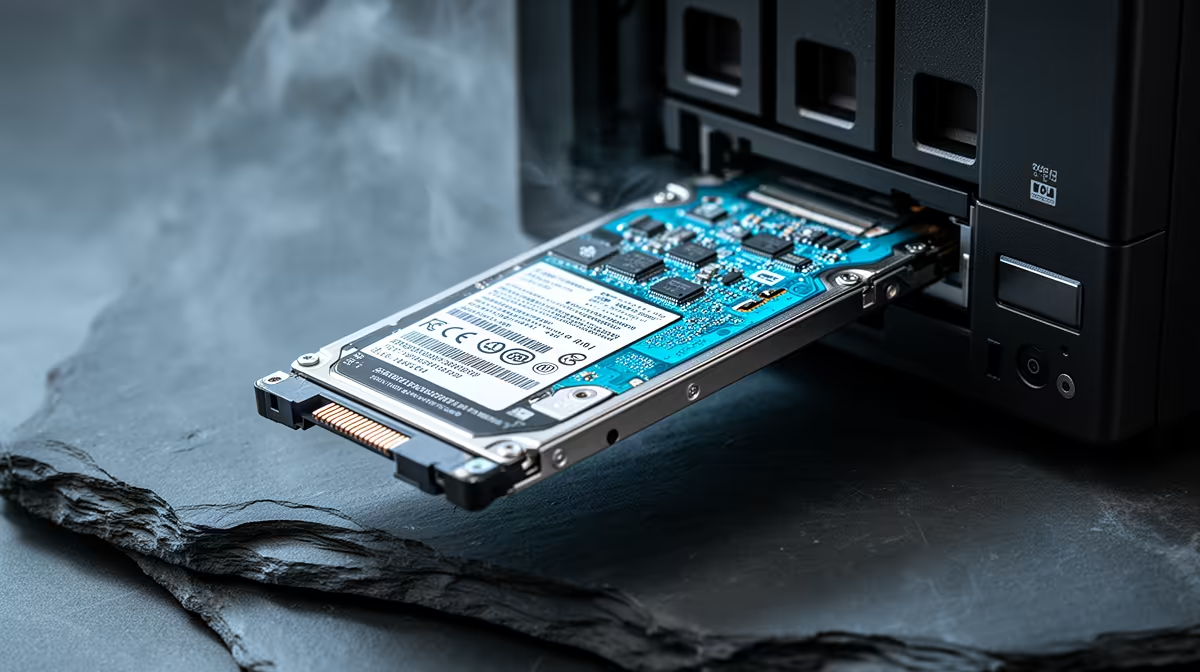
- Pull the smallest drive and fit the new larger one. Remove the identified disk, seat the new drive in the same bay, and secure it. The bay position matters, so put the replacement where the old one came out.
- Repair the pool and wait. Boot back up, go to Storage Manager, and start the repair so the array rebuilds your data onto the new drive. This is the slow part. A large drive can take many hours to rebuild, and the NAS stays usable but slower while it works.
- Wait for a fully healthy status before the next swap. Do not pull another drive until the pool reports healthy again. Removing a disk mid-rebuild can collapse the array and cost you everything. Patience here is not optional.
- Repeat for every remaining drive. Cycle through the set, smallest first each time, one rebuild per swap, until every original drive has been replaced with a larger one.
- Expand to claim the new space. Once the last drive is in and the final repair completes, the pool can grow into the new total. On most systems this expansion is a confirmation step, after which the extra capacity becomes available to your volumes.
Why the Capacity Only Appears at the End
A RAID or SHR array can only be as large as its smallest member allows, because parity has to span every disk evenly. Replace one drive in a set of four and the array still sizes itself to the three smaller ones. Only when the last small drive is gone does the array recalculate around the new, larger minimum and release the headroom. That is why a half-finished upgrade shows no new space at all, which catches a lot of first-timers off guard.
Picking the Right Drives
Match or exceed the largest existing drive when you buy, and stick to NAS-grade mechanical disks for the bulk capacity. If your enclosure has M.2 slots, a separate SSD can be added later for caching rather than bulk storage. You can size up your bulk drives from the diskless NAS and storage range, and for the flash side the best-selling SSDs cover cache and high-speed needs.
Frequently Asked Questions
Can I replace all my NAS drives at once?
No. You must swap one drive, let the pool rebuild to a healthy state, and only then replace the next. Pulling more than one at a time breaks the redundancy and can destroy the array.
Why does my NAS show no extra space after replacing one drive?
Because the array sizes itself to the smallest remaining drive. The new capacity only unlocks once every disk in the set has been upgraded and you run the expansion step.
How long does a NAS rebuild take?
It depends on drive size and how busy the NAS is, but a large drive commonly takes many hours and sometimes more than a day. The NAS stays usable throughout, just slower.
Do I need a backup before doing this?
Yes. A rebuild puts heavy load on the remaining drives, which is when a second drive is most likely to fail. RAID redundancy is not a backup, so copy critical data elsewhere first.
Which drive should I replace first?
The smallest one. On SHR and standard RAID levels, replacing the smallest member first ensures the new capacity is used efficiently once the whole set is upgraded.
Ready to grow your storage the safe way? Browse NAS-ready drives and enclosures in the storage range at https://www.evetech.co.za/PC-Components/diskless-nas-storage-183 and size up one bay at a time.