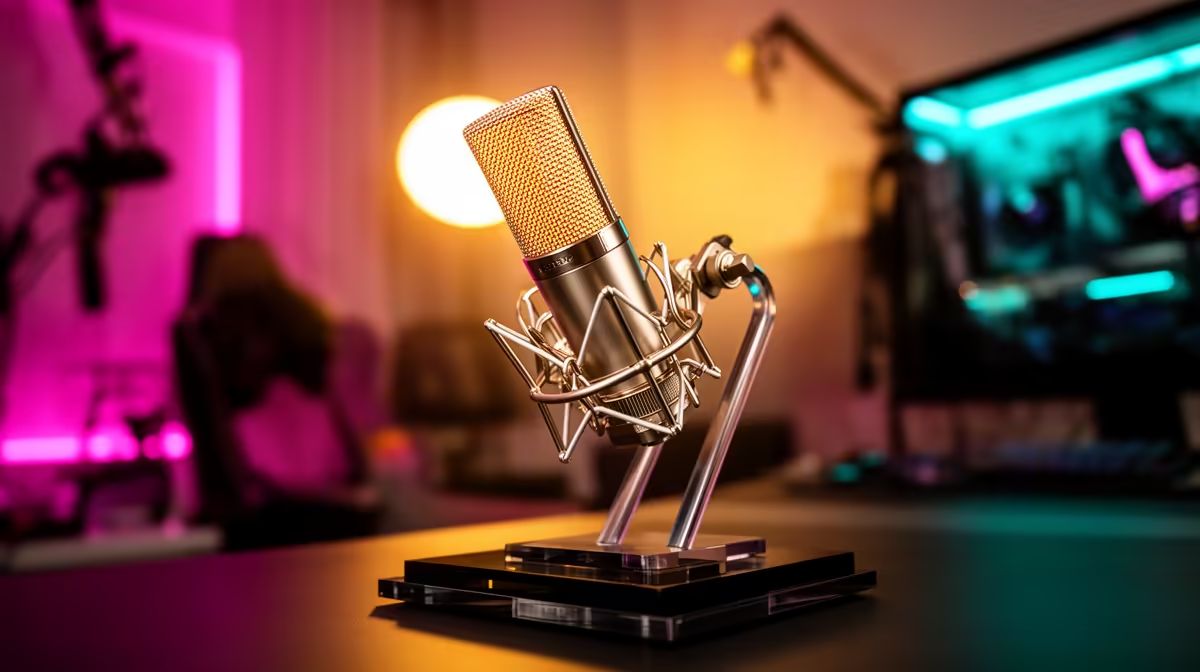
Moving a mic closer can strengthen your voice before any noise filter or equipment upgrade begins. Good microphone placement for streaming controls distance, angle, gain and room pickup with changes that cost nothing.
Quick Answer
Bring the microphone close enough for your voice to dominate the room, aim it slightly past your mouth to reduce breath hits, and set gain from your loudest normal delivery. This can improve clarity more than replacing a well-functioning microphone with a pricier one in the same poor position.
Compare pickup patterns and mounting options through the streaming essentials range. If viewers also see you, use the webcam range to plan framing around the microphone instead of pushing the mic far away to clear the shot.
Start closer, then set gain again
Use roughly a hand span from mouth to capsule as a starting point, subject to the microphone's instructions. Moving from a distant desk position to a close one raises the voice level relative to fans, reflections, and keyboard noise.
Lower the input gain after moving closer. If you leave the old gain setting, the recording may clip and make the new position sound worse. Speak the loudest line in your stream while watching the meter and leave space below the maximum.
Keep distance steady. Leaning back for one sentence changes level and room sound. Put the script, chat, and camera where you can look at them without turning far away from the microphone.
Record a short before-and-after sample at matched playback volume. A louder take can seem better even when it contains the same problems, so compare speech clarity and background level rather than raw loudness.
Move breath past the capsule
Plosives happen when bursts from sounds such as P and B hit the microphone. Place the capsule a little to the side or above the mouth and aim it towards the corner of your lips. Your voice reaches it while the strongest air passes by.
Use a compatible pop filter or windscreen when placement alone does not solve the problem. Keep it far enough from the capsule to slow the air. A filter cannot rescue clipping caused by excessive gain.
Check which part of the microphone is active. Side-address and end-address designs can look similar from a distance. Speaking into the wrong surface produces a thin, distant result and encourages too much gain.
Aim the rejection towards noise
A cardioid microphone usually captures most strongly from the front and less from the rear, though the exact pattern changes with frequency and model. Point the rear towards the main fan, window, or keyboard where the physical setup permits.
Do not put the noise directly beside the capsule and expect the pattern to erase it. Increase distance between the microphone and the noise source. Move the PC off the desk when cable length and ventilation allow, or position its exhaust away from the mic.
For a lavalier microphone, clip it at a repeatable chest position and test head turns. Keep fabric, hair, jewellery, and cables from rubbing the capsule. A close lav still needs correct input gain.
For two speakers, give each person a microphone when possible. One central mic tends to sit far from both voices and captures more room. If one microphone is the only option, bring the speakers closer together and place it at equal distance.
Separate microphone noise from desk noise
Type and tap during a test recording. A desk stand or boom clamp can carry vibration into the mic. Move the support away from the keyboard, use a compatible shock mount, or put the microphone on a floor stand when the room permits.
Route the cable with slack. A tight cable can pull on the mount and carry bumps into the microphone. Keep it away from chair wheels and arm joints.
Listen for electrical hum and digital crackle. Test a supported direct USB port, reseat the cable, and disconnect unnecessary devices one at a time. Position cannot repair a failing connector, but a clean diagnostic prevents you from blaming the capsule.
Set levels through the whole signal path
Begin with the microphone's hardware gain, then inspect operating-system input level and recording-software gain. Avoid boosting the same signal at every stage. One clean input with modest downstream adjustment is easier to troubleshoot.
Disable automatic gain control when your workflow supports manual stable levels and you know how to monitor them. Automatic control can raise room noise in pauses and pull loud speech down. Some call software requires its own setting, so test the actual application used for the stream.
Record without compression or noise reduction first. Fix distance, direction, and gain in the raw sound. Add a gentle high-pass filter, compression, gate, or suppression only when you understand the remaining problem.
Monitor through headphones. If the microphone offers direct monitoring, it can reduce the delay between speaking and hearing yourself. Set headphone volume for comfort and avoid letting playback leak into the mic.
Fit the mic into the camera frame
A microphone can appear on screen without making the stream look unfinished. Put it near the lower edge of the frame, keep it clear of your face, and route the arm along an existing line in the composition.
If you want it out of view, place it just above the frame and angle it down, provided the mount is secure and the capsule remains close. Check that it cannot fall onto you or the desk. A lav is another option when a boom cannot fit.
Do not move the mic thirty centimetres away only to create a clean frame. Adjust the webcam crop, camera height, or arm angle. Sound carries the programme while the microphone occupies a small piece of the picture.
A five-minute placement check
Put the microphone at the intended distance and angle. Speak normally, deliver the loudest line, type, turn towards chat, and take a drink. Listen for clipping, plosives, level changes, desk vibration, and swallowing noise.
Change one variable. Move the mic closer, turn it off-axis, lower gain, or reroute the support. Record the same sequence. Keep the version that solves the named problem without creating another one.
Mark the arm position and save the gain value. A photo helps when the setup packs away. Repeat the short test after moving rooms, changing a mount, or updating audio software.
FAQ
How close should a streaming microphone be?
Begin around a hand span away when the microphone's guidance supports it, then test. The right distance gives a strong voice level without plosives, clipping, or an uncomfortable frame.
Should the microphone point straight at my mouth?
Aim the active side towards your voice while placing it a little off the direct breath path. This preserves tone and reduces plosives. Check whether the model is side-address or end-address.
Why does lowering gain help background noise?
Moving close raises your voice at the capsule. You can then reduce gain while keeping speech strong, which lowers the recorded level of more distant room sounds relative to your voice.
Move your microphone closer, angle it away from breath, and set gain from a real loud-line test before spending on a replacement.