The Windows mouse pointer trails option can create several visible copies behind a moving cursor. That can help someone track its position, but it can also surprise a user expecting a single clean pointer. Check the option before interpreting the repeated shapes as evidence that a mouse or display needs replacing.
Quick Answer
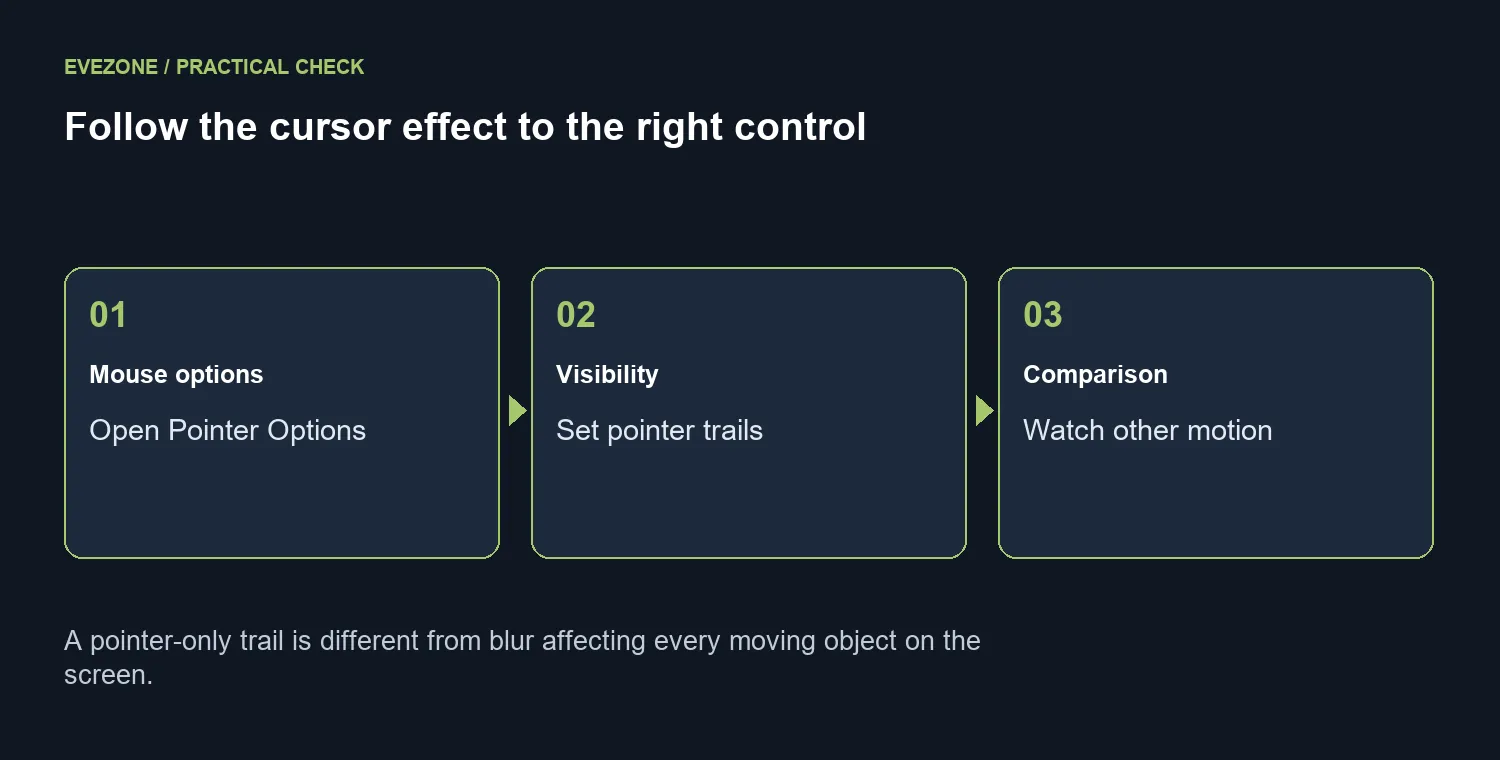
Windows mouse pointer trails are an optional visibility aid. In Additional mouse settings, open Pointer Options and inspect Display pointer trails, then compare the same cursor movement. The setting change costs R0. The 8 October catalogue read priced a MARVO WS005 set at R179 as a separate mouse-and-keyboard reference, not a required fix.
🖱️ Identify what follows the cursor
Move the pointer slowly across a plain desktop area, then repeat the movement in the application where the effect bothers you. Note whether the extra shapes follow only the pointer or whether other moving content also looks smeared. Pointer trails describe an intentional pointer effect; broader display motion needs its own investigation.
Check whether the user enabled the aid to keep track of the cursor. If it is useful, preserve it or adjust the length rather than removing it automatically. A shared PC may need a different preference from a personal gaming setup, and the visual goal should belong to its user.
⚙️ Test the pointer option directly
Open the additional mouse settings and use Pointer Options to find Display pointer trails. Note the starting position and any length adjustment. Change one option, then repeat the movement over the same area so you can see what actually changed.
If the repeated pointer shapes disappear, the option explains that effect. If moving objects elsewhere still show a problem, continue with a separate display test. Do not present this mouse preference as a universal cure for motion blur, screen artefacts or a hardware fault.
🛒 Match any purchase to the real symptom
Compare gaming mice if you need a different physical shape or suitable connection after testing. Browse all mice for an everyday replacement when the actual device has a confirmed problem. The dated R179 combo is a useful budget marker, but a visible trail alone does not establish that the mouse is worn out.
Keep a simple before-and-after description for support: the setting used, the area tested and whether the effect follows the pointer exclusively. That gives a much clearer starting point than calling every repeated shape ghosting. A free preference check should leave you with either the desired cursor appearance or a more precise remaining problem.
Frequently Asked Questions
Where do I turn pointer trails off?
Open Additional mouse settings, choose Pointer Options and clear Display pointer trails. Apply the change and move the pointer again.
Can the trail be intentional?
Yes. It helps some people track the pointer. Keep or adjust it if it makes the PC easier to use.
Is it the same as monitor ghosting?
No. A pointer setting targets the cursor. Display motion artefacts can affect moving objects more broadly.
Should I change mouse sensitivity too?
Keep sensitivity unchanged for the first comparison. Changing several controls makes the cause harder to identify.
What should I test after applying it?
Move the cursor over a plain desktop and a document. Compare whether the unwanted effect follows only the pointer.
Must I buy another mouse?
No purchase is needed to inspect a built-in visibility option. The 8 October MARVO combo reference was R179, not a required fix.
Match the mouse purchase to the symptom that remains.