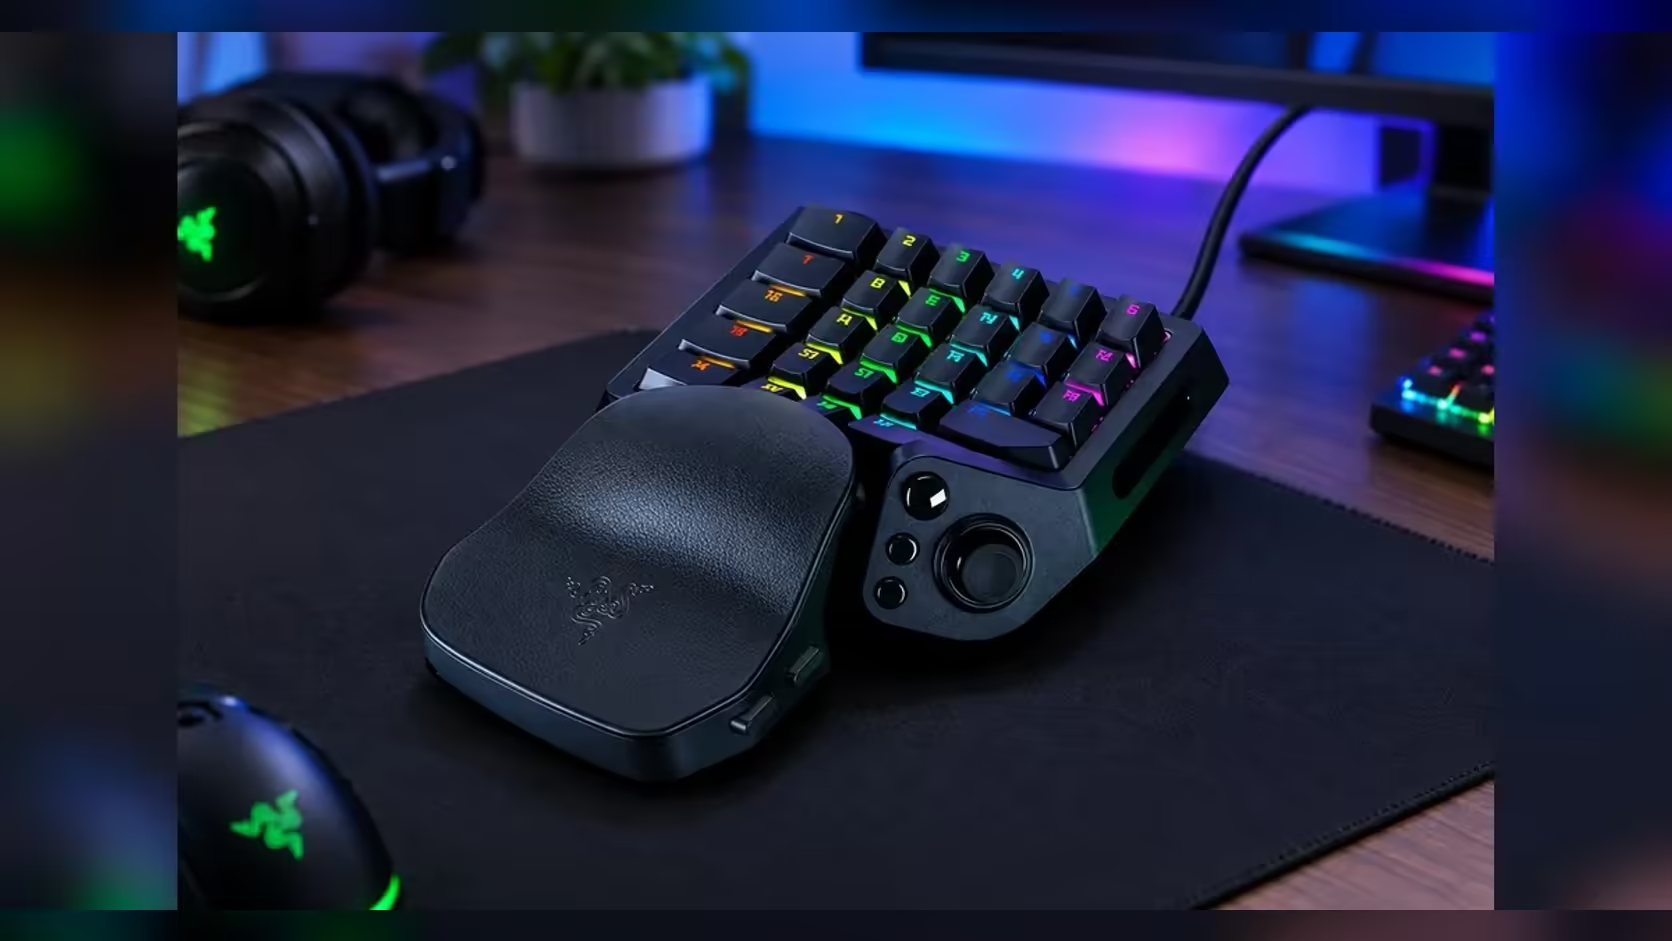
Actuation is the depth at which a key registers a press, and adjustable actuation is the setting that lets you move that point. On the Razer Tartarus V2 Pro the point can sit anywhere from 0.1mm to 4.0mm of travel. To make that number useful, you need to picture what a millimetre of key travel means in your hand, and how the travel is measured from the top of the key. This article builds that picture from the ground up.
Quick Answer
Actuation is the depth at which a key registers, and adjustable actuation lets you move that point. The range on the Tartarus V2 Pro runs from 0.1mm, quick and light, up to 4.0mm, firm and deliberate. At R4,799 the full range is included, so you can tune each key to the game you play.
📏 What a millimetre of travel feels like
A millimetre is small, but a keypad key is a short column that moves up and down, so the distance is easy to feel with a light test. Press a key slowly and stop at 1.0mm, then press again and stop at 2.0mm. The second stop feels roughly twice as far from the top of the key, and that is the difference you will notice when the depths are set.
Four millimetres is the deepest point the range reaches. At 4.0mm the key has to go four times as far as it does at 1.0mm before it fires. That is the reason deep settings feel deliberate: every press covers real distance, and a brushing finger never reaches the point.
🧮 Measuring from the top of the key
Actuation is measured from the top of the key's travel, which is the resting position. A setting of 1.0mm means the key has moved 1.0mm down from rest when it registers. A setting of 4.0mm means it has moved 4.0mm down. The further down the point sits, the more of the key's travel you must use before the press counts.
This is why the number and the feel line up. A low number is a short distance from rest, which gives a fast, light response. A high number is a long distance from rest, which gives a firm, guarded response. Picture the key as a ruler, with 0mm at the top and 4.0mm at the bottom, and set the mark where you want the press to land.
🎚️ Choosing a point along the ruler
Pick a point for each key in the same way you would pick a handle height. Your fastest keys sit near the top of the ruler, around 0.5mm to 1.0mm. Keys you hold while you aim or move sit around 1.5mm to 2.0mm. Keys near your palm or a resting finger sit at 2.5mm to 3.0mm, so an accidental brush does not register.
Test each choice in a short session before you keep it. Press the key ten times in a training area and count the misses and accidents. Move the point in 0.5mm steps until the misses and accidents both drop, and stop when the key feels right for the job it does.
🧭 Why the range is worth having
A keypad with a single fixed point forces one compromise across every key. The range from 0.1mm to 4.0mm lets you avoid that compromise. A fast ability and a guarded utility key can sit at different points on the same keypad, and you keep both benefits without giving either one up.
If you are comparing keypads for this kind of tuning, the gaming keyboards range shows the options, and the keyboard switches listings show the switch designs behind them. Check that the keypad you pick offers a range that suits the depths you want.
📐 Working out what a point feels like
A feel test helps more than a number on its own. Press a key slowly and notice where it registers, then compare the depth you felt with the setting you chose. A key at 1.0mm registers when the travel is about a quarter of the way to 4.0mm, so the difference between 1.0mm and 2.0mm is a clear step your finger can feel.
Then test the points that matter for your games. Set one key to 0.5mm and tap it 10 times, then set it to 2.0mm and tap it 10 times. Count how many taps feel early or late in each run. Two sets of 10 are enough to tell whether the point fits the key's job, and the same test works for any key on the keypad.
Repeat the feel check on each key you tune, and keep the notes for the first week. A depth that feels right on day one can feel slow by day seven, as your hand adapts. Adjust by 0.5mm when that happens, and log the new depth with its date. The largest changes usually come in the first 3 days, so the second week is mainly for confirming the settings.
A second feel test works best at the same time of day as the first, since fatigue changes how a press feels. Keep the time of day on each log line, so you can compare like with like.
Write the feel result in one line per key: the depth, the number of early taps and the number of late taps. One line per key is enough to compare the settings the next time you change them.
Frequently Asked Questions
What does 0.1mm actuation mean in practice?
It means the key registers almost as soon as the finger reaches it. That is the fastest point on the ruler, and it is also the one most likely to fire by accident.
Is 4.0mm the deepest point I can set?
Yes. On the Tartarus V2 Pro the range runs to 4.0mm, which is the deepest point you can set.
How do I start setting actuation?
Set every key to 2.0mm, then adjust the keys that misfire or feel slow in 0.5mm steps. Test each change in a short session before you keep it.
Does actuation depth change the key's travel?
No. It changes the point at which the press counts. The key still moves the same distance, and the setting decides how far along that movement the press registers.
Ready to pick your points on the ruler?
Start with 2.0mm on every key, then browse the gaming keyboard range for a keypad with the depth range you need.