


PCIe 5.0 vs PCIe 4.0 for Video editing in 4k in SA
PCIe 5.0 vs PCIe 4.0 for video editing in 4k is mainly about fit, features, compatibility, cost, and upgrade path, not one automatic winner. SA buyers should match the choice to the setup.
Read moreViewer comments about muffled or tinny audio usually flag a headset mic as the bottleneck, and a basic USB mic closes that gap for close to a mid-range headset's price. Evetech carries entry USB mics at that price point.
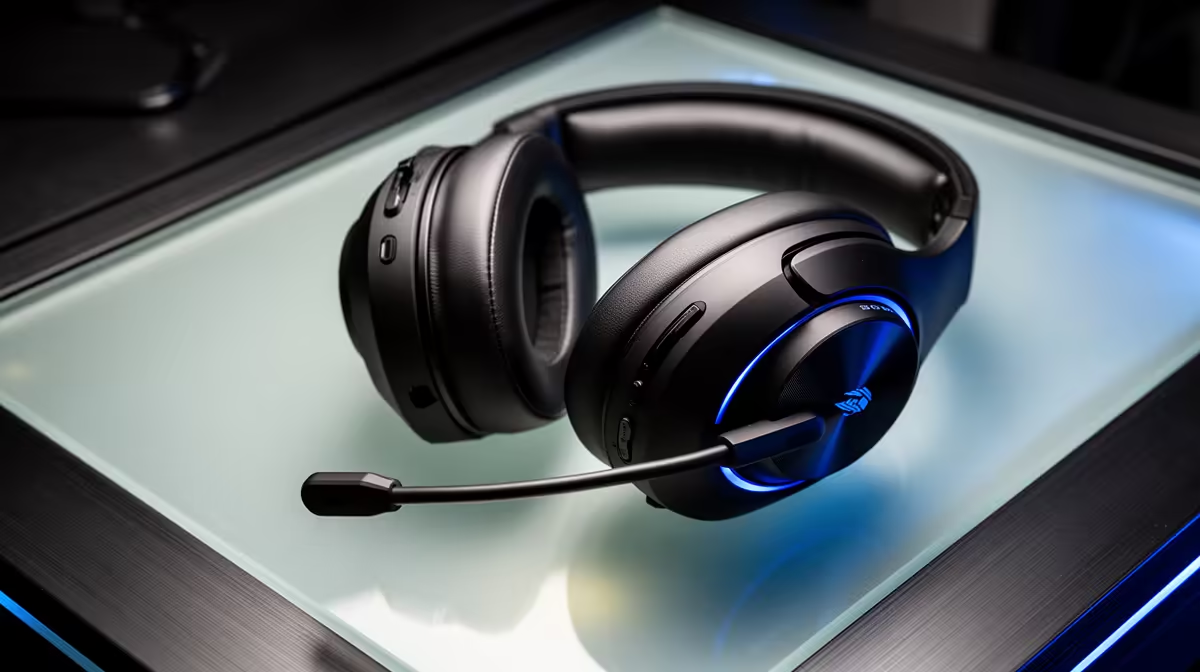
A headset microphone stays at a consistent distance as you move, takes little desk space and can sound clear. A standalone mic becomes worthwhile when recordings remain thin, muffled or noisy after the headset is positioned correctly. Viewer comments can point you towards a problem, but a controlled recording tells you what the problem is.
Keep the headset mic while voice is understandable and it suits the room. Record speech, typing and a real game session. Move to a USB or XLR standalone mic when placement, tone, noise or controls remain the bottleneck. Budget for an arm or stand that puts the new mic close without blocking the display.
Use Evetech's streaming essentials to compare complete microphone setups. The webcam selection helps you keep camera and audio changes separate in the test.
Place the boom near the corner of your mouth, outside direct breath. Check the maker's recommended side.
Turn off automatic level controls that pump room noise when you stop speaking, unless the application requires them.
Record locally at normal voice volume. Listen at matched loudness through good headphones.
Repeated comments about low volume, distortion or hard-to-understand speech deserve a test. "Bad mic" does not diagnose the cause.
Clipping needs lower gain. Keyboard noise needs placement and room work. A thin capsule or heavy headset processing may support replacement.
Ask for a timestamp and listen to the platform replay. The issue can appear after OBS or streaming compression.
A larger USB or XLR microphone can offer fuller tone, lower noise, monitoring and physical controls. It also captures from one place on the desk.
If you lean away, the voice level changes. A boom arm helps the mic follow a comfortable seated position.
The room becomes more important when the standalone mic sits farther away than the headset boom did.
USB keeps the first switch simple. One cable carries audio to the PC and no interface is required.
XLR gives you interface choice, hardware gain and a wider microphone path. It adds an interface, cable and setup.
Choose XLR when those controls have a job. Do not buy the connector as a status step.
A dynamic mic used close can improve the voice-to-room balance in a noisy bedroom. A condenser can capture detail in a quiet controlled room.
Both can have cardioid patterns and both capture echo. Distance, direction and surfaces decide the result.
Record in the room before choosing from type alone.
Keep it roughly 10 to 20cm from the mouth as a starting point, adjusted for the exact mic. Angle it away from breath.
Point the least sensitive side towards keyboard or PC noise when the polar diagram supports that.
Use a pop filter or windscreen for plosives and a shock mount only when desk vibration reaches the mic.
Check desk thickness, clamp clearance, arm reach and microphone weight. A weak arm can drift into view or transmit every keyboard bump.
Place it so you can sit upright without reaching your neck towards the mic. Route the cable along the arm with enough slack at its joints.
Test the camera frame before fixing the clamp. The best audio position should not cover your face or force the webcam far off eye line.
When the desk cannot take a clamp, use a stable floor stand or weighted desk base that reaches mouth height.
Set microphone gain for normal and excited voice. Then bring game, music and alerts under it at a comfortable listening level.
Use OBS monitoring or a local recording to check the whole mix. Your headset volume does not change what viewers receive.
Sidechain ducking can lower game audio while you speak, but aggressive settings can pump. A steady manual balance is a clean starting point.
Check team chat and permission before including other people. Their voice may arrive on another device or application.
Leave the headset microphone configured as a muted backup source or note how to select it quickly. Do not run both at once during normal use.
If the standalone mic, interface or USB path fails live, switch to the headset and continue. Troubleshoot after the stream rather than moving cables across the desk on camera.
Label inputs clearly and save the working OBS collection. A fancier chain should improve the show without making one loose connector end it.
Repeat the comparison after a week of normal use. The standalone mic must remain convenient enough to position every time; an ignored arm leaves the headset as the real daily microphone.
The headphones and headset microphone can appear as separate devices. Select the standalone mic as the OBS input and keep the headset for monitoring.
Disable duplicate microphone sources to avoid echo or phase. Mute the headset mic in applications that should use the new one.
Test voice chat separately; it may keep the old default device.
A creator with five viewers deserves understandable audio, and a creator with five hundred can keep a good headset mic.
Switch when the content and test show a gain, not at a follower number.
Talking-heavy streams and podcasts put more weight on tone and comfort. Gameplay-heavy streams still need clear calls and reactions.
List mic, arm or stand, filter, cable and interface where required. Any rand comparison needs the exact microphone and mounting product with the approved snapshot date of July 2026.
Compare the final recording with the headset at matched loudness. Keep the smaller setup when the difference is hard to hear.
Do not replace working headphones merely to change the microphone.
It varies by headset, room and placement. Compare matched recordings through the final stream path.
Yes. Use the headset for listening and select the standalone device for microphone input.
Only when the headset voice is the measured weak link. Lighting or upload can matter more in another setup.
Record the headset through a real stream scene, fix its placement and switch only when a complete standalone setup produces a clear matched-loudness gain.
It varies by headset, room and placement. Compare matched recordings through the final stream path.
Yes. Use the headset for listening and select the standalone device for microphone input.
Only when the headset voice is the measured weak link. Lighting or upload can matter more in another setup. {{PRODUCTS: { facets: { query: "microphone" }, limit: 12, title: "Streaming Mic Upgrades", style: "4" } }}
PCIe 5.0 vs PCIe 4.0 for video editing in 4k is mainly about fit, features, compatibility, cost, and upgrade path, not one automatic winner. SA buyers should match the choice to the setup.
Read more
Wi-Fi 7 vs Wi-Fi 6e for competitive esports comes down to router support, latency goals, device compatibility, and coverage. SA buyers should match the choice to the real network setup.
Read more
ATX 3.1 vs ATX 3.0 for mMO and live-service games buyers - what changes is mostly about compatibility, budget, upgrade path, and setup fit. SA buyers should check device support and real needs before expecting a clear win from either option.
Read more
LGA 1851 vs LGA 1700 can affect Twitch and YouTube streaming when gaming and encoding share CPU resources. For SA creators, the real-world difference depends on encoder choice, memory support, motherboard cost, thermals, and upgrade plans.
Read more
X870E vs X670E for aaa single-player gaming is mainly about fit, features, compatibility, cost, and upgrade path, not one automatic winner. SA buyers should match the choice to the setup.
Read more
Hall Effect switches vs Mechanical switches for mMO and live-service games is mostly about compatibility, budget, upgrade path, and setup fit. SA buyers should check device support and real needs before expecting a clear win from either option.
Read more
A fake 113GB GTA VI ISO reportedly used empty padding around a small malware payload. SA gamers should delete unofficial builds, keep Windows security active and wait for official channels.
Wi-Fi 6E vs Wi-Fi 6 matters for 4K video editing when files move across a network. The real-world difference between Wi-Fi 6E and Wi-Fi 6 for video editing in 4K depends on NAS access, cloud uploads, router range, and SA creator workflows.

The difference between PCIe 5.0 and PCIe 4.0 for SA gamers is mostly bandwidth headroom. Compare GPU slot needs, NVMe speed, motherboard support, and upgrade timing before paying extra for a newer platform.
Gaming PC stuck pixel checks in South Africa should confirm the monitor fault first. Use colour tests, screenshot comparison, cable swaps, display menu checks, and clear photos before deciding on support.

Shokz OpenFit Air 2 earbuds weigh 7.2g each and use a redesigned dual-driver open-ear layout. SA buyers should choose them for comfort and awareness, not maximum isolation.

AMD's current driver now lists a Radeon RX 9050 4GB, while product coverage details a narrowed memory system. SA buyers should weigh the low VRAM ceiling against current local Radeon options.

Samsung Display has demonstrated a 16-inch 2.5K OLED laptop panel running at 300Hz. SA buyers should wait for a named notebook, full panel specifications and a local price before planning an upgrade.

Microsoft says some Windows 11 game crashes after recent updates are linked to RGB-related drivers. Affected SA gamers should confirm the update and driver before using the published registry workaround.

Minisforum's M2 Pro pairs Core Ultra X7, Arc B390 graphics and 32GB onboard memory in 1.8 litres. SA buyers should weigh its fixed memory and $1,439 launch offer against local mini PCs.

Smart monitors can add apps and convenience, but they also add privacy settings and unwanted-software risk. SA buyers should audit the operating system before paying for extras.

Lenovo says Legion Go failures linked to BIOS N3CN42WW are not user error. Affected SA owners should stop retrying the update, preserve proof and open a support case.
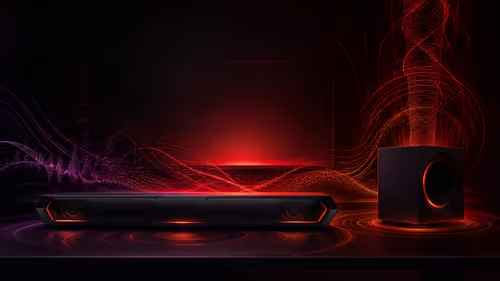
The ROG Gjallar gaming soundbar is now listed in the US at $599.99. SA buyers should compare its 2.1.2 audio, wireless bass and built-in chat controls with simpler local options.