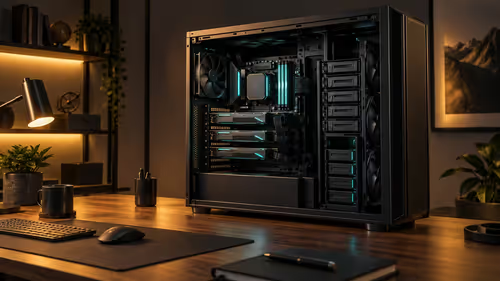
There is one test that quietly covers every decision made across an entire build, from the first cable routed to the last accessory clipped into place, and it has nothing to do with how the lighting looks. A final fit check that ends with both panels closing without pressing on anything is the real proof the build is actually finished.
Quick Answer
Before calling a build complete, close both side panels gently and confirm neither one meets resistance from whatever sits behind it. If a panel needs force to seat, that is the build reporting a genuine problem, not simply a snug fit, regardless of how carefully sleeved extensions, cable covers and controllers from the AsiaHorse range were routed and fitted along the way.
✅ What this single check actually covers
Every added lead, every cover, any controller or hub mounted inside the case, and every connector left standing slightly proud of where it should sit all get tested at once by this one simple step, since all of them affect whether the panels can close cleanly. It is a remarkably efficient way to catch problems that individually checking each accessory might otherwise miss.
🖐️ How the panel should actually be fitted
Bring the panel in gently and stop the very moment any resistance is felt, rather than pressing it fully home and fastening the screws under tension because it seems close enough. Forcing a panel that is not sitting flush does not solve whatever problem is underneath it; it just hides that problem behind a bowed panel until something eventually gives.
⚠️ What resistance actually means
Feeling the panel push back partway through closing means something behind it is either too thick for the available space or simply badly positioned, and pressing the panel home regardless only conceals that underlying issue rather than resolving it. The panel is doing exactly what it should here: telling you something needs attention before it is forced shut.
🔍 The usual causes behind a resistant panel
Bunched cable behind the tray that has not been spread out properly, a controller or hub mounted in a position with too little depth behind it, or a connector head standing proud right where the panel needs to sit flush are the three most common culprits. Any one of these is generally straightforward to identify once you know to look for it specifically.
🔧 How resistance actually gets fixed
Redistributing slack cable more evenly rather than bunching it in one spot, repositioning a controller to a deeper or better-shaped part of the rear chamber, or rerouting whichever lead sits highest in the channel usually resolves the issue without needing to remove or replace any of the accessories already fitted.
🔁 Should the check be repeated later?
Yes, every time the case is opened again for any reason afterward. A repair or upgrade that adds even one additional cable can undo a clearance that was previously perfectly fine, so the final fit check is not a one-time step but one worth repeating after any later work inside the case.
🚫 Is a slightly bowed panel acceptable?
No. A bowed panel puts continuous, ongoing pressure on whatever sits underneath it, which is a problem worth resolving properly rather than living with indefinitely, since sustained pressure on a connector or cable is not something a build should simply tolerate for the sake of avoiding one more adjustment.
Run this check as the genuine last step of any build, having chosen parts from Evetech's case fans lineup and the broader case accessories shelf with this final check already in mind.
Frequently Asked Questions
What does the final fit check actually cover in one step?
Every added lead, cover, controller and connector at once, since all of them affect whether both panels can close cleanly without pressure.
How should the panel actually be fitted during this check?
Gently, stopping the moment any resistance is felt, rather than pressing it fully home and fastening it while it is under tension.
What does resistance while closing the panel actually mean?
That something behind it is either too thick for the space or badly positioned, which forcing the panel shut hides rather than resolves.
What are the usual causes of a resistant panel?
Bunched cable behind the tray, a controller sitting in a shallow position, or a connector standing proud right where the panel needs to sit flush.
How is a resistant panel typically fixed?
By redistributing slack cable more evenly, repositioning the controller somewhere deeper, or rerouting whichever lead sits highest in the channel.
Should this check be repeated after the build is finished?
Yes, after any later work inside the case, since adding even one cable during a future repair can undo a clearance that was previously fine.
Is a slightly bowed panel something worth just accepting?
No. A bowed panel puts continuous pressure on whatever is underneath it, and that is worth resolving properly rather than living with.
Wrapping up a build and want to confirm it is genuinely done?
Run the final panel check, then browse Evetech's case accessories range for anything still on your list.