


1000W PSU Planning for RTX 5090 Builds in SA
1000W for RTX 5090 needs a full-build check, not a simple yes. Review GPU guidance, CPU draw, transient load, connectors, PSU quality, and upgrade plans before deciding.
Read moreABS and ASA contract sharply as they cool, lifting corners and splitting layer lines when heat escapes unevenly. A sealed enclosure, a heated bed at 100-110C, and a disabled part-cooling fan each address a specific failure mode directly.
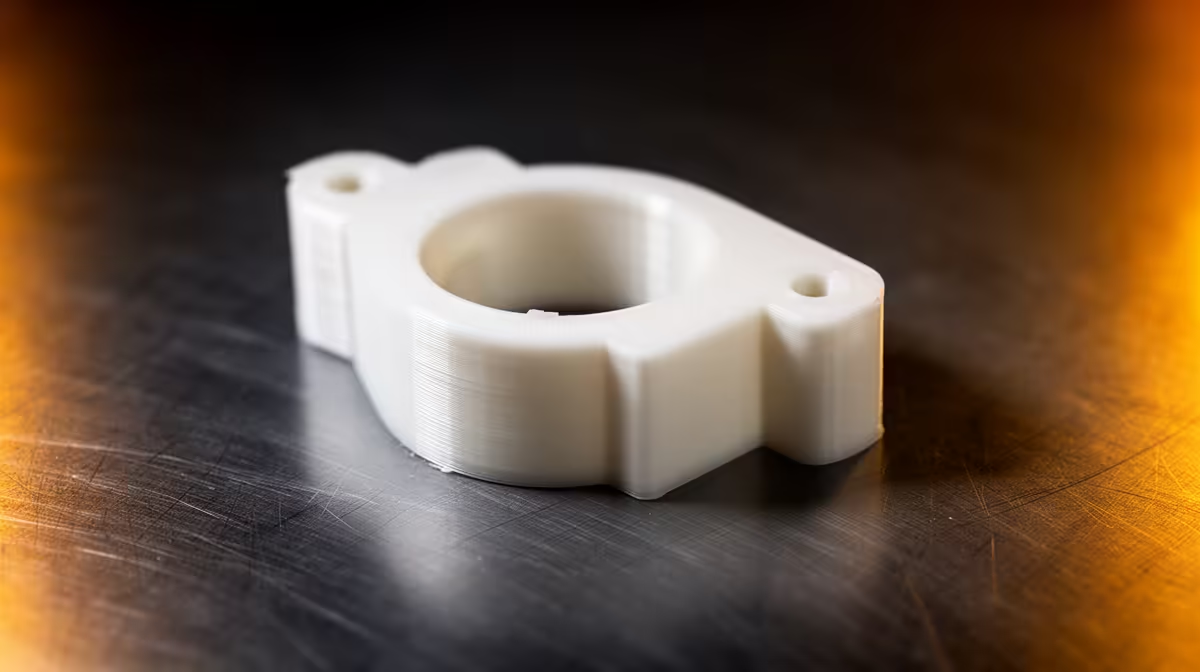
ABS and ASA warp because they shrink as they cool, and the more unevenly that heat leaves the part, the harder the plastic pulls itself off the plate. Corners lift first, then layer lines split partway up tall walls. Almost every failure with these two materials traces back to temperature control, so each fix below targets one specific cause rather than guessing.
Warping, corner lifting and layer splitting in ABS and ASA are all heat-loss problems. A sealed enclosure to hold cabinet heat, a bed at 100C to 110C for adhesion, and a part-cooling fan turned off or run very low together solve the large majority of cases.
Warping starts when the first layers cool and contract faster than the rest. Set the bed to 100C to 110C and clean it with isopropyl alcohol so the plastic grips properly. A wide brim, eight to ten lines around the part, spreads the holding force and resists the lift. Slowing the first layer and disabling cooling for it gives the foundation time to bond before anything pulls.
Sharp corners concentrate stress, so they crack before flat sections do. The biggest single improvement is an enclosure that traps the heat rising off the bed and keeps the chamber warm and draught-free. Even a simple cardboard or acrylic surround makes a measurable difference. Keep your printer away from open windows and air-conditioning vents, since a cross-draught across one corner is enough to start a lift on an otherwise dialled-in print.
Layer splitting up a tall wall means the new layer is too cool to fuse to the one below. Raise the nozzle a few degrees, towards 250C to 260C for ABS, and turn the part-cooling fan down to near zero, since aggressive cooling is the usual culprit with these materials. Make sure the enclosure is doing its job, because a warm chamber keeps each layer soft enough to weld to the next as it is laid down.
ASA handles outdoor UV better than ABS and tends to warp slightly less, which is worth knowing if the part lives in the sun. Both still want the same controlled environment. If your current machine is open-framed and fighting you on every ABS print, an enclosed printer from the Evetech 3D printer lineup removes most of the battle, and you can keep alcohol, spare nozzles and adhesion aids handy from the accessories best sellers.
For anything beyond small flat parts, yes. The enclosure holds chamber heat so corners and tall walls cool slowly and evenly, which is the single most effective fix for warping and cracking.
Start at 100C and move up towards 110C if corners still lift. Pair the hot bed with a clean surface and a brim for the best grip.
ABS and ASA need to stay warm to fuse properly. Strong part cooling chills each new layer before it bonds, which causes splitting. Run the fan at zero or very low for these materials.
Check for draughts first, then verify your bed is actually reaching its set temperature. A glue stick or dedicated adhesive on the plate, plus a wider brim, usually closes the gap on stubborn parts.
Tired of fighting warped corners? An enclosed machine from the Evetech 3D printer range gives ABS and ASA the stable, warm environment they need to print clean.
For anything beyond small flat parts, yes. The enclosure holds chamber heat so corners and tall walls cool slowly and evenly, which is the single most effective fix for warping and cracking.
Start at 100C and move up towards 110C if corners still lift. Pair the hot bed with a clean surface and a brim for the best grip.
ABS and ASA need to stay warm to fuse properly. Strong part cooling chills each new layer before it bonds, which causes splitting. Run the fan at zero or very low for these materials.
Check for draughts first, then verify your bed is actually reaching its set temperature. A glue stick or dedicated adhesive on the plate, plus a wider brim, usually closes the gap on stubborn parts.
1000W for RTX 5090 needs a full-build check, not a simple yes. Review GPU guidance, CPU draw, transient load, connectors, PSU quality, and upgrade plans before deciding.
Read more
RTX 5080 Super with a 750W PSU is more comfortable than lower wattage if the unit is quality. SA builders should still confirm GPU guidance, CPU draw, connector type, airflow, and upgrade room.
Read more
How to fix FPS drops after a RX 9070 XT starts with driver cleanup, chipset updates, thermals, and power checks. For SA gaming PCs, confirm PCIe seating, monitor refresh, frame caps, and per-game graphics settings before replacing parts.
Read more
How to fix low FPS Windows 11 Wi-Fi 7 issues starts by checking whether the problem is frame rate or network lag. Test ping, drivers, power settings, Ethernet, and game FPS before adjusting visuals.
Read more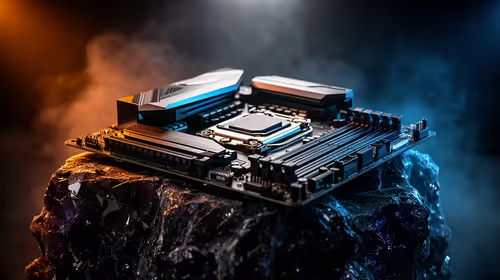
AM5 is smart for SA builders because it supports newer Ryzen CPUs, DDR5 memory, and a longer upgrade path. Compare board cost, cooling, gaming needs, and local part availability before choosing your next PC platform.
Read more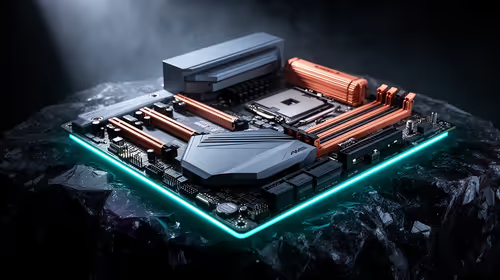
AM5 gives Randburg gaming builders a longer upgrade path. For SA buyers, DDR5 support, newer board features, and future CPU options can justify the platform. Weigh board cost, cooler support, BIOS maturity, and upgrade timing before choosing.
Read more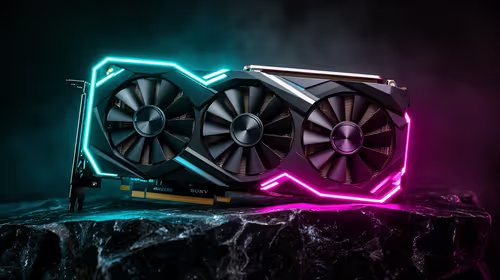
RTX 5090 on a 550W PSU leaves almost no practical room for OC plans. Treat the setup as constrained, with CPU draw, power spikes, cable quality, thermals, and stability checks more important than chasing extra clocks.
FPS drops on a Ryzen 9 9950X3D build often have a fixable cause. Check settings, drivers, thermals, background tasks, network conditions, and bottlenecks before assuming a part must be replaced.

The difference between PCIe 5.0 and PCIe 4.0 for SA gamers is mostly bandwidth headroom. Compare GPU slot needs, NVMe speed, motherboard support, and upgrade timing before paying extra for a newer platform.

Gaming PC stuck pixel checks in South Africa should confirm the monitor fault first. Use colour tests, screenshot comparison, cable swaps, display menu checks, and clear photos before deciding on support.

AMD's current driver now lists a Radeon RX 9050 4GB, while product coverage details a narrowed memory system. SA buyers should weigh the low VRAM ceiling against current local Radeon options.

Samsung Display has demonstrated a 16-inch 2.5K OLED laptop panel running at 300Hz. SA buyers should wait for a named notebook, full panel specifications and a local price before planning an upgrade.

Microsoft says some Windows 11 game crashes after recent updates are linked to RGB-related drivers. Affected SA gamers should confirm the update and driver before using the published registry workaround.
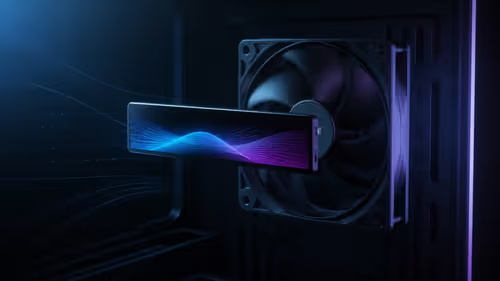
Thermalright's Fan Frame Vision-1 adds a 640x172 status screen to a standard 120mm fan. SA builders should check clearance, USB routing and local support before treating it as an easy upgrade.

Shokz OpenFit Air 2 earbuds weigh 7.2g each and use a redesigned dual-driver open-ear layout. SA buyers should choose them for comfort and awareness, not maximum isolation.

A fake 113GB GTA VI ISO reportedly used empty padding around a small malware payload. SA gamers should delete unofficial builds, keep Windows security active and wait for official channels.
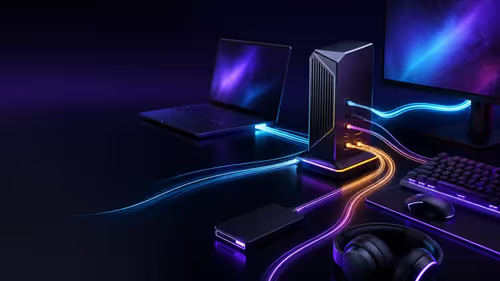
The ROG Flux Charger Dock combines 260W total output, 140W laptop charging and HDMI 2.1. SA buyers should check laptop USB-C limits, display needs and local warranty first.

ASRock's Rock 360 Digital AIO adds a 1.05-inch CPU temperature display, 360mm radiator and simplified wiring. SA builders should check case fit, socket support and local warranty.