A privacy screen that sits crookedly cannot be judged fairly. Before blaming the anti-spy effect, fix privacy screen alignment by confirming the panel format, centring the active area and following the product's own placement process. Adjustment should be careful and sequential, not repeated tugging.
Quick Answer
Check that both the laptop and filter are 15.6-inch 16:9, then realign the accessory from a clean, stable position. For a R299 reference, the Laptop Privacy Screen Protector Filter - 15.6in combines anti-spy and anti-glare treatment. Correct sizing must be settled before either visual benefit is assessed.
📐 Diagnose format before placement
Read the laptop's display specification and separate diagonal from aspect ratio. A 15.6-inch panel in another shape is not the intended match. The active display area, not the closed lid width, is the surface that matters.
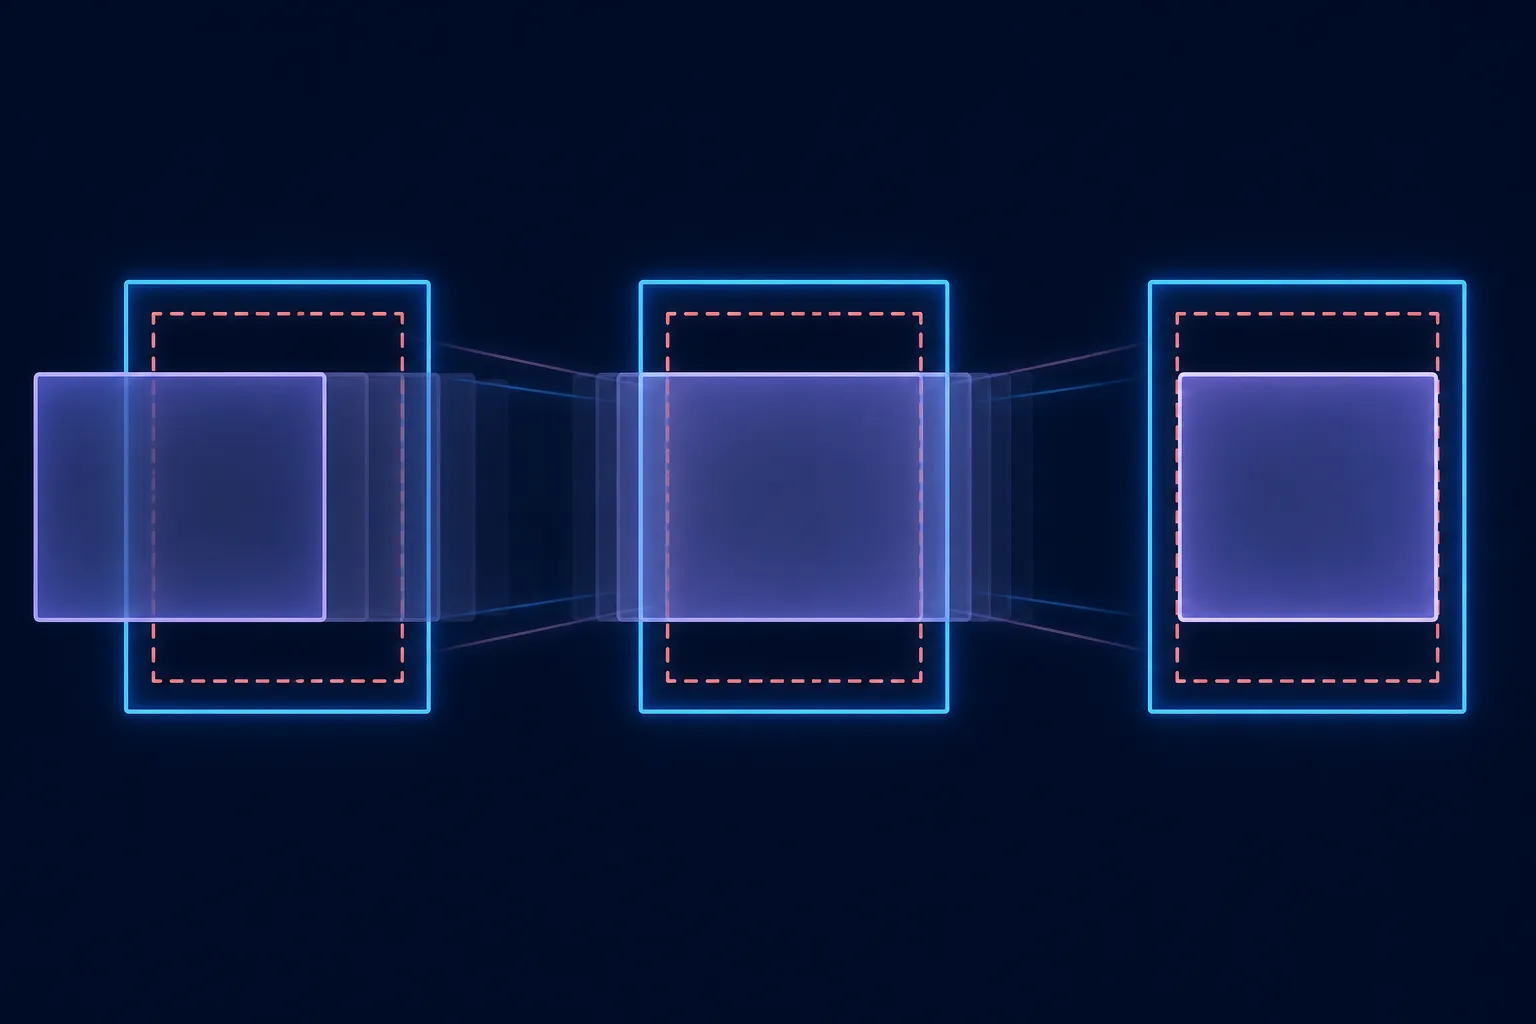
Compare the filter outline with the visible panel while the screen is off. Look for consistent edges rather than forcing one corner to agree while another overlaps. Do not plan to trim a larger product, because a purpose-made size gives the cleanest starting point.
For wider laptop setup comparisons, the Evetech gaming accessory range can help after the format issue is resolved. Keep measurements attached to the search.
🧼 Reset the workspace carefully
Use a stable table with enough light to see the panel boundary. Clean according to the laptop and filter instructions, and keep loose dust away from the working area. If the fitting guidance permits removal or repositioning, handle the layer through the recommended points rather than bending an exposed corner.
Attachment method cannot be deduced from the 15.6-inch label. Follow the process for this accessory, whether it uses tabs, adhesive contact, magnets or another design. The goal is accurate placement without carrying over assumptions from a different protector.
🧭 Use an edge-by-edge sequence
Begin at the top edge, then inspect the two sides and bottom in a consistent order. Return to the first edge after each small change because moving one side can alter the opposite side. Keep the screen off until the outline is even enough for a content check.
Next, open a plain test page with margins near every edge. Uneven coverage becomes easier to see against a simple layout. If the accessory shifts again, stop and revisit its fitting steps instead of compensating with laptop display settings.
Photograph the aligned outline with no private content visible if a future reference would help. A neutral record can show whether the layer moved during travel or cleaning without relying on memory of tiny edge differences. Take the comparison slowly.
The monitor accessories section on Evetech provides other display-focused options. Compare only after the current fit has been diagnosed, or the original alignment cause can get lost.
👁️ Retest both promised functions
Once centred, sit squarely in front and confirm normal readability. Have another person move through the realistic side seats with harmless information displayed. Anti-spy performance should be judged from those positions, not from an edge that was previously misaligned.
Then examine reflections near the strongest usual light source. Anti-glare behaviour may make the surface easier to inspect, but it is not an alignment tool by itself. Keep the room and observer tests separate.
The R299 value case now becomes clearer: a correctly matched 15.6-inch 16:9 layer can be tested for side privacy and glare without fit noise. If the format remains wrong, choose a compatible size rather than continuing to adjust an unsuitable outline.
Easy attachment and detachment make realignment less disruptive on this model. Remove the thin filter carefully, clean away dust or oil that could interfere with placement, and reseat it squarely on the matching 16:9 panel. The scratch-proof surface tolerates routine handling, but a clean central fit is what keeps the usable front view sharp and the side-view restriction symmetrical.
Test all four edges after reseating rather than judging alignment from one corner.
A final side-seat comparison confirms whether the reseated filter is balanced.
Frequently Asked Questions
What usually makes a privacy screen look misaligned?
A format mismatch, uneven centring or an incorrect fitting process can produce exposed or overlapping edges. Check them in that order.
Should privacy performance be tested before realignment?
No. Correct the 15.6-inch 16:9 fit first, then assess the central view and neighbouring side positions with sample content.
Can anti-glare treatment fix crooked placement?
It cannot. Anti-glare addresses reflections, while alignment depends on format, centring and the accessory's physical fitting method.
What is a careful adjustment routine?
Work around the edges in the same sequence, make one small change at a time and return to the first edge after each movement.
Ready to solve alignment before judging privacy?
Bring the full screen format and fitting guidance to the desk, then compare correctly matched options across Evetech's accessory ranges.