The fastest way to kill a first home lab is to stand up ten services at once, hit a wall on every one, and quit. Starting your first home lab works far better as a ladder: get one easy win running, build Docker confidence, then add the next. The proven order is Jellyfin first, then Immich, then Vaultwarden and Pi-hole, because each replaces a paid cloud service with very little setup pain.
Quick Answer
Begin with Jellyfin for media streaming, then Immich for photo backup, then Vaultwarden for passwords and Pi-hole for network ad blocking. This sequence builds skill in order of difficulty and replaces real cloud subscriptions as you go. A mini PC with 8GB of RAM running Docker comfortably handles all four, plus several more, at once.
Why This Order Matters
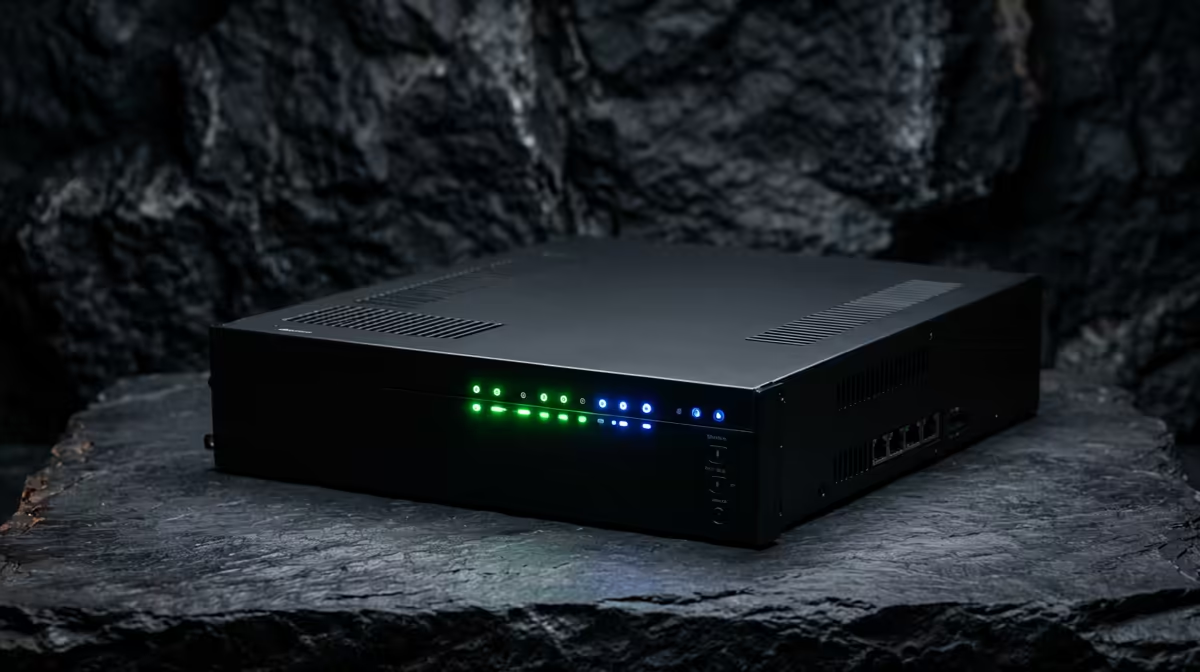
Each app teaches the next. Jellyfin gets you used to running a container, mapping a folder, and reaching a service from another device, all with an obvious payoff: your media on any screen. Once that clicks, the same Docker patterns carry over to everything else, so Immich, Vaultwarden, and Pi-hole each feel like a variation rather than a fresh fight. Starting with something high-value and forgiving keeps your motivation up through the part of self-hosting where most people give up. The hardware bar is low: a modern mini PC with 8GB of RAM runs 10 to 15 containers at once, and even a Raspberry Pi 4 handles the lighter services. The mini PC range at Evetech covers small, quiet, low-power boxes that suit an always-on home lab better than leaving a full tower running.
Step 1: Jellyfin for Media Streaming
Jellyfin is a free, open-source media server with no ongoing cost and no account tied to a company. It streams your movies, shows, and home videos to a phone, browser, TV box, or console.
- Run the Jellyfin Docker container and map a folder that holds your media files.
- Open the web interface, create your admin user, and point a library at that folder.
- Install the Jellyfin app on a phone or TV and connect to your server's local address.
This is your confidence builder. By the end you understand containers, volume mapping, and reaching a service across your network.
Step 2: Immich for Photo Backup
Immich is the app most often recommended to new self-hosters, and for good reason: it gives you a Google Photos or iCloud Photos style experience entirely on your own hardware, including automatic phone backup, albums, and search.
- Deploy the Immich stack with Docker Compose, which is your first taste of running multiple linked containers.
- Install the mobile app and enable automatic backup of your camera roll.
- Confirm photos appear in the web timeline.
It is a step up from Jellyfin because of the multi-container setup, which is exactly the skill you want next.
Step 3: Vaultwarden for Passwords
Vaultwarden is a lightweight, Bitwarden-compatible password server written in Rust. It uses a fraction of the memory of the official server and works with all the standard Bitwarden apps and browser extensions.
- Run the single Vaultwarden container.
- Put it behind a reverse proxy so you get HTTPS, which is important for anything holding passwords.
- Point your Bitwarden client or browser extension at your own server instead of the hosted one.
It is one of the easiest services to run, but the HTTPS step is good practice for everything you self-host afterwards.
Step 4: Pi-hole for Network Ad Blocking
Pi-hole is a DNS-level ad and tracker blocker that protects every device on your network at once.
- Run the Pi-hole container.
- Set your router's DNS to point at the Pi-hole instance.
- Every phone, laptop, and TV on the network now blocks ads with zero per-device setup.
This one teaches you how DNS and your router fit together, which underpins a lot of later home lab work.
A Note on Hardware and Backups
Self-hosting your photos and passwords means you are now responsible for that data, so plan a backup before you trust the lab with anything you cannot lose. Keep the lab itself on dedicated hardware rather than your daily machine so it can run unattended. The best-selling compact PCs are a sensible starting point for a quiet, efficient always-on host.
Frequently Asked Questions
Why start with Jellyfin rather than something else?
Jellyfin gives a clear, satisfying payoff with minimal setup, so it builds Docker confidence early. Mastering its container and folder mapping makes every later service feel familiar instead of intimidating.
What hardware do I need for a first home lab?
A mini PC with 8GB of RAM comfortably runs all four apps plus extras in Docker. A Raspberry Pi 4 can handle the lighter services like Pi-hole and Vaultwarden if you are on a tighter budget.
Do I need to know Docker before starting?
No, but you will learn it quickly. Each app in this order introduces one new Docker concept, from single containers to Compose stacks and reverse proxies, so the difficulty ramps gently.
Is Vaultwarden safe to self-host?
Yes, provided you put it behind HTTPS using a reverse proxy and keep regular backups. It is Bitwarden-compatible and widely used, but you are now responsible for securing and backing up the data.
Can one mini PC run all of these at once?
Easily. A modern mini PC with 8GB of RAM runs 10 to 15 lightweight containers simultaneously, so all four starter apps together barely stretch it.
Building your first always-on home lab? Browse the mini PC range at Evetech for quiet, low-power machines that run Jellyfin, Immich, Vaultwarden and Pi-hole around the clock.