Trying to sketch a build's wiring on one page usually ends the same way: a tangle of arrows crossing each other until nobody, including the person who drew it, can follow which lead goes where. Splitting the job into three separate maps rather than one solves that in a way that costs almost nothing extra.
Quick Answer
Draw motor power, component power and decorative lighting as three independent lists rather than one combined diagram. Each uses a different connector type and a different source, so keeping them apart means every map stays short enough to check in a minute or two. A build using the fuller end of the AsiaHorse range, hub included, might spend under R2,000 total on cabling and lighting accessories, and each of those parts belongs on exactly one map.
🌀 The motor power map
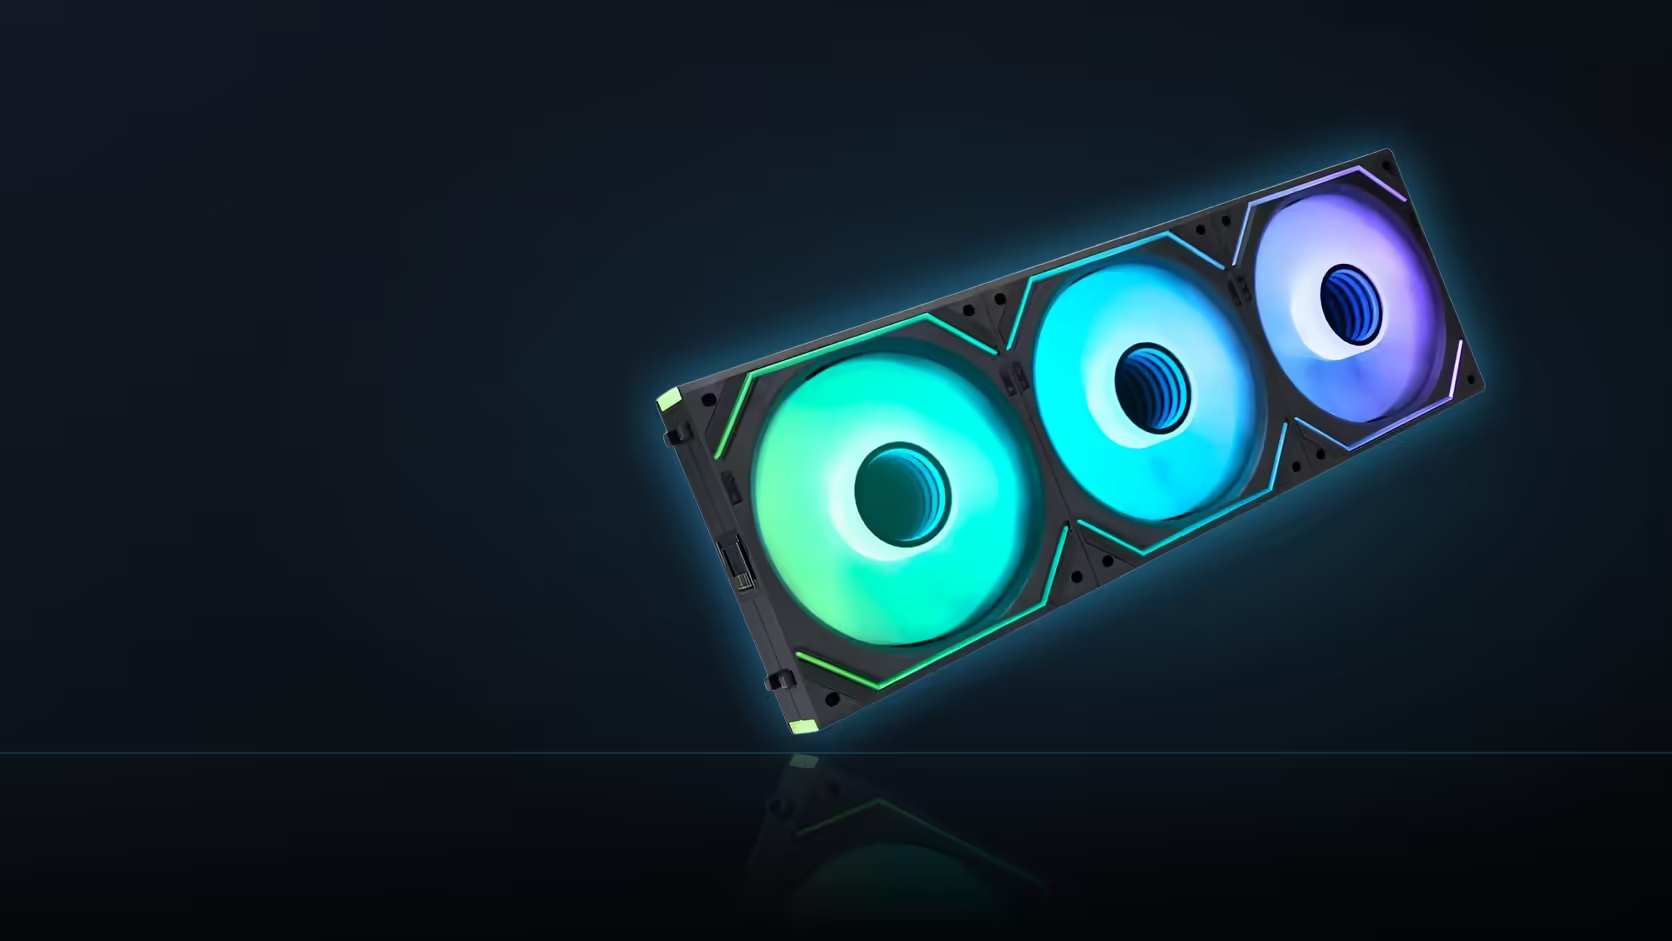
This one covers every fan and exactly which header or hub port drives it. List the fan, its position, and where its speed cable terminates, whether that is a motherboard header directly or a port on a hub like the AsiaHorse ASH-S1. If you are running Nyota Pro fans with their modular interlock, note that the whole row reduces to one connection point; if you are running Amici 5GT fans, note that each one needs its own line. This map answers a simple question later: if a fan stops spinning, where does its cable actually go.
⚡ The component power map
This is the supply's own leads, whatever extensions join them, and any SATA lead feeding a hub or a lit cable cover's controller. A build running the sleeved extension kit plus a Hydrus 16-pin cable for the graphics card has several distinct power paths, and each one deserves its own line here: which PSU cable feeds which extension, and which extension feeds which component. This map is the one you reach for if a component loses power, because it traces the electrical path rather than the lighting or the airflow.
💡 The lighting map
Almost everything else in this range touches this map. Sleeved and lit extensions, cable covers, fans with their addressable rings, the RAM cover and the M.2 heatsink can all carry ARGB lighting, and each device, its connection point, and any chain it belongs to should be recorded here. Where a hub like the ASH-S1 is involved, note the total LED count feeding it too, since that hub is rated up to 377 LEDs across its nine addressable ports and it is worth knowing how close a build sits to that ceiling. This map is usually the longest of the three, and it is the one worth double-checking before you power anything on.
🗂️ Keeping the maps useful
The point of separating them is not bureaucracy for its own sake. Different connector types and different sources make a combined diagram genuinely harder to check, while three short lists can each be read in under a minute. They do meet at certain points, the ASH-S1 hub being the obvious one since it appears on both the motor power and lighting maps, and it is worth marking those crossover points clearly so you know a single component touches more than one list. Keep the three documents together with your shopping list, drawing on Evetech's case fans selection for the motor map and the case accessories lineup for the rest, so the whole plan lives in one place before you start ordering parts.
Frequently Asked Questions
What goes on the motor power map specifically?
Every fan, its position in the case, and the header or hub port driving it, since that is what tells you how many speed connections the layout actually needs.
What belongs on the component power map?
The supply's own cables, any extensions joining them, and SATA leads feeding a hub or a controller, tracing the electrical path rather than airflow or lighting.
Why does the lighting map usually end up longest?
Because this range covers lit cables, cable covers, fans, a RAM cover and an M.2 heatsink, and nearly all of them need the same 5V 3-pin connection recorded somewhere.
Do the three maps ever overlap?
At a hub they do. The ASH-S1 carries both fan and ARGB connections, so it legitimately appears on two of the three lists rather than just one.
Is a full diagram ever worth drawing instead?
For a very small build maybe, but past a handful of accessories the three-list approach stays readable longer than a single combined sketch does.
How detailed does each map need to be?
A short list is usually enough, so long as every device on it has its connection point identified rather than left as a vague note.
Should the maps be updated after the build is finished?
Yes, particularly if you add or move anything later. An outdated map is worse than no map, because it tells you something that is no longer true.
Ready to plan a build with wiring you can actually follow?
Start from Evetech's case accessories range and sketch your three maps before you order anything.