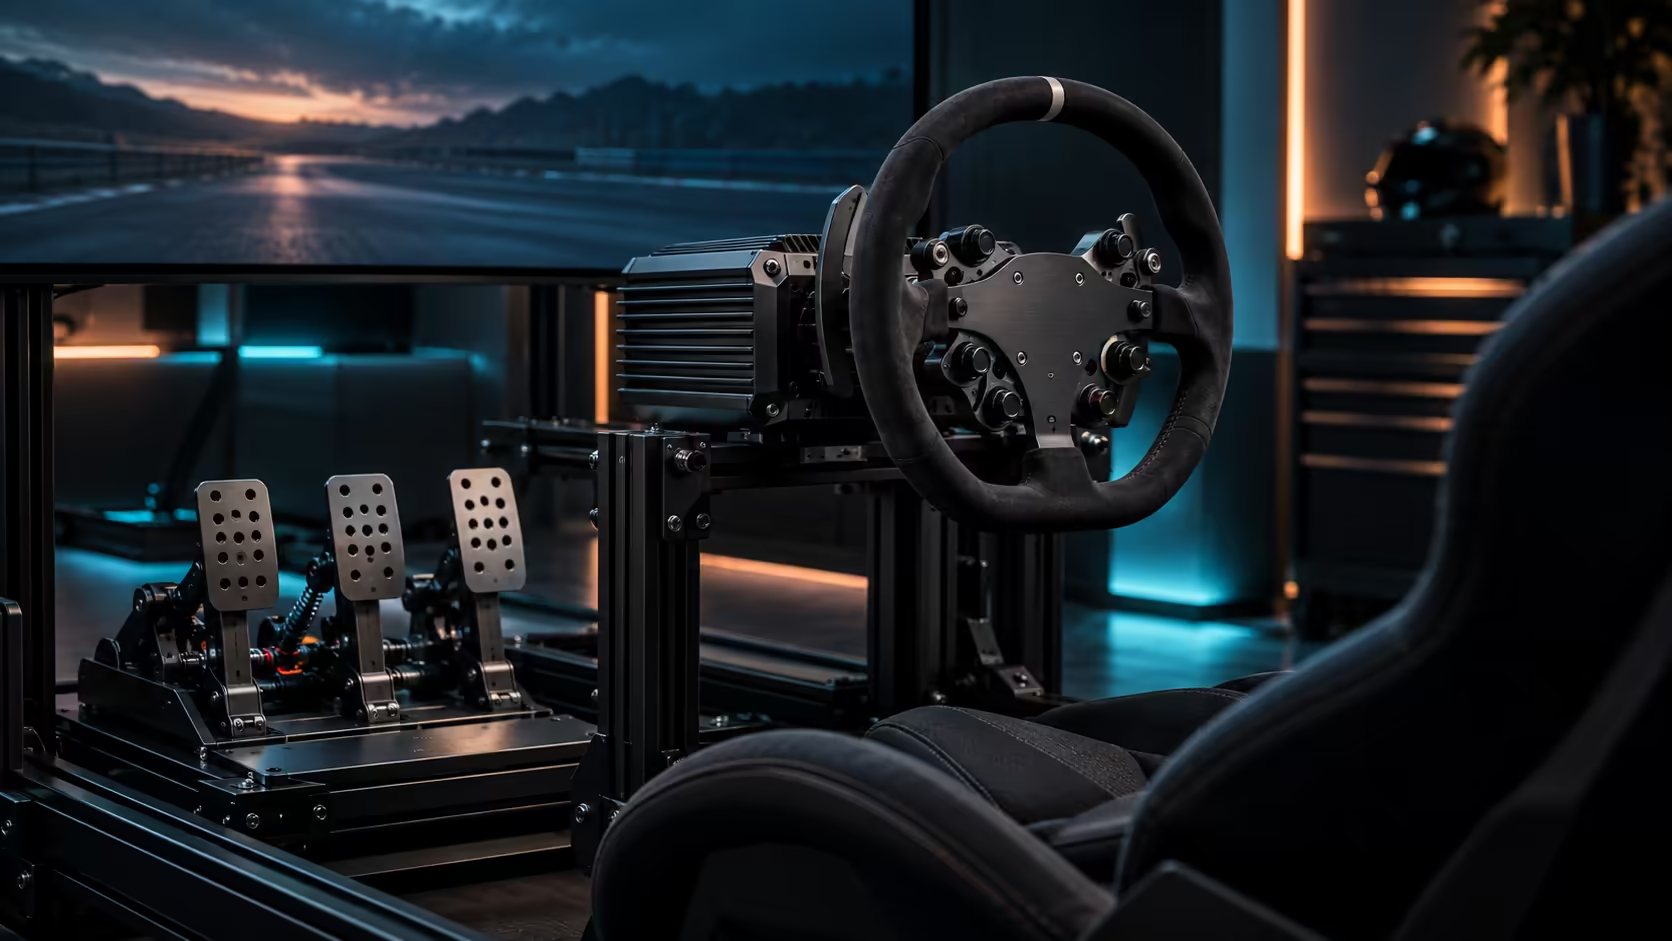
Open a pedal adjustment menu for the first time and it reads like a list of settings with no obvious priority, plate angle next to brake curve next to spacing, with nothing telling you which one actually solves the problem you have. Every sim racing pedal adjustment falls into one of three jobs: where the pedal sits, how hard it pushes back, and how the sensor reads your input, and knowing which job a setting belongs to is what makes the whole menu make sense.
Quick Answer
Position settings decide where the pedal physically sits relative to your foot. Resistance settings decide how the pedal itself pushes back before the sensor even reads a value. Brake feel settings decide how the sensor's reading is interpreted and shaped into the in-game brake input. The 35 settings on the R14,999 bundle's P700 pedals cover all three categories, and fixing a problem starts with identifying which category it actually belongs to.
📍 Position: where the pedal sits relative to your foot
Plate height moves the pedal up or down across a range of 3 to 4cm, which changes your ankle angle through a full press and is usually the first thing to adjust, since a wrong height affects everything else that follows. Plate angle tilts the face of the pedal itself, letting your foot sit at a natural angle rather than one forced by a flat, fixed surface. Pedal spacing sets the horizontal distance between brake and throttle, matching how far apart your foot naturally moves between the two.
Get position settings right before touching resistance or brake feel, because a poorly positioned foot applies force inconsistently regardless of how well the sensor itself is calibrated, which makes every downstream setting harder to judge accurately.
🔧 Resistance: how the pedal itself pushes back
On a load cell pedal, resistance comes from a physical spring or elastomer behind the plate, adjustable over a travel of only 2 or 3mm, separate entirely from the electronic sensor reading force. A stiffer resistance setting requires more leg effort to reach the same pressure reading, which some drivers prefer because it gives a firmer sense of how hard they are pushing, similar to a stiff real brake pedal. A softer setting reaches the same pressure with less physical effort, which can suit drivers who fatigue over long sessions or prefer a lighter feel.
Neither is objectively correct, and resistance is genuinely a personal preference setting rather than something with a clearly right answer, unlike position settings which are largely dictated by your actual body dimensions.
📈 Brake feel: how the sensor's reading becomes an in-game input
This is where calibration, working range and response curve all live. Calibration sets the sensor's reference points for zero and maximum pressure. Working range decides what percentage of your true maximum physical push counts as full brake in the game, typically set at 70 to 80 percent of your absolute limit rather than your hardest single effort, so the number stays reachable even as fatigue sets in.
Response curve then shapes how pressure between zero and your working maximum maps to in-game brake force, whether linearly, with more initial bite, or with a softer early section. Curve adjustments are the most subtle of the three categories and are worth changing only once position and resistance both feel settled, since judging a curve change while the pedal's physical feel is still wrong makes it easy to fix the wrong thing.
🧭 Diagnosing a problem by category first
If braking feels physically uncomfortable over a session, the cause usually lives in position: check plate height and angle before anything else. If the pedal feels too easy or too hard to press regardless of the reading, that is resistance, adjustable through the spring or elastomer setting. If the pedal feels physically fine but braking is inconsistent lap to lap or the pedal seems to respond oddly at certain pressures, that points to brake feel: recalibrate, check your working range, and only then look at the curve.
Working through the categories in that order, rather than randomly adjusting whatever setting is closest on screen, finds the actual cause far faster. Compare pedal sets by adjustment range on the racing simulation shelf, pair a properly adjusted set with solid mounting from the simulation accessories range, and add a fixed simulator chair, because even a textbook-perfect adjustment underperforms badly the moment the seat behind it shifts under a hard brake.
Frequently Asked Questions
Which adjustment category should I check first?
Position, since a poorly positioned foot applies force inconsistently regardless of how well the sensor is calibrated. Get plate height and angle right before adjusting resistance or brake feel.
Is there a correct resistance setting?
Not universally. Resistance is largely personal preference, unlike position settings, which are mostly dictated by your own body dimensions and comfort.
How do I know if my problem is calibration or resistance?
If the pedal's physical feel seems fine but braking is inconsistent between laps, the issue is likely calibration or working range, both part of brake feel rather than resistance.
Should I adjust the response curve first when something feels wrong?
No. Settle position and resistance first, since a curve adjustment is subtle and easy to misjudge while the pedal's physical feel is still incorrect underneath it.
Ready to fix the actual category instead of guessing at settings?
Diagnose position, resistance or brake feel first, then adjust the specific setting that category points to.