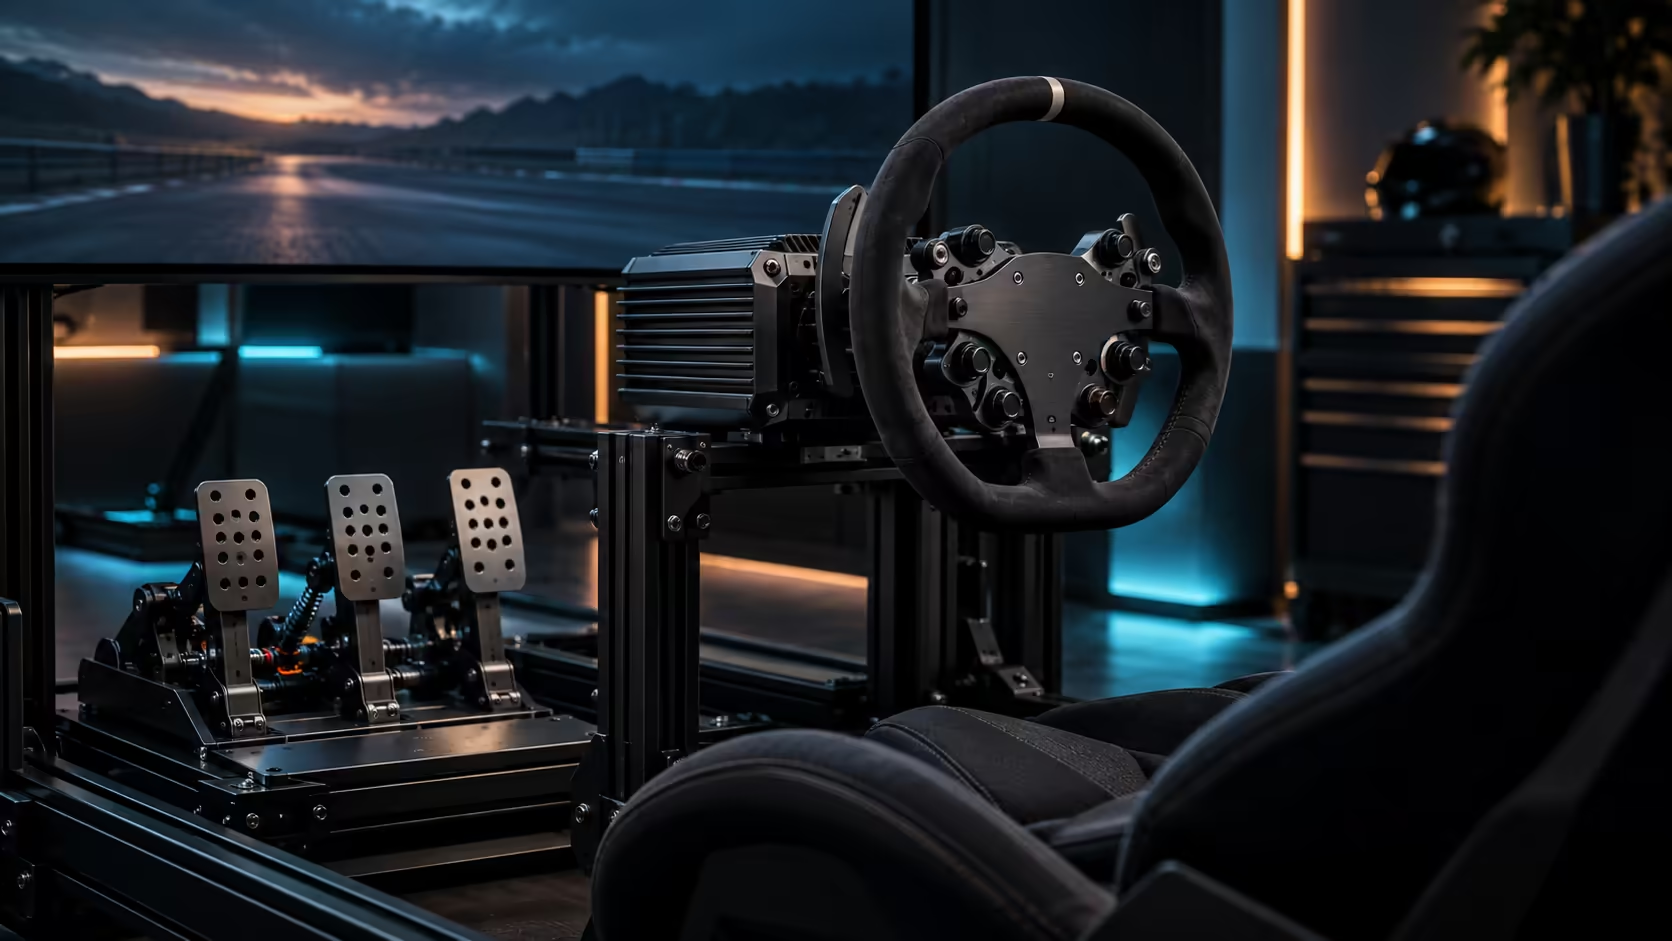
Most people adjust brake pedals the way they adjust a chair, by feel, until it stops bothering them, and then wonder why lap four never matches lap one. Load cell brake pedal adjustment is a calibration job, not a comfort job, and getting the sequence right on a set like the P700 pedals in the R14,999 Simagic bundle is what turns a hard stab into a number your leg can find again on purpose.
Quick Answer
Calibrate the pedal's minimum and maximum force first, set your usable braking ceiling below your leg's absolute limit, then shape the response curve last. The P700 pedals, part of the R14,999 Green Flag bundle, read pressure through a 150kg load cell, so every adjustment step is about defining force values rather than moving a pedal further or closer to your foot.
📐 Calibration comes before anything else
Before touching feel or resistance, run the calibration routine in SimPro Manager. This tells the software what "zero" and "full press" actually mean on your sensor, and skipping it means every later adjustment is being layered on top of a guess. Press the pedal to a firm, comfortable maximum and hold it there for a full 2 seconds during calibration, not the absolute hardest push your leg can manage once, because that number becomes the ceiling every future press is measured against.
Recalibrate after any change to the pedal's physical mounting, spring, or elastomer, since those change how force translates into the sensor reading. A pedal that has been recalibrated recently but still feels inconsistent is very rarely a software problem; it is almost always the mount moving under load, which no amount of software adjustment will fix.
🎚️ Setting your working range, not your maximum range
Once calibrated, the next decision is where your 100 percent brake point sits relative to what your leg can produce. Setting maximum brake force to the hardest single push you can manage means every race you are chasing a number you can only hit once, and consistency collapses as fatigue sets in over a session.
A more repeatable approach sets full brake pressure at roughly 70 to 80 percent of your absolute maximum push. That leaves headroom for the moments adrenaline makes you push harder than intended, and it means the force you use for a normal braking zone sits comfortably below your ceiling rather than right against it. That is what threshold braking actually needs: keeping a car right on the verge of losing front grip under heavy braking, which only becomes repeatable once the pedal's full-force point is a number your leg can reliably hit lap after lap, not a one-off personal best.
🧮 Shaping the curve without hiding the sensor
The response curve controls how in-game brake pressure maps to the force you apply, and it is worth adjusting only after calibration and your working range are settled. A linear curve is the honest starting point, since it changes the pedal's behaviour the least and lets you learn what the sensor is actually telling you.
A curve with more initial bite can help cars that need an aggressive first touch on the brake, and a softer initial section can help build confidence for drivers new to pressure-based braking. Change one curve setting at a time and drive the same corner 3 or 4 times repeatedly after each change, because curve adjustments are subtle and stacking several changes before testing makes it impossible to know which one helped.
🔩 The mount decides whether any of this holds
A load cell measures force against something rigid, and if the pedal plate itself moves, flexes, or slides during a hard brake, the sensor reads a mix of your leg pressure and the pedal's own motion. On a bare tile or laminate floor, 150kg of push against the pedal is more than enough to walk the whole set backwards mid-corner, and every calibration and curve setting above becomes meaningless the moment that happens.
Anchoring the pedal set to a rig, a plate bolted to the floor, or at minimum a heavy rubber-backed mat under a firm baseplate removes that variable entirely. It is worth testing before doing any fine adjustment: brake hard with your eyes on the pedal base rather than the screen, and if you see or feel movement, fix that first. The racing simulation and simulation gear ranges carry the mounting hardware that solves this, and the simulation accessories shelf covers the smaller parts like non-slip mats and plates.
Frequently Asked Questions
Why does my braking feel inconsistent even after calibrating?
Calibration only fixes the sensor's reference points. If the pedal set itself moves under a hard brake, the sensor is reading pedal motion as well as leg force, which recalibration cannot correct.
Should I set my maximum brake force to my hardest possible push?
No. Setting the ceiling at roughly 70 to 80 percent of your absolute maximum leaves room for adrenaline and keeps the force you use lap after lap well below your physical limit.
What curve should I start with?
A linear curve, so you learn how the sensor actually responds before adding any shaping. Add bite or softness only once you understand the pedal's baseline feel.
How often should I recalibrate?
Any time the pedal's mounting, spring, or elastomer changes. If braking feel drifts without a physical change, the mount is a more likely cause than the calibration.
Does the 150kg rating mean I need to press with 150kg of force?
No. That is the sensor's measurement ceiling, not a target. Most drivers set their working maximum well below it for a repeatable feel.
Ready to make your braking repeatable rather than lucky?
Calibrate first, set a working range you can actually hit every lap, and bolt the pedals down before touching the curve.