Premiere Pro will happily fill up the wrong drive and starve your other apps of memory if you let it use the defaults. Learning to allocate cache and RAM in Adobe Premiere Pro is the cheapest performance win in the whole editing chain: point the media cache at a fast SSD, reserve enough RAM for the rest of your system, and playback gets smoother while exports get shorter, all without spending a cent on new hardware.
Quick Answer
Set a dedicated fast NVMe SSD as your media cache disk so Premiere is not reading and writing on the same drive as your footage, then reserve at least 8GB of RAM for other applications under Preferences > Memory. Those two changes alone deliver the biggest, most reliable speed-up.
Why these two settings matter
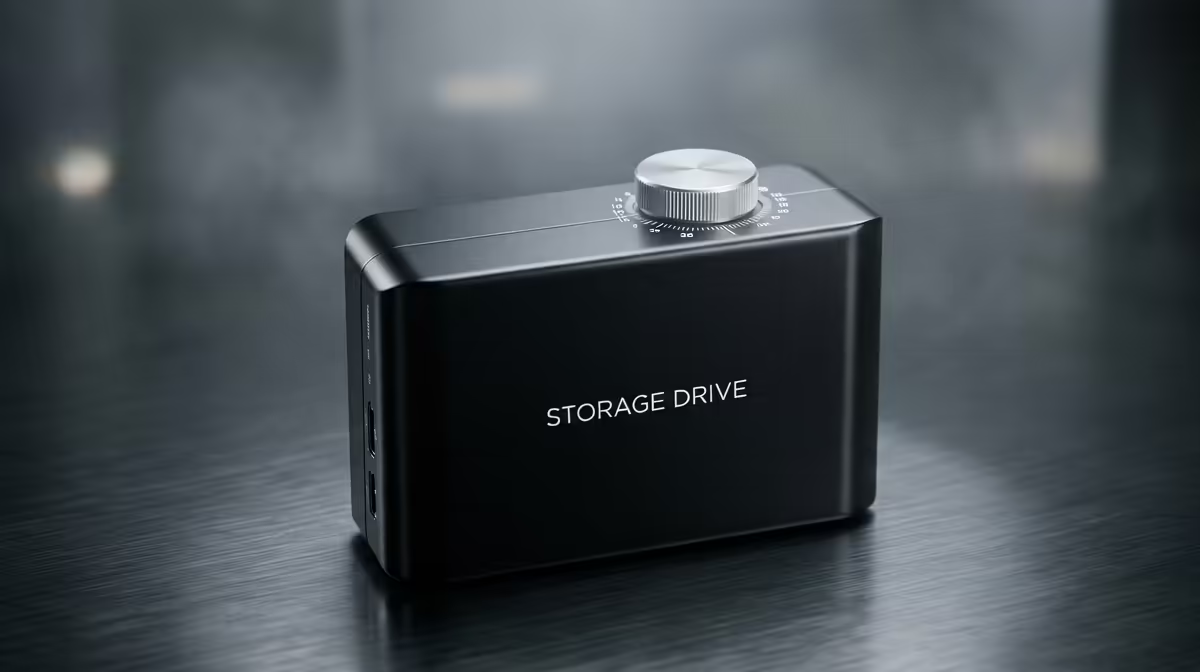
Premiere constantly writes preview and cache files while you edit. If those land on the same drive as your media or your operating system, the drive thrashes and playback stutters. Moving the cache to a separate fast SSD removes that bottleneck.
RAM matters because Premiere will grab as much as you allow. Give it everything and Windows, your browser, and any second app are left fighting for scraps, which causes freezes. The fix is telling Premiere to leave a sensible reserve. Do both and the timeline simply feels lighter.
Step by step: setting the media cache drive
Work through these in order.
- Open Premiere Pro, then go to Edit > Preferences > Media Cache (on a Mac it is under the Premiere Pro menu).
- Under Media Cache Files, click Browse next to the location field.
- Choose a folder on your fast NVMe SSD, ideally a drive that is not your operating system drive and not where your raw footage lives. A small dedicated SSD purely for cache is ideal.
- Do the same for Media Cache Database if the option points elsewhere, so both sit on the fast drive.
- Click OK to confirm.
If you have only one SSD, still point the cache to it rather than a slow mechanical drive. The speed difference between an NVMe cache and a hard-drive cache is large.
Step by step: allocating RAM
Now tune memory.
- Go to Edit > Preferences > Memory.
- You will see your total installed RAM and a field labelled RAM reserved for other applications.
- Set that reserve to at least 8GB. On a 16GB machine that leaves 8GB for Premiere; on a 32GB machine you can reserve 8GB and still give Premiere a generous 24GB.
- If you run other heavy apps at the same time, like After Effects or a browser with many tabs, raise the reserve so they do not get starved.
- Click OK. Some changes apply immediately; a restart of Premiere guarantees they take hold.
The goal is balance: enough RAM for Premiere to keep clips in memory, enough left over that the rest of the system stays responsive.
Keeping the cache healthy
Cache files build up over time and quietly eat drive space. In the Media Cache preferences you can set Premiere to automatically delete cache files older than a chosen number of days, which keeps the drive from filling. Doing a manual clean every so often after finishing a big project is also good housekeeping, and it can resolve odd playback glitches caused by stale cache.
When settings are not the real bottleneck
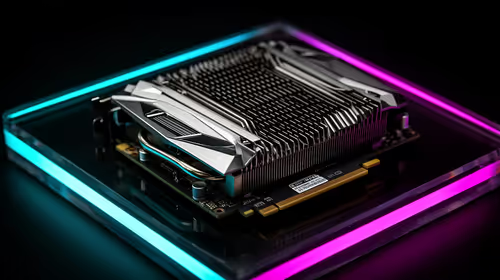
Tuning cache and RAM gets you a long way, but it cannot conjure performance that the hardware does not have. If your timeline still struggles after these changes, especially with heavy effects, colour work, or higher resolutions, the limit is usually the GPU. A workstation-class card accelerates effects and exports in Premiere, and the current workstation graphics card range is worth a look if editing is your living. For a full system view, the most popular PC builds right now show how editors are speccing their machines.
Frequently Asked Questions
How much RAM should I reserve for other applications?
Reserve at least 8GB. On a 16GB system that splits memory evenly with Premiere; on 32GB or more you can keep the 8GB reserve and still leave Premiere plenty. Raise the reserve if you run other heavy apps alongside it.
Does the media cache drive need to be separate from my footage?
Ideally yes. Keeping the cache on a different fast SSD from your raw media stops the drive from being read and written at once, which is what causes stuttering playback.
Will a faster cache drive really speed up editing?
Yes. An NVMe SSD cache is dramatically quicker than a mechanical hard drive for the constant small reads and writes Premiere performs, so scrubbing and playback feel much smoother.
Is it safe to delete the media cache?
Yes. Premiere rebuilds cache files as needed. Clearing old cache frees drive space and can fix glitchy playback, so it is a safe periodic clean-up.
My timeline still lags after tuning these settings. What now?
At that point the bottleneck is usually the GPU, especially with heavy effects or high resolutions. A workstation-class graphics card accelerates Premiere's effects and exports where cache and RAM tuning cannot.