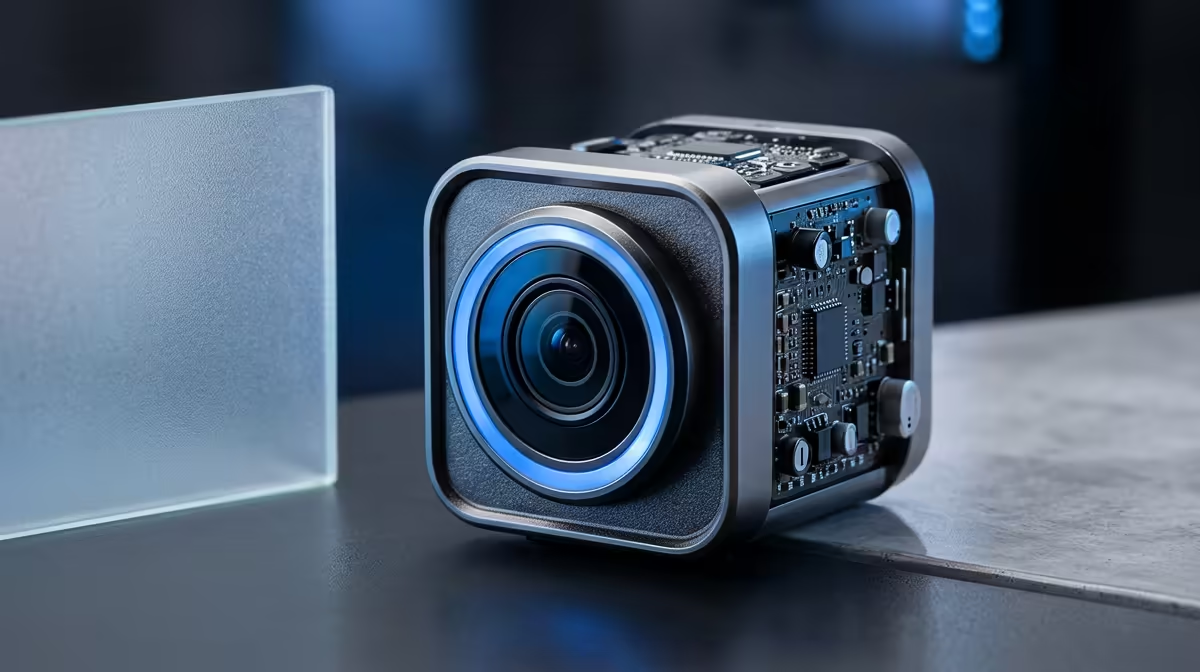
A spare Raspberry Pi, a camera module and free software turn into a proper motion-detecting security camera for the price of a takeaway. Building a home security camera with a Raspberry Pi and MotionEye gives you a unit that records on movement, streams live to any browser on your network, and keeps the footage on your own hardware rather than someone else's cloud. The setup is approachable for a first Pi project.
Quick Answer
Pair a Raspberry Pi with a Pi Camera Module and the MotionEye app to get a DIY camera that detects motion, records clips and streams live in any browser on your network. Install Raspberry Pi OS, add MotionEye through the Python package manager, connect the camera and configure detection from the web interface. Total hardware cost is low, and the software is free.
What You Need
The build is deliberately light on parts:
- A Raspberry Pi. A Pi Zero 2 W suits a single, compact Wi-Fi camera, while a Pi 4 or 5 handles multiple cameras and heavier processing.
- A camera. The Camera Module V2 remains the easiest choice. The newer V3 works but uses the libcamera stack, which needs a few extra configuration steps on current Raspberry Pi OS.
- A microSD card, a power supply and a case. A weatherproof case if it is going outdoors.
- Your home network, since the live stream and recordings are served over it.
For the brains of the build, or if you would rather start from a tidy small-form-factor machine, the mini PC range at Evetech covers compact systems that can also act as a recording hub for several cameras.
Step One: Flash and Prepare the Pi
Use the Raspberry Pi Imager to write Raspberry Pi OS to your microSD card. The Lite version is ideal for a headless camera since it skips the desktop and leaves more resources for video. In the Imager's settings, enable SSH and enter your Wi-Fi details before writing, so the Pi joins your network and accepts a remote connection on first boot with no monitor attached.
Boot the Pi, connect over SSH, and run the usual update commands to bring the system current before installing anything else.
Step Two: Install MotionEye
Older guides point to MotionEyeOS, a dedicated camera distribution, but it has not been actively maintained for some years. The better path for a new build in 2026 is installing the MotionEye app on top of Raspberry Pi OS, which gets you ongoing updates and better support for current cameras.
MotionEye installs through pip, the Python package manager, which also pulls in Motion and a small web server as dependencies. Once it is installed and the service is running, open a browser on any device on your network and go to the Pi's IP address on the MotionEye port. You are greeted by the web dashboard, the control centre for everything that follows.
Step Three: Add the Camera and Tune Detection
Inside the dashboard, add your camera. The Pi Camera Module appears as a local device, and a USB webcam works just as well if that is what you have. Once the live feed shows, work through the settings:
- Set the resolution and frame rate. Higher numbers look better but use more storage and CPU, so balance them against what the Pi can handle.
- Enable motion detection and adjust the sensitivity so the camera triggers on a person but ignores a swaying plant or shifting shadows.
- Choose where recordings are saved and set a retention policy so old clips are cleared automatically and the card does not fill up.
- Optionally configure email or notification alerts so you know the moment motion is detected.
Step Four: Make It Reliable
A camera is only useful if it is always on. Confirm MotionEye is set to start automatically on boot so a power blip does not leave you blind. For storage, recording to a USB drive or a network share rather than the microSD card extends the card's life considerably, since constant writes wear SD cards out. If you want remote viewing from outside the house, do it through a secure method such as a VPN back to your network rather than exposing the camera directly to the internet. To grow the system into a multi-camera setup with a central recorder, a low-power always-on box from the best-selling desktops at Evetech makes a capable hub.
Frequently Asked Questions
Which Raspberry Pi is best for this project?
A Pi Zero 2 W is perfect for a single, discreet Wi-Fi camera thanks to its small size and built-in wireless. Step up to a Pi 4 or 5 if you plan to run several cameras or want smoother high-resolution streaming.
Can I use a normal USB webcam instead of the Pi camera?
Yes. MotionEye detects a USB webcam as a camera source just as it does the ribbon-cable Pi module, so either works depending on what you already own.
Where are the recordings stored?
By default on the Pi's microSD card, but you should point storage at a USB drive or a network share. Constant video writes wear SD cards out quickly, and external storage also gives you far more capacity.
Is it safe to view the camera from outside my home?
Only through a secure tunnel such as a VPN into your home network. Exposing the camera straight to the internet is a real security risk, so keep it behind your firewall and reach it privately.
Got a project bigger than a single Pi? Explore compact, always-on hardware in the mini PC range at Evetech and turn your DIY camera into a proper home surveillance hub.