Latency is the lag between you playing a note and hearing it back through your monitors, and during recording it is the thing that quietly wrecks takes. To optimise a DAW for low-latency audio recording, the single biggest lever is your ASIO buffer size: drop it to 64 or 128 samples while tracking and you get sub-3ms round-trip response without overloading the CPU. The rest is a handful of settings that stop dropouts before they start.
Quick Answer
Set your ASIO buffer to 64 to 128 samples while recording for sub-3ms round-trip latency, install your interface's dedicated ASIO driver rather than the generic Windows one, and free up CPU headroom by disabling power-saving and background load. Raise the buffer back to 512 or higher when mixing, where latency no longer matters.
Step 1: Install the right audio driver
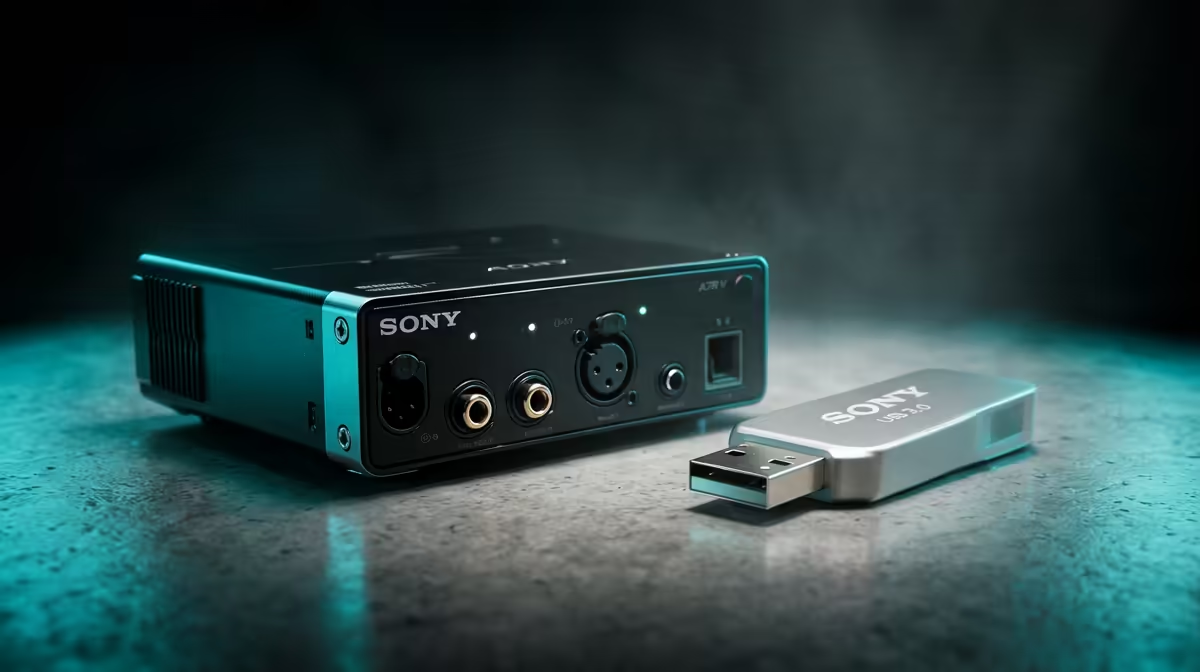
Before touching buffer sizes, make sure your audio interface is running on its own ASIO driver, not the generic Windows audio path. Manufacturer ASIO drivers talk to the hardware directly and shave a large chunk off latency that the default driver simply cannot match.
Download the latest driver from your interface maker's site, install it, then select it inside your DAW under audio device settings. If you are running a serious recording setup, a capable workstation GPU and CPU keep the whole signal chain stable, and you can compare options on the workstation graphics card range if your projects are video-scored or visually heavy.
Step 2: Set the buffer for tracking
Open your DAW's audio settings and find the buffer size, measured in samples.
- Set the buffer to 64 samples and try recording. At a 48kHz sample rate this gives you very low round-trip latency, often under 3ms.
- If you hear clicks, pops or dropouts, step up to 128 samples and test again.
- Keep raising it only as far as you must to get clean, glitch-free recording. The goal is the lowest stable number, not the lowest possible number.
The trade-off is simple: smaller buffers mean less latency but more CPU work per second. You are finding the point where your specific machine stays stable.
Step 3: Match the sample rate to your project
Set your project sample rate to 44.1kHz or 48kHz for most music and voice work. Higher rates like 96kHz cut latency slightly at a given buffer size but roughly double the CPU and disk load, which often costs you more than it gains.
Pick one rate at the start of a project and leave it. Switching mid-project causes conversion headaches and can introduce its own artefacts.
Step 4: Free up CPU headroom
Low buffers demand a responsive CPU, so remove anything competing for it.
- Set your operating system power plan to high performance so the CPU does not throttle down mid-take.
- Close browsers, chat apps and anything running in the background that does not need to be open.
- Disable Wi-Fi adapters' power-saving and any aggressive USB power management, both of which can cause periodic glitches.
- Freeze or disable CPU-heavy software instruments and effects you are not actively recording against. You can unfreeze them when you mix.
Each of these clears a path for the audio engine to hit its tight timing without stumbling.
Step 5: Use direct monitoring where you can
Many audio interfaces offer direct hardware monitoring, which routes your input straight to your headphones inside the interface itself, bypassing the computer entirely. For singers and instrumentalists, this means you hear yourself with effectively zero latency no matter what the buffer is set to.
Enable it in your interface's control software, then mute the corresponding software input monitoring in your DAW so you are not hearing the same signal twice with a slight delay. This is the cleanest way to track comfortably while keeping a slightly larger, more stable buffer.
Step 6: Raise the buffer back up to mix
Once recording is done, latency stops mattering, because you are no longer playing in real time. Push the buffer up to 512, 1024 or higher. This hands the CPU back its breathing room so you can stack plugins, run heavy reverbs and process busy sessions without the audio engine choking.
Getting into the habit of a low buffer for tracking and a high buffer for mixing is the core workflow that keeps a DAW responsive at both stages. If you are spec'ing or upgrading the machine behind your studio, the most popular desktop builds right now are a sensible reference for the kind of CPU power smooth recording asks for.
Common causes of dropouts
If you still hear glitches after all this, the usual culprits are a USB hub sharing bandwidth with other devices, an overloaded single CPU core, or a plugin with high inherent latency sitting in the recording path. Plug your interface directly into the computer, watch your DAW's performance meter while recording, and remove latency-heavy plugins from tracks you are actively recording onto.
Work through these in order and almost every dropout problem resolves without new hardware.
Frequently Asked Questions
What buffer size should I use for recording?
Use 64 to 128 samples while tracking for low latency, then raise it to 512 or higher when mixing. The lower number reduces the delay you hear, while the higher number gives the CPU room to run heavy plugins later.
What is a good round-trip latency for recording?
Under about 10ms feels natural, and under 3ms is essentially imperceptible. A 64-sample buffer at 48kHz typically lands in that sub-3ms zone on a capable machine with a proper ASIO driver.
Why do I get clicks and pops at low buffer sizes?
Small buffers demand more from the CPU each second, so any spike, background process or power throttling can cause the audio engine to drop samples. Closing background apps and setting a high-performance power plan usually fixes it.
Does a higher sample rate reduce latency?
Slightly, but it roughly doubles CPU and disk load at the same time. For most music and voice work, 44.1kHz or 48kHz gives the best balance of clean audio and stable, low-latency performance.
What is direct monitoring and should I use it?
Direct monitoring routes your input straight to your headphones inside the audio interface, bypassing the computer for near-zero latency. It is the most comfortable way to record vocals or instruments while keeping a stable buffer in your DAW.
Building a recording rig that can handle tight buffers and heavy sessions? Start with the right hardware foundation by exploring the desktop builds at https://www.evetech.co.za/pc-best-sellers/x/1912 and match your machine to the latency your work demands.