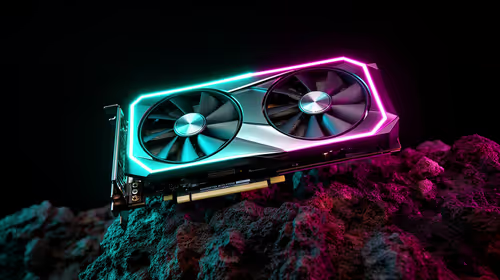
DaVinci Resolve leans on your graphics card harder than almost any other creative app, so the fastest way to optimise your PC for DaVinci Resolve is to get the GPU side right before touching anything else. Resolve uses GPU acceleration for playback, colour grading and rendering, which means the right card and the right settings matter more than raw CPU clock speed. Here is how to set it up, step by step.
Quick Answer
Resolve is GPU-first: enable GPU acceleration, feed it a capable graphics card with plenty of VRAM, and turn on hardware codec decoding so your CPU is not transcoding footage in software. Add a fast NVMe cache drive and use optimised media or proxies for heavy formats. Multi-GPU scaling and some hardware codecs require the paid Studio licence.
Step 1: Confirm GPU acceleration is on
Open Project Settings, then look under the hardware acceleration and decode options. Make sure Resolve is set to use your GPU rather than falling back to software. On a multi-GPU machine, Studio lets you select which cards Resolve uses and balance the load across them.
This is the single most important setting. Resolve does its playback, grading and effects work on the GPU, so if acceleration is off or pointed at the wrong device, nothing else you tune will save you.
Step 2: Pick the right graphics card
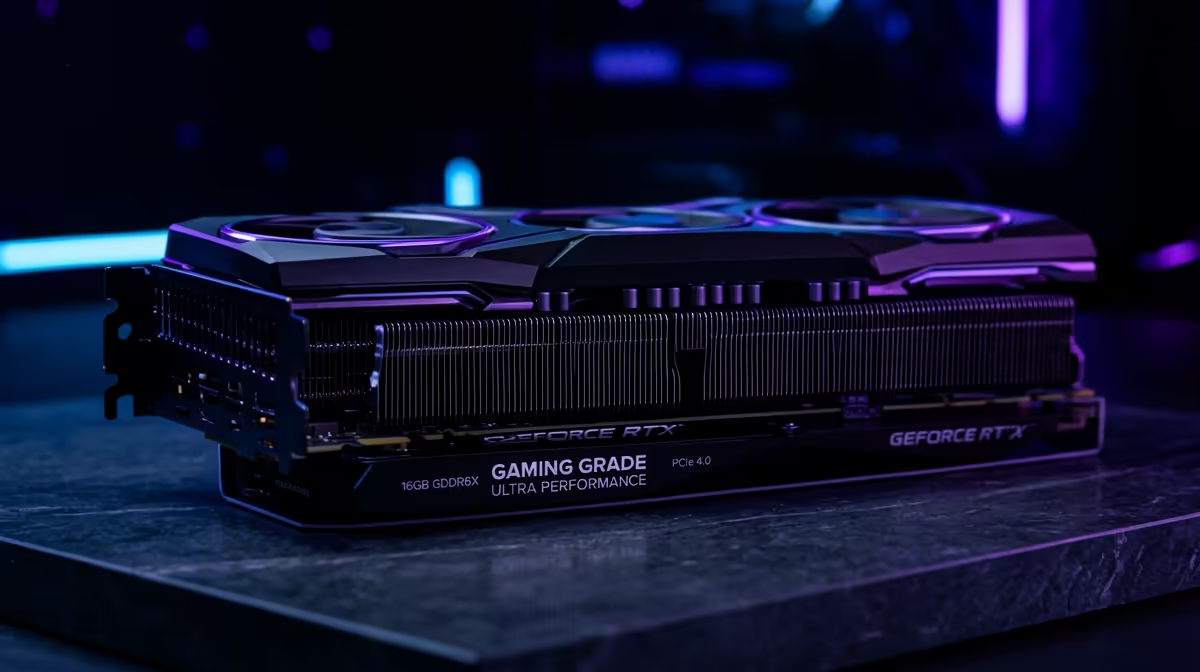
Resolve scales with GPU power and, critically, with VRAM. Colour grading, noise reduction and effects all consume video memory, and once you run out, performance collapses and you start seeing memory errors. For high-resolution timelines, more VRAM is the headroom that keeps playback smooth.
A capable card with generous VRAM is the foundation of a Resolve machine. Evetech's workstation graphics card range is a sensible place to compare VRAM tiers and pick a card sized to the resolution you actually edit at.
Free versus Studio for multi-GPU
The free version of Resolve uses a single GPU. If you want Resolve to spread the load across two or more cards, you need the Studio licence. Studio also unlocks several hardware codec features. Budget for Studio if your projects are heavy enough to justify multiple GPUs.
Step 3: Enable hardware codec decoding
Formats like H.264 and H.265 are punishing to decode in software, which is why timelines built from camera or phone footage often stutter. Resolve can offload that decoding to dedicated hardware on your GPU. Turn on hardware-accelerated decode in the settings so the CPU is freed from transcoding work.
Note that some hardware codec support, particularly for certain formats, is reserved for the Studio licence. If your footage is H.265-heavy and playback is rough on the free version, that licence may be the missing piece.
Step 4: Add a fast NVMe cache and scratch drive
Resolve writes cache files, optimised media and render output constantly. A fast NVMe SSD as your cache and scratch location dramatically improves responsiveness compared with editing off a slow drive. In the settings, point the cache and optimised media folders at your fastest NVMe drive, kept separate from your operating system disk where you can.
For complex grades and timelines with many effects, this storage speed is the difference between instant playback and constant render-cache waiting.
Step 5: Use optimised media or proxies
When your source footage is heavy, generate optimised media or proxies. Resolve transcodes the clips to an editing-friendly format once, then plays back the lighter versions while you work, switching to the full-quality originals at render time. For 4K, 6K and 8K projects, or for highly compressed formats, this single step transforms editing smoothness.
Pair it with sensible playback settings: drop the timeline proxy resolution while you cut, and switch back to full resolution for final grading and review.
Step 6: Match the rest of the system
The GPU does the heavy lifting, but it needs support. Enough system RAM keeps Resolve from choking on large projects, and a modern multi-core CPU handles decoding, fusion effects and general timeline work. A balanced machine, rather than a single overspecced part, is what delivers consistent performance. For ready-built configurations sized for creative work, the top-selling PCs at Evetech show how the parts come together in a balanced system.
Frequently Asked Questions
Is the GPU or the CPU more important for DaVinci Resolve?
The GPU. Resolve uses GPU acceleration for playback, colour grading, effects and rendering, so a capable graphics card with ample VRAM matters more than CPU clock speed, though a decent multi-core CPU still helps with decoding and Fusion.
How much VRAM do I need for Resolve?
It depends on your resolution. Higher-resolution timelines, noise reduction and effects all consume VRAM, and running out causes stutter and memory errors. For 4K and above, prioritise a card with generous video memory.
Do I need the Studio licence?
You need Studio for multi-GPU support and some hardware codec features. The free version uses a single GPU and is fine for many editors. If your projects demand multiple cards or specific codec acceleration, Studio is worth it.
Why does my H.265 footage stutter in Resolve?
H.265 is heavy to decode in software. Enable hardware-accelerated decoding so your GPU handles it, and consider generating optimised media or proxies. Note that some H.265 hardware decode support requires the Studio licence.
Where should I put my Resolve cache files?
On your fastest NVMe SSD, ideally separate from your operating system drive. Point the cache and optimised media folders there in settings, since Resolve reads and writes these files constantly during editing.