
Clean Gaming Keyboard: Guide for Dusty & Humid Conditions
Clean gaming keyboard quickly and safely in dusty or humid conditions with step-by-step tips, tool checklist, and maintenance routines to prevent corrosion and switch failure. 🧼💨
Read moreLearn how to overclock PC for gaming with our simple step-by-step guide. We'll show you how to safely boost your CPU and GPU performance, increase FPS, and get the most out of your hardware without the risk. Ready to unlock your PC's true potential? 🚀 Let's get started!

Stuttering in Apex Legends at a crucial moment? Dropping frames in Helldivers 2 when the chaos ramps up? Before you start pricing new hardware, there’s a free performance boost hiding inside your PC: overclocking. It sounds complex, but this beginner's guide will show you how to overclock your PC for gaming safely. Let's unlock that hidden power and get you back to smooth, high-FPS glory without spending an extra Rand. 🚀
Before you start tweaking frequencies, you need to make sure your rig is ready for the extra stress. Pushing your components harder generates more heat, and not all hardware is created equal.
Getting this foundation right is key to a successful overclock. Many of the best pre-built PC deals from Evetech already feature well-matched components perfect for tinkering.
Overclocking your CPU can provide a noticeable boost in games that rely heavily on processor speed. We'll take a slow and steady approach.
First, run a benchmark tool like Cinebench R23 and a stress test like Prime95 at stock settings. Note down your scores and maximum temperatures using monitoring software like HWMonitor. This is your starting point.
Restart your PC and press the designated key (usually Del, F2, or F12) to enter the BIOS. Every BIOS looks different, but you're looking for settings typically under "Advanced Frequency Settings," "OC Tweaker," or a similar name.
Instead of manually adjusting everything, modern motherboards often have simple profiles. However, for a stable result, manual is better.
Keeping an eye on your component temperatures is non-negotiable during overclocking. Use a tool like MSI Afterburner's RivaTuner Statistics Server to display an on-screen overlay in-game. It shows your CPU GPU temps, clock speeds, and usage in real-time, so you can spot any issues before they become serious problems.
Your Graphics Card (GPU) is often the most important component for gaming performance. Luckily, overclocking it is a bit more straightforward using software within Windows.
Download and install MSI Afterburner. It's the industry standard and works with almost any brand of GPU, not just MSI.
Run a GPU-intensive benchmark like Unigine Heaven or 3DMark's Time Spy. Note your score, average FPS, and max temperature. This is your baseline. Many excellent gaming PCs under R20k have GPUs with plenty of overclocking headroom.
In Afterburner, you'll see several sliders:
If you find a stable overclock, save it to a profile in Afterburner so you can apply it with one click. ✨
Learning how to overclock your PC for gaming is a rewarding process that can squeeze extra life and performance out of your hardware. It can be the difference between a choppy 50 FPS and a smooth 60+ FPS.
However, it's not a magic bullet. The performance gains are typically in the 5-15% range. It also increases power consumption and heat, and there's always a small risk of damaging your components if you push voltages too far. For those who want guaranteed stability and top-tier performance without the hassle, investing in one of the best gaming PC deals in South Africa is a fantastic option. High-end rigs, especially powerful PCs above R20k, often come with such powerful components that overclocking isn't even necessary for an incredible experience.
Ready for Effortless Performance? Overclocking is a powerful tool, but for guaranteed, stable, out-of-the-box power, nothing beats a professionally assembled rig. Explore our massive range of gaming PCs and find a machine built to dominate from day one.
Overclocking is the process of making your computer's components, like the CPU or GPU, run at a higher speed than the manufacturer's default settings to improve performance.
Yes, overclocking is generally safe when done correctly. Following a proper guide, monitoring temperatures, and making gradual changes are key to avoiding component damage.
Absolutely. A successful CPU and GPU overclock can provide a significant FPS boost in many games, leading to smoother gameplay, especially in CPU-bound or GPU-bound scenarios.
For CPUs, tools like Intel XTU or AMD Ryzen Master are excellent. For GPUs, MSI Afterburner is the most popular and versatile choice for both NVIDIA and AMD cards.
The main risks include increased heat, system instability (crashes), and potentially reduced component lifespan if pushed too far with excessive voltage or poor cooling.
You can test stability using stress-testing software like Prime95 for the CPU or Unigine Heaven for the GPU. A stable overclock will run these tests without crashing or errors.
Clean gaming keyboard quickly and safely in dusty or humid conditions with step-by-step tips, tool checklist, and maintenance routines to prevent corrosion and switch failure. 🧼💨
Read more
Best gaming keyboard features to prioritize when building a high-end setup: mechanical switches, low latency, hot-swap, RGB, macros, durability and ergonomics 🎮⌨️
Read more
Custom actuation point keyboard setup guide: learn to set per-key actuation on your analog gaming keyboard for faster, precise inputs and better control 🎮⚙️
Read more
Cable management for home entertainment helps you eliminate cable clutter quickly and safely. Learn routing, concealment, and product picks to tidy your setup fast 📺🔌
Read more
conference room setup Microsoft Teams Zoom: Upgrade AV, camera, mic, and network to ensure seamless meetings, clear audio, and crisp video 🎯🔧
Read more
• Audit setup • Link accounts • Configure ViewBoard • Test workflows Integrate Google Workspace with ViewSonic ViewBoard to enable secure SSO, calendar and Drive sync, and smooth collaborative whiteboarding 🔗📋
Read more
Discover webcams that automatically adjust light and color for crystal-clear video calls 🎥✨. Boost your streaming quality today!
Read more
Discover webcams that blend into your workflow 🎯 Capture moments while you work, stream, or create. Upgrade your setup with smart, multitasking tech!
Read more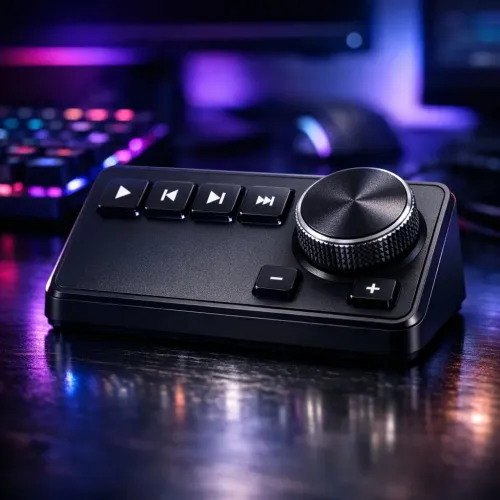
Dedicated media keys give streamers one-touch control to mute, switch scenes, clip highlights, and adjust audio — cutting task time and boosting consistency 🎛️⚡
Read more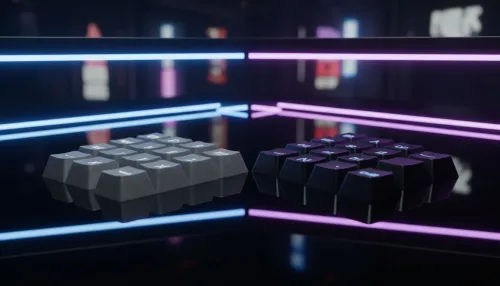
PBT vs ABS keycaps: Clear, local guide for South African gamers—compare feel, sound, durability and where to buy. Find the best material for your budget and playstyle 🎮🇿🇦
Read more
- Multi-Function Digital Dial: define benefits - Show gamer setups and macros - Offer buying and setup tips Multi-Function Digital Dial puts programmable control at your fingertips for faster actions and smoother streaming. 🎮⚙️
Read more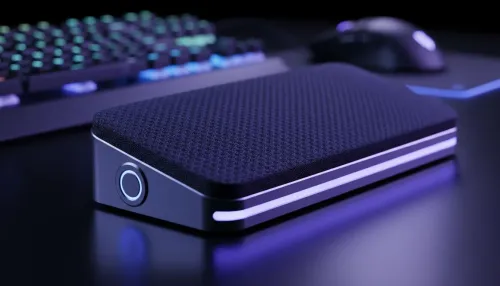
- Explain benefits; - Show the science; - Compare options; - Recommend picks. Magnetic wrist rest for gaming cuts wrist strain and boosts comfort during long sessions 🕹️✨
Read more