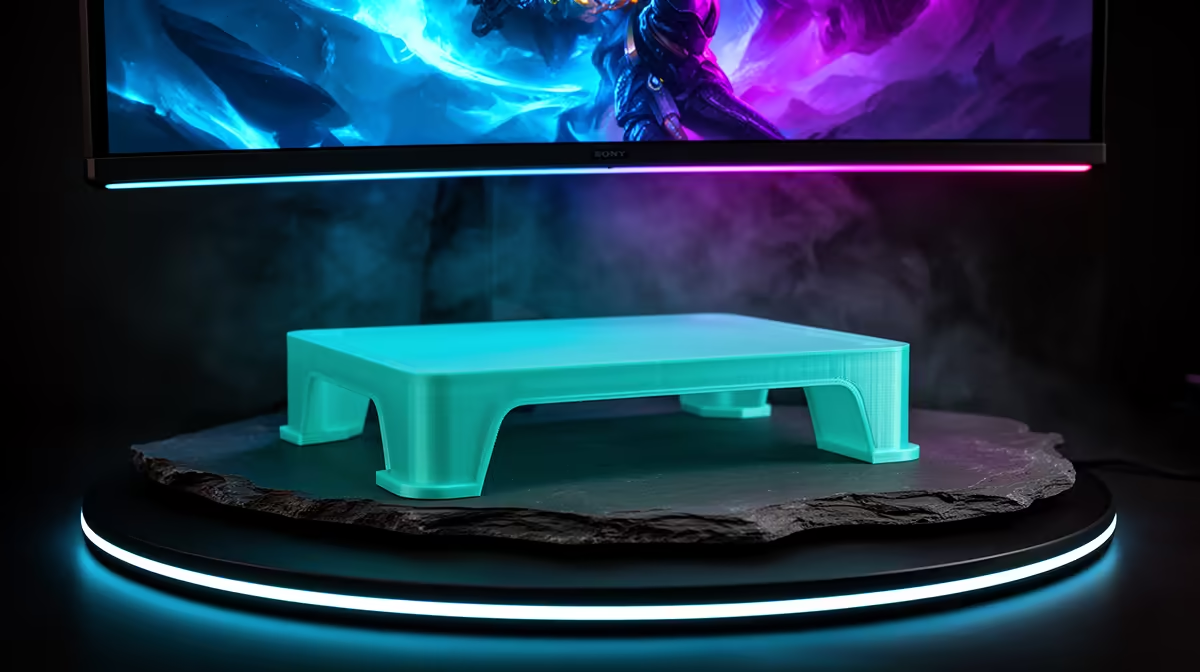
A monitor riser looks like an easy first print until you remember what it has to hold: a screen that can weigh four or five kilograms, balanced on a structure you made from molten plastic. Get the 3D printed monitor riser wrong and it sags, cracks or tips over weeks later. Get it right with the correct material and wall settings, and it raises your screen to eye level for the cost of a few hundred grams of filament.
Quick Answer
Print a monitor riser in PETG or ABS, not PLA, and use 4 to 5 perimeter walls with internal ribbing rather than chasing a high infill percentage. Perimeters and geometry carry the load far better than fill density. A well-designed riser easily supports a 5kg monitor at a fraction of the cost of a bought stand.
Step 1: Pick the Right Material
PLA is stiff but creeps under sustained load, meaning it slowly deforms when something heavy presses on it for days. A monitor sitting on a PLA riser is exactly that kind of constant load, so the riser can bow over time. PETG resists this creep and absorbs knocks without shattering. ABS is also strong and handles a warm room well, though it needs an enclosed printer to print cleanly. For most home setups, PETG is the sweet spot.
If you are still choosing a machine to print structural parts like this, the 3D printer options at Evetech show which models handle PETG and ABS comfortably.
Step 2: Design for Strength, Not Just Looks
Before slicing, get the model right. A flat slab will flex; ribs and gussets will not.
- Set the top surface wide enough to sit under the full base of your monitor stand, with a few centimetres of margin each side.
- Add internal ribs running front to back and side to side, like a waffle structure under the deck. These do most of the load-bearing work.
- Include short walls or lips that stop the monitor foot from sliding off.
- Keep the height sensible. Raising a screen 80 to 120mm covers most ergonomic gaps. Taller risers need wider feet to stay stable.
Step 3: Dial In Your Slicer Settings
This is where many risers fail. The instinct is to crank infill to 80 percent, but that wastes filament and time without adding much strength where it counts.
- Set perimeters (wall count) to 4 or 5. Walls carry load far more efficiently than infill.
- Use 25 to 35 percent infill with a grid or gyroid pattern. Beyond that you get diminishing returns.
- Increase top and bottom layers to 5 or 6 so the deck that meets the monitor does not flex.
- Print at a layer height around 0.2mm for a good balance of strength and speed.
- Orient the part so the layers run across the load, not along a weak split line.
Step 4: Print and Cure
Run the print and let it cool fully on the bed before removing it. PETG bonds layers strongly but benefits from a slightly higher nozzle temperature than PLA, so follow your filament's recommended range. If the first riser flexes more than you like, add a second rib pass in the model rather than reprinting at higher infill.
Step 5: Test the Load Before Trusting It
Do not put your monitor straight onto a fresh print. Press down hard on the deck with both hands and watch for flex or creaking. Then load a similar weight, a stack of books works, and leave it for a day to confirm nothing creeps. Only then move your screen across.
The glue sticks, scrapers and spare nozzles that keep these prints clean are covered in our most-popular printer accessories, worth having on hand before a multi-hour structural print.
Frequently Asked Questions
Can I print a monitor riser in PLA?
You can, but it risks slowly bowing under the constant weight of a screen. PLA creeps under sustained load, so PETG or ABS is the better choice for anything holding a few kilograms for months.
How much infill does a monitor riser need?
Around 25 to 35 percent with a strong grid or gyroid pattern is plenty. The real strength comes from 4 to 5 perimeter walls and internal ribbing, not from packing the inside solid.
How tall should a printed monitor riser be?
Most people need 80 to 120mm to bring the screen to eye level. Measure the gap between your current screen centre and your seated eye line, then design to close it without making the base too narrow to stay stable.
Will a printed riser hold a heavy ultrawide monitor?
A well-ribbed PETG riser with wide feet can handle 5kg and more. For very heavy or wide screens, increase the deck size and rib density, and always load-test with a similar weight before trusting it.
Why use ribbing instead of more infill?
Ribs place material exactly where the load travels, giving you strength for less filament and shorter print time. Blanket high infill adds weight and cost everywhere, including places that carry no load.