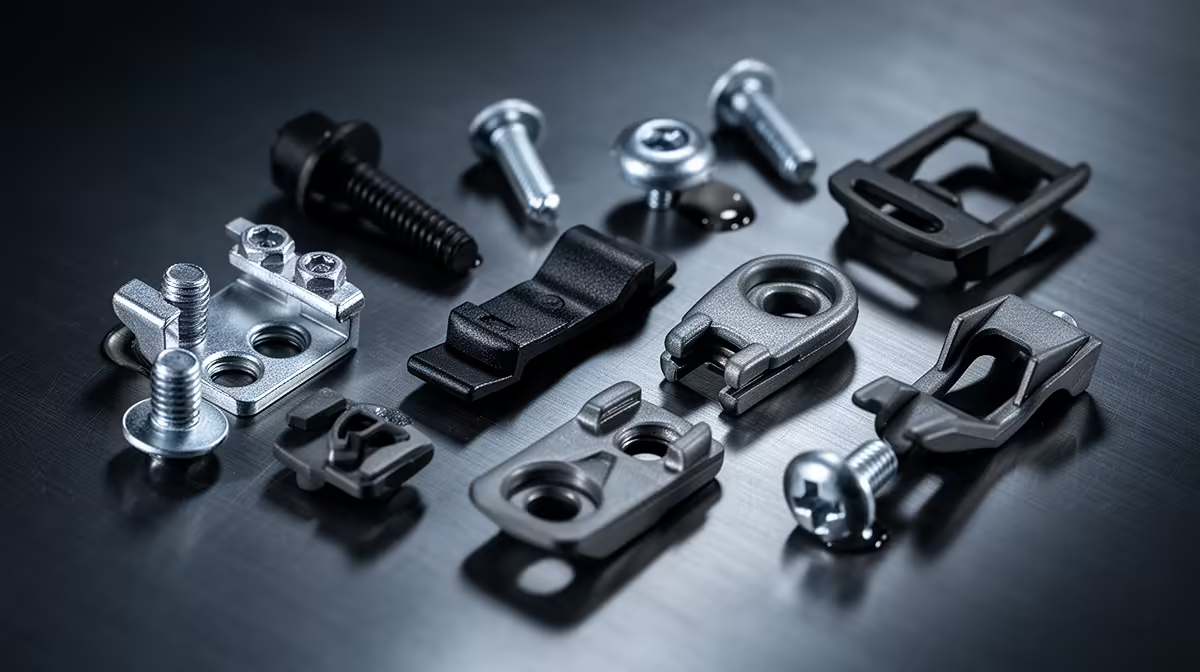
A trim clip printed in PLA looks perfect on the bench and fails the first hot afternoon it spends in a parked car. Printing automotive clips and trim fasteners is less about the geometry and more about the material: PLA softens near 55 degrees C, and a closed SA cabin in summer sun sails well past that. Pick the right filament first, and the fastener lasts; pick PLA, and it deforms before you have driven home.
Quick Answer
Print automotive clips and trim fasteners in ASA or ABS, not PLA. A parked car interior in SA summer can reach 70 to 80 degrees C, which is above PLA's softening point but well within ASA and ABS service ranges. ASA adds UV resistance for exterior trim, so it covers both cabin and underbonnet jobs.
Step 1: Choose the Right Filament
This is the decision that determines success or failure, so make it before you slice anything.
- ASA is the default pick. It handles cabin heat, resists UV so it will not chalk or go brittle on exterior trim, and prints with good dimensional accuracy for snap-fit parts.
- ABS works for interior and underbonnet clips that stay out of direct sunlight. It is tough and heat-tolerant but is not as UV-stable as ASA outdoors.
- PLA is fine for a test fit on the bench and nothing else. Do not put a PLA fastener anywhere near a car that parks in the sun.
If you are still choosing a machine for this kind of work, the enclosed printers in the components and 3D printers range are the ones to look at, because an enclosure is close to mandatory for clean ASA and ABS results.
Step 2: Set Up an Enclosed, Warm Print Environment
ASA and ABS warp if the print cools unevenly, so an enclosed printer is the practical requirement here. The enclosure holds chamber heat, which keeps lower layers warm while upper layers print and stops the corners lifting off the plate.
- Use a heated bed at the filament maker's recommended temperature, typically around 90 to 110 degrees C for ABS and ASA.
- Close the enclosure and let the chamber warm up before a long print.
- Ventilate the room, because both materials emit fumes; print in a space with airflow to the outside, not a sealed bedroom.
Step 3: Dial In Adhesion and First Layer
Warping starts at the build plate, so first-layer adhesion is everything.
- Clean the plate with isopropyl alcohol so there is no oil from handling.
- Apply a glue stick or an adhesion sheet rated for ABS and ASA.
- Add a brim of five to eight millimetres around the part to anchor the corners.
- Slow the first layer down and slightly squish it for a solid bond.
Step 4: Tune Strength for Snap-Fit Clips
A trim clip flexes every time it engages, so it needs strength in the right direction.
- Orientation matters most. Print the clip so the snap arm flexes across the layer lines rather than along them, which stops it splitting at a layer boundary.
- Walls over infill. Three or four perimeters give a snap arm far more durability than high infill with thin walls. Aim for solid perimeters and 30 to 50 percent infill in the body.
- Avoid sharp internal corners in the design, since they concentrate stress exactly where a clip is meant to bend.
Step 5: Test Fit and Iterate
Clips are tolerance-sensitive, so expect to print a couple of revisions.
- Print one clip first, not a batch of ten.
- Test the fit cold and warm, because a fit that is perfect on a cool morning can loosen in cabin heat.
- Adjust the dimensions in small steps of 0.1 to 0.2mm until the snap is firm but not forced.
- Once the fit is right, batch the rest. Keep spare nozzles and adhesion supplies on the shelf; the consumables that matter for repeat printing are easy to pick out from the accessories best sellers at Evetech so you are not stalled mid-run. If you are still choosing a machine, the 3D printer range at Evetech covers enclosed FDM printers suited to ASA and ABS work.
Frequently Asked Questions
Why does PLA fail in a car when it prints so easily?
PLA softens at around 55 degrees C, and a closed SA cabin in summer sun comfortably exceeds that. The clip does not melt into a puddle, it slowly creeps and loses its snap, so it stops holding the trim panel. ASA and ABS keep their shape across that temperature range.
Do I really need an enclosure for ASA and ABS?
In practice, yes. Both materials warp badly if cooling is uneven, and an enclosure holds chamber heat so the part cools slowly and evenly. You can sometimes get small parts to print open, but an enclosure makes the result reliable.
ASA or ABS for an exterior trim clip?
ASA, because it resists UV and will not become brittle or chalky after sun exposure. ABS is better kept to interior or underbonnet parts that stay out of direct sunlight.
What infill and wall settings suit a snap-fit fastener?
Favour three to four perimeters with 30 to 50 percent infill, and orient the part so the flexing arm bends across the layers. Wall count protects the snap arm far more than raw infill percentage does.
How tight should the fit be before I batch print?
Aim for a firm snap that engages with light pressure and holds without forcing. Test both cold and warm, then trim the dimensions in 0.1mm steps until it is right, since heat changes the fit.
Set up for heat-tough automotive prints by browsing enclosed machines and ASA-ready supplies across the Evetech 3D printer range, then start with a single test clip before you batch.