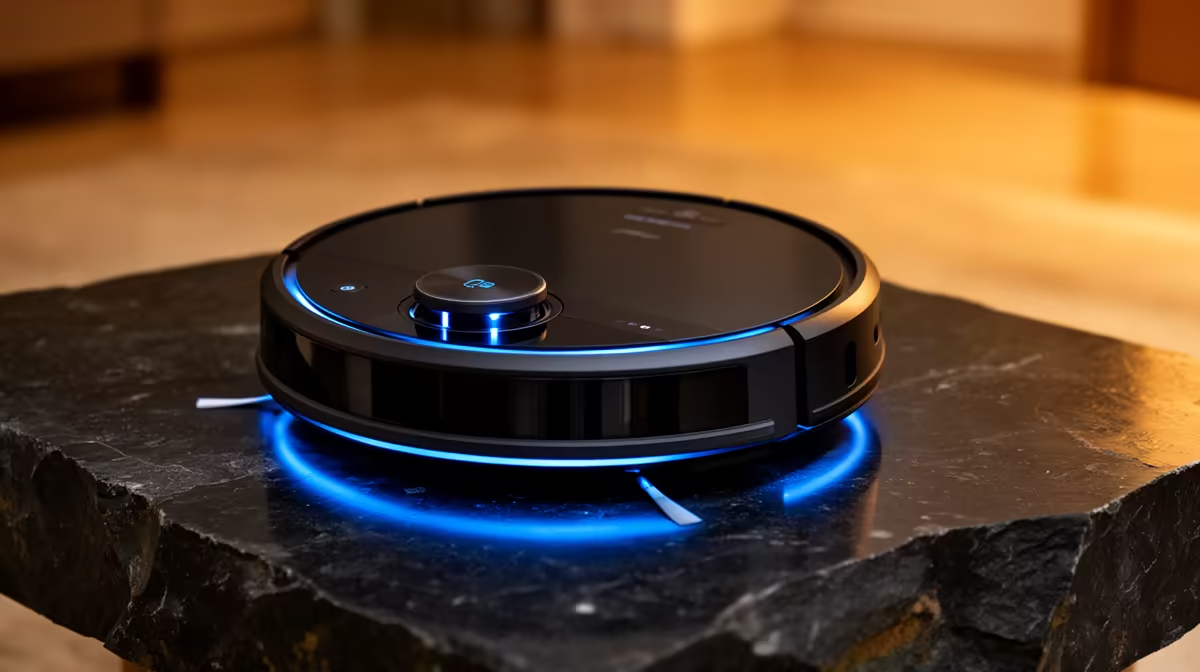
A robot vacuum is only as smart as the map it cleans from, and the two features that turn it from a bumping toy into a genuinely automated cleaner are no-go zones and per-room schedules. Set both correctly and the robot avoids the spots that trip it up while cleaning each room on its own timetable, all without you touching a physical barrier or a button.
Quick Answer
In the app, you draw virtual no-go zones directly onto the saved LiDAR map around hazards like loose cables or pet bowls, and the robot respects them with no physical strips needed. Per-room scheduling then lets you assign each room its own cleaning days and times. Both rely on the robot having completed at least one full mapping run first.
Before You Start: Get a Clean Map
Everything here depends on a good saved map, so this step comes first.
- Run a full mapping pass. On the first clean, let the robot explore the whole home uninterrupted. LiDAR models build the map as they go, scanning the room layout with a spinning laser. Do not pick the robot up or move it mid-run, as that confuses the mapping.
- Tidy the floor for the mapping run only. Lift trailing cables and stray shoes out of the way this once so the robot maps the true room shape rather than mapping around clutter that will not be there next time.
- Save and name the map. Once the run finishes, the app prompts you to save. Name rooms clearly (Lounge, Main Bedroom, Kitchen) because you will reference these names when scheduling.
Setting No-Go Zones
No-go zones are rectangles or shapes you draw on the map to mark areas the robot must never enter. They replace the old magnetic strips entirely.
- Open the map editor. In the app, go to the saved map and find the editing or zone settings option. This is usually an icon shaped like a pencil or a layered map.
- Add a no-go zone. Select the no-go or restricted area tool and a box appears on the map. Drag it over the spot you want protected.
- Size and rotate it. Pull the corners to resize and use the rotate handle to angle it. Cover the hazard with a little margin so the robot keeps a safe distance, not just the exact footprint.
- Place zones where the robot gets stuck. Common spots are tangles of cables behind a desk, a pet feeding station, a delicate floor lamp base, the fringe of a rug that jams the brush, or a doorway threshold the robot struggles to cross.
- Save the zone. Confirm and the robot will route around that area on every clean from now on. Some apps also offer a "no-mop" zone for carpeted areas if your model mops, which keeps water off the carpet.
A worthwhile habit is to run the robot once with zones in place and watch where it still hesitates or wedges itself, then add or resize zones to cover those exact points. A few minutes of tuning saves you rescuing the robot from under the couch every week.
Setting Per-Room Cleaning Schedules
Scheduling is where the automation pays off, because you can match cleaning to how each room is actually used.
- Open the scheduling section. Find the schedule, timer or routine area in the app.
- Create a new schedule entry. Choose the days of the week and the start time. Pick a time you are usually out so the noise does not bother anyone.
- Select specific rooms. Rather than cleaning the whole home, tap to include only certain rooms in this schedule. This is the key step: assign the kitchen a daily clean, bedrooms perhaps twice a week, and a guest room only when needed.
- Set the cleaning strength per schedule if available. Many apps let you choose suction power or number of passes per routine, so a high-traffic entrance can get a stronger clean than a quiet study.
- Save and let it run. Build a few entries: a daily kitchen-and-lounge pass on weekday mornings, a full-home clean at the weekend, and lighter passes elsewhere. The robot now manages itself.
Tuning It Over the First Week
The first week is for refinement. Watch the cleaning reports the app generates after each run, which show the path taken and any spots skipped. If a room is being missed or a zone is too aggressive, adjust the map. If the robot keeps getting stuck somewhere you did not anticipate, add a no-go zone there. Treat the setup as something you tune once and then leave alone, not something you fight with daily.
If you are choosing a robot or adding accessories, the broader smart home appliance range at Evetech covers the LiDAR-equipped models where this mapping works properly, and a few well-chosen accessories such as spare brushes and filters keep the cleaning quality up over the months.
Frequently Asked Questions
Do I need physical barrier strips with a LiDAR robot?
No. Virtual no-go zones drawn in the app replace magnetic strips entirely. You define restricted areas on the saved map, and the robot avoids them using its own position tracking, with nothing physical to lay down or move.
Why does the robot need to map the home first?
No-go zones and room scheduling are drawn onto a saved map, so the robot must complete at least one full mapping run to build that map before either feature is available. Let the first clean finish uninterrupted to get an accurate layout.
Can I clean only one room without the whole house?
Yes. Per-room scheduling and spot cleaning let you target a single room. Select just that room in a schedule or send the robot to it on demand, which is handy for a kitchen after cooking or a quick tidy before guests arrive.
What happens if I move furniture around?
Small changes are handled automatically as the robot re-scans during cleaning. After a major rearrangement, it is worth running a fresh mapping pass and re-checking your no-go zones so they still line up with the new layout.
Can different rooms have different cleaning days?
Yes, and this is the main benefit of per-room scheduling. Assign high-traffic rooms a daily clean and quieter rooms a weekly one, each with its own start time, so the robot cleans on a timetable that matches real use.