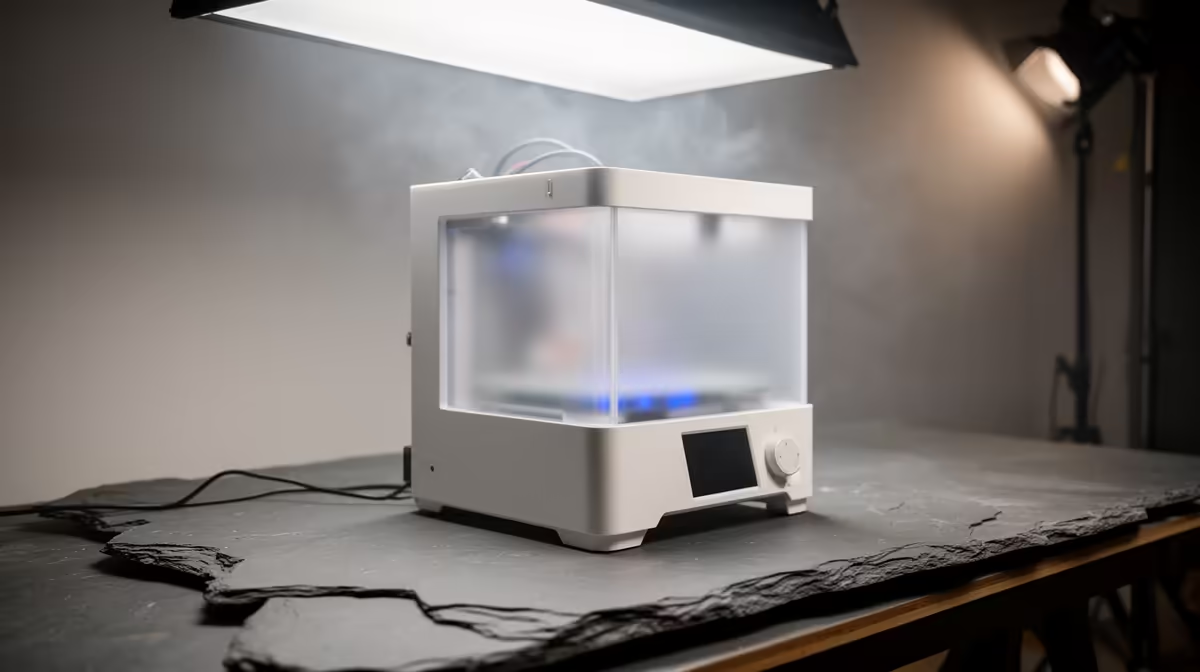
Your first resin printer rewards patience in exactly four places: a flat build plate, a correctly filled vat, the right exposure for your bottle, and a throwaway test before you ever load a real model. Get those four in order and your opening week is clean prints instead of peeled supports and cloudy FEP. Rush them and the printer becomes a R3,000 paperweight that smells of solvent.
Quick Answer
Set up an entry resin printer in four ordered steps: level the build plate directly against the bare LCD, fill the vat between roughly a third and the max line, dial in layer exposure for your specific resin (commonly 2 to 3 seconds per normal layer on a mono LCD), then run the supplied validation print before any model. Budget about an hour for a first calibration.
Step 1: Unbox and Level to the Bare LCD
Pull every scrap of foam and the protective film off the LCD before anything else. Resin printers level against the screen itself, not a heated bed.
- Remove the vat so the LCD is exposed.
- Loosen the build-plate grub screws so the plate floats freely on its ball joint.
- Lay a sheet of standard A4 paper across the screen.
- Lower the plate onto the paper, press down firmly and evenly, then tighten the grub screws while holding that pressure.
- Set the Z home (zero) at this position.
The paper should drag with slight resistance when you tug it. Too loose and your first layers will not stick; too tight and you risk cracking the LCD.
Step 2: Refit the Vat and Fill Correctly
Reinstall the vat and check the FEP film is taut, like a drum skin, with no debris underneath. Shake your resin bottle for a good 30 seconds because pigment settles.
Pour slowly down the inside wall to avoid bubbles. Keep the level between roughly a third full and the moulded max line. Overfilling makes the plate displace resin over the edge on every layer; underfilling starves tall prints near the top of the bottle. If you spot bubbles, pop them with a gloved finger or let the vat settle for a few minutes before printing.
Step 3: Set Layer Exposure for Your Resin
Exposure is where most first prints fail, because the value is resin-specific, not printer-specific. Standard photopolymer resins on a 2K or 4K mono LCD usually sit around 2 to 3 seconds per normal layer, with bottom (burn-in) layers far longer, often 25 to 40 seconds across 4 to 6 layers to anchor the print to the plate.
Reading Your Resin Label
Most SA-stocked bottles print a suggested exposure on the label or the manufacturer page. Use that as your starting point, then adjust:
- Prints sticking to the FEP instead of the plate: increase bottom exposure or bottom layer count.
- Models coming out bloated, with closed holes and lost detail: reduce normal exposure by 0.2 to 0.5 seconds.
- Brittle or incomplete walls: increase normal exposure slightly.
Cold resin cures slower. In a Cape Town winter garage, warm the bottle in warm water first or expect to add time.
Step 4: Run the Validation Print First
Never let your first job be a 6-hour figurine. Print the small validation or test model that ships on the supplied USB, or a free exposure test like a calibration matrix. It finishes in 15 to 30 minutes and tells you instantly whether levelling and exposure are right. If the test base lifts or detail smears, you have saved yourself a wasted bottle and a ruined long print.
For the printer itself, the current entry MSLA options live in the 3D printer range at Evetech, where mono-LCD models make the most sense for a first machine.
Safety and Cleanup You Cannot Skip
Uncured resin is an irritant. Wear nitrile gloves and work in a ventilated space. After printing, wash parts in isopropyl alcohol, then cure them under UV. Keep a stack of gloves, paper towel and a spare FEP sheet on hand, and you will find most of those consumables alongside other workshop kit in the accessories that sell fastest at Evetech.
Frequently Asked Questions
How long should bottom layers be exposed on an entry resin printer?
Bottom or burn-in layers typically need 25 to 40 seconds across 4 to 6 layers, far longer than normal layers. They create the strong foundation that holds the whole print to the build plate.
Why did my first print stick to the FEP instead of the plate?
Almost always under-cured bottom layers or an unlevelled plate. Re-level against the bare LCD and increase your bottom exposure time or bottom layer count, then run the test print again.
Can I use any resin in an entry-level MSLA printer?
Most standard 405nm photopolymer resins work in any modern mono-LCD printer. Always set exposure to that specific bottle rather than reusing settings from a different brand.
How full should I fill the resin vat?
Keep the level between roughly a third full and the moulded maximum line. That covers the plate's travel without overflowing when the plate plunges down on each layer.
Do I really need to run a validation print?
Yes. A 15 to 30 minute test confirms levelling and exposure before you commit hours of print time and a chunk of a resin bottle to a real model.
Ready to start printing? Browse the entry-level MSLA machines and workshop consumables in the 3D printer range at Evetech and get your first setup right the first time.