
Clean Gaming Keyboard: Guide for Dusty & Humid Conditions
Clean gaming keyboard quickly and safely in dusty or humid conditions with step-by-step tips, tool checklist, and maintenance routines to prevent corrosion and switch failure. 🧼💨
Read more- Plan steps; - Prep tools; - Secure mounts. Install 120mm AIO CPU liquid cooler step-by-step with clear safety tips, mounting pointers, and testing checks 🔧❄️

Is your CPU hitting thermal limits during an intense gaming session? There is nothing worse than frame drops when you are one kill away from a Chicken Dinner. If you are struggling with high temps, it is time to upgrade your cooling solution. Learning how to install a 120mm AIO CPU liquid cooler is one of the most effective ways to lower your thermals without needing a massive case. 🔧
Before you start, you need to ensure you have the right gear. Whether you are building from scratch or upgrading an existing PC, browsing our full range of CPU coolers is the best place to start. For those leaning toward a sleek liquid setup, our dedicated AIO liquid cooler section features options to suit any budget.
If you want premium aesthetics and top-tier pump performance, you cannot go wrong with a Corsair AIO. Alternatively, for gamers who want high-end thermal dissipation at a competitive price point, Deepcool liquid coolers are a firm favourite in the South African market. ⚡
Once you have your cooler, clear your workspace. Ensure your motherboard is ready and your thermal paste is at the ready. While many modern coolers come with pre-applied paste, keep a spare tube handy just in case. If you find that a 120mm unit isn't enough for your overclocking ambitions, you might want to look at a 240mm radiator setup or even a 360mm radiator if your chassis supports it. 🚀
When mounting your radiator, ensure the tubes are at the bottom if mounted at the front of your case. This prevents air bubbles from getting trapped in the pump block, which can cause annoying clicking noises and shorten the lifespan of your unit.
Take your time. There is no rush when you are dealing with delicate pins and thermal paste. Once everything is secured, boot up your BIOS to ensure the pump is detected and running at the correct RPM. ✨
Ready to Find Your Perfect Match? Keeping your system cool is the first step toward peak performance. Whether you need a compact 120mm cooler or a heavy-duty thermal solution, browse our complete range of cooling components and get your rig running ice-cold today.
Follow the manual: attach the backplate, apply thermal paste, mount bracket and pump, then secure the 120mm radiator and fan. See how to install 120mm AIO cooler for details.
Many mini-ITX cases support a single 120mm radiator, but check case specs. Search for 120mm aio for mini-itx to confirm clearance and mounting points.
Mounting varies by bracket. Use the included hardware and reference mount 120mm liquid cooler intel or AMD instructions for correct orientation and torque.
Both work; push is easier for tight builds. Consider AIO pump fan orientation 120mm and case airflow to optimize temps and dust control.
Use a pea-sized or thin line of paste centrally. For best results, choose recommended best thermal paste for AIO brands and spread method per CPU type.
Power off, reseat connections and check fittings. If noise or leaks persist, follow 120mm AIO installation tutorial troubleshooting or contact vendor support.
Expect 20–45 minutes for a first-time install, including prep, mounting, cable routing, and testing in our step by step 120mm AIO install guide.
Clean gaming keyboard quickly and safely in dusty or humid conditions with step-by-step tips, tool checklist, and maintenance routines to prevent corrosion and switch failure. 🧼💨
Read more
Best gaming keyboard features to prioritize when building a high-end setup: mechanical switches, low latency, hot-swap, RGB, macros, durability and ergonomics 🎮⌨️
Read more
Custom actuation point keyboard setup guide: learn to set per-key actuation on your analog gaming keyboard for faster, precise inputs and better control 🎮⚙️
Read more
Cable management for home entertainment helps you eliminate cable clutter quickly and safely. Learn routing, concealment, and product picks to tidy your setup fast 📺🔌
Read more
conference room setup Microsoft Teams Zoom: Upgrade AV, camera, mic, and network to ensure seamless meetings, clear audio, and crisp video 🎯🔧
Read more
• Audit setup • Link accounts • Configure ViewBoard • Test workflows Integrate Google Workspace with ViewSonic ViewBoard to enable secure SSO, calendar and Drive sync, and smooth collaborative whiteboarding 🔗📋
Read more
Discover webcams that automatically adjust light and color for crystal-clear video calls 🎥✨. Boost your streaming quality today!

Discover webcams that blend into your workflow 🎯 Capture moments while you work, stream, or create. Upgrade your setup with smart, multitasking tech!
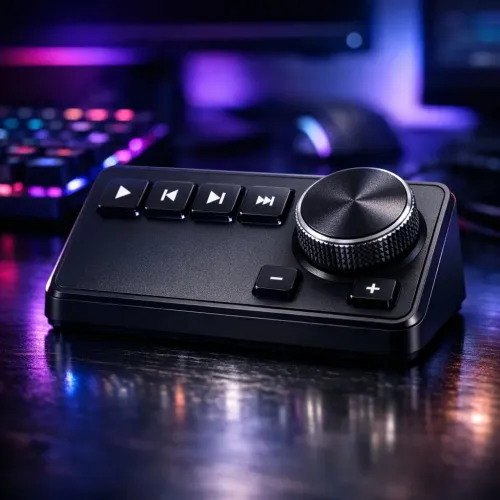
Dedicated media keys give streamers one-touch control to mute, switch scenes, clip highlights, and adjust audio — cutting task time and boosting consistency 🎛️⚡
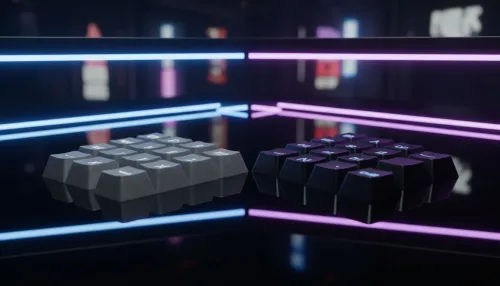
PBT vs ABS keycaps: Clear, local guide for South African gamers—compare feel, sound, durability and where to buy. Find the best material for your budget and playstyle 🎮🇿🇦

- Multi-Function Digital Dial: define benefits - Show gamer setups and macros - Offer buying and setup tips Multi-Function Digital Dial puts programmable control at your fingertips for faster actions and smoother streaming. 🎮⚙️
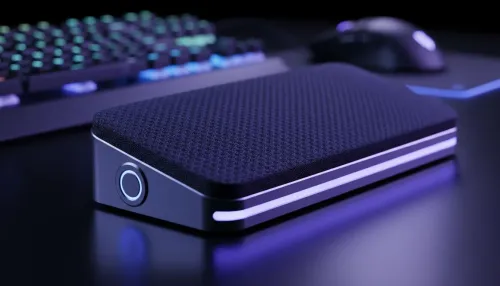
- Explain benefits; - Show the science; - Compare options; - Recommend picks. Magnetic wrist rest for gaming cuts wrist strain and boosts comfort during long sessions 🕹️✨