
Clean Gaming Keyboard: Guide for Dusty & Humid Conditions
Clean gaming keyboard quickly and safely in dusty or humid conditions with step-by-step tips, tool checklist, and maintenance routines to prevent corrosion and switch failure. 🧼💨
Read moreTired of WiFi dead zones? Our guide to mesh WiFi setup in South Africa simplifies everything. We walk you through unboxing, optimal placement, and app configuration for seamless, whole-home coverage. Say goodbye to buffering and hello to fast, reliable internet everywhere! 📶✨

Is your WiFi connection feeling a bit... flaky? You’ve got a fast fibre line, but the signal dies the second you move two rooms away. It’s a classic South African problem, especially in homes with those solid, signal-blocking walls. If you’re tired of buffering streams and lag spikes ruining your game, it’s time to stop fighting with your router. A proper Mesh WiFi setup in South Africa is the ultimate solution for blanketing your entire home in a seamless, powerful signal. 🚀
For years, the go-to fix for bad WiFi was a range extender. But let's be honest, they often create more problems than they solve, with separate network names and frustrating signal handoffs. A mesh system is different. It uses multiple nodes, or points, that work together as a single, intelligent network.
Imagine your main router is the team captain. In a mesh system, it has a squad of teammates (the nodes) spread around your house. They all communicate with each other, automatically routing your connection through the fastest, strongest path. As you move from the lounge to the patio, your phone or laptop seamlessly switches between nodes without you ever noticing a drop. This is worlds away from the clunky experience of most wireless range extenders, which can often slash your speeds in half.
Getting your new mesh network up and running is surprisingly simple. Most modern systems are designed to be set up in minutes using a smartphone app. Here’s a straightforward guide to your Mesh WiFi setup.
Before you even open the box, think about where your WiFi dead zones are. The goal is to place your satellite nodes roughly halfway between the primary node (the one connected to your modem) and the areas with weak signal. Avoid hiding them in cupboards or behind thick furniture. For a typical three-bedroom house, one node near the router, one in a central hallway, and one near the main entertainment or office area works wonders. ✨
This is your new network’s brain. Unplug your old router. Take one of the mesh nodes and connect it directly to your fibre ONT or ADSL modem using the included Ethernet cable. Plug it into the power and wait for the status light to indicate it’s ready for setup (check your manual, but it’s usually a solid or pulsing blue/white light).
For the best performance, try to maintain a clear line of sight between your mesh nodes. Place them in open areas, on shelves or tables rather than on the floor. In a double-storey house, placing a node near the staircase can significantly improve the signal between floors.
Download the manufacturer’s app (e.g., TP-Link Deco, Google WiFi, Netgear Orbi) on your phone. The app will automatically detect the primary node. Simply follow the on-screen instructions to create a new network name (SSID) and a secure password. This is the only network name you’ll need for your entire home.
Once your primary node is configured, the app will prompt you to add the other nodes. Plug them into their pre-planned spots around your home. The app will detect them, add them to the mesh, and test the signal strength to confirm they have a good connection back to the primary node. If the connection is weak, the app will suggest moving it a bit closer. Easy as that!
With your setup sorted, which system should you get? For most homes, a 2 or 3-pack WiFi 6 (802.11ax) system is the sweet spot. It offers fantastic speeds, better capacity for lots of devices, and is future-proof. While many modern devices have built-in WiFi, for a high-performance gaming desktop, pairing your mesh network with dedicated wireless adapters can ensure you get the most stable, low-latency connection possible.
Ultimately, the goal is to replace your single, struggling router with an intelligent team that works together. Many of the best mesh systems are available alongside traditional high-performance wireless routers, giving you plenty of options to find the perfect fit for your budget and home size.
Ready to Banish WiFi Dead Zones for Good? A proper mesh setup is the key to unlocking fast, reliable internet in every corner of your home. Stop tolerating lag and buffering. Explore our complete range of wireless networking gear and build the powerful home network you deserve.
Start by connecting the main router node to your modem with an Ethernet cable. Then, place satellite nodes around your home and use the manufacturer's app to complete the setup.
Place the main node near your modem. Position satellite nodes halfway between the main router and dead zones, ensuring they are not obstructed by thick walls or large appliances.
Yes, for most homes. Mesh WiFi creates a single, seamless network with one name, offering better performance and coverage than most extenders, which often create separate networks.
No, a mesh WiFi system works with your existing ISP modem. You simply connect the primary mesh node to your modem via an Ethernet cable to get started with your setup.
A typical two-to-three bedroom home in South Africa can be covered by a 2-pack system. Larger, multi-story homes may benefit from a 3-pack or more for complete coverage.
Absolutely. Most mesh systems are expandable. You can easily purchase and add more satellite nodes to your network if you need to extend your WiFi coverage even further.
Clean gaming keyboard quickly and safely in dusty or humid conditions with step-by-step tips, tool checklist, and maintenance routines to prevent corrosion and switch failure. 🧼💨
Read more
Best gaming keyboard features to prioritize when building a high-end setup: mechanical switches, low latency, hot-swap, RGB, macros, durability and ergonomics 🎮⌨️
Read more
Custom actuation point keyboard setup guide: learn to set per-key actuation on your analog gaming keyboard for faster, precise inputs and better control 🎮⚙️
Read more
Cable management for home entertainment helps you eliminate cable clutter quickly and safely. Learn routing, concealment, and product picks to tidy your setup fast 📺🔌
Read more
conference room setup Microsoft Teams Zoom: Upgrade AV, camera, mic, and network to ensure seamless meetings, clear audio, and crisp video 🎯🔧
Read more
• Audit setup • Link accounts • Configure ViewBoard • Test workflows Integrate Google Workspace with ViewSonic ViewBoard to enable secure SSO, calendar and Drive sync, and smooth collaborative whiteboarding 🔗📋
Read more
Discover webcams that automatically adjust light and color for crystal-clear video calls 🎥✨. Boost your streaming quality today!
Read more
Discover webcams that blend into your workflow 🎯 Capture moments while you work, stream, or create. Upgrade your setup with smart, multitasking tech!
Read more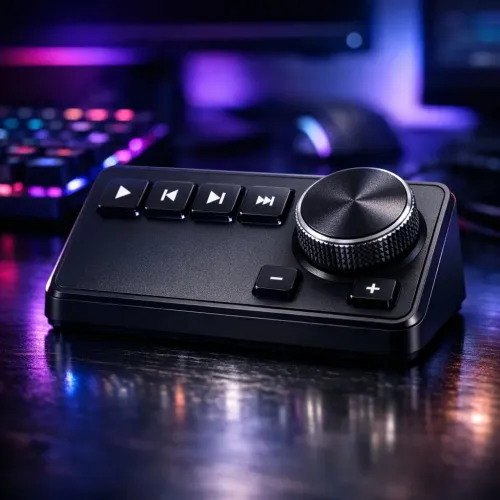
Dedicated media keys give streamers one-touch control to mute, switch scenes, clip highlights, and adjust audio — cutting task time and boosting consistency 🎛️⚡
Read more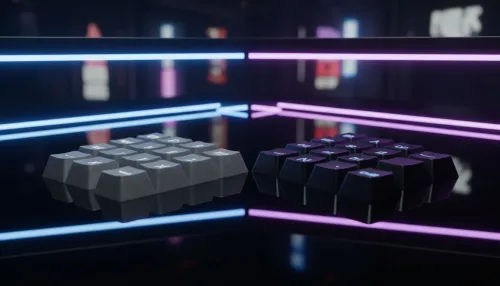
PBT vs ABS keycaps: Clear, local guide for South African gamers—compare feel, sound, durability and where to buy. Find the best material for your budget and playstyle 🎮🇿🇦
Read more
- Multi-Function Digital Dial: define benefits - Show gamer setups and macros - Offer buying and setup tips Multi-Function Digital Dial puts programmable control at your fingertips for faster actions and smoother streaming. 🎮⚙️
Read more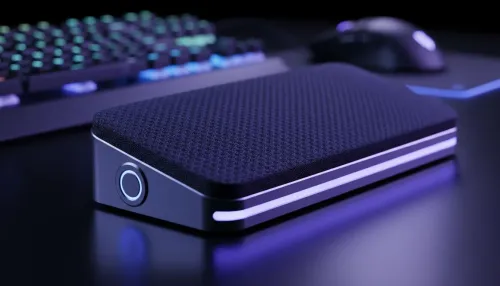
- Explain benefits; - Show the science; - Compare options; - Recommend picks. Magnetic wrist rest for gaming cuts wrist strain and boosts comfort during long sessions 🕹️✨
Read more