
Clean Gaming Keyboard: Guide for Dusty & Humid Conditions
Clean gaming keyboard quickly and safely in dusty or humid conditions with step-by-step tips, tool checklist, and maintenance routines to prevent corrosion and switch failure. 🧼💨
Read moreDeciding on your next SSD? Our NVMe vs SATA installation guide breaks down the process for PC builders in South Africa. Discover which drive—the cable-free M.2 NVMe or the traditional SATA—offers the simplest setup for your rig, helping you upgrade faster and with less hassle. 🛠️💻

So, you’re ready to upgrade your PC’s storage and ditch those agonising loading screens. Awesome! But now you face a classic builder’s dilemma: NVMe vs SATA. While speed is a huge factor, the actual installation process can be just as important, especially for a first-time upgrader. Which solid-state drive is the easiest to get up and running in your rig? Let’s break down the NVMe vs SATA installation process, cable-free convenience vs cabled reliability.
Before we grab a screwdriver, let's look at what you're actually holding. The biggest difference in the NVMe vs SATA installation debate comes down to their physical forms and how they connect to your PC.
A SATA SSD looks like a small, flat box (usually 2.5 inches). It's the traditional workhorse, requiring two separate cables: one for data that plugs into your motherboard, and one for power from your PSU.
An NVMe M.2 SSD, on the other hand, looks more like a stick of RAM. It’s tiny, sleek, and slots directly into a dedicated M.2 port on your motherboard. No cables, no fuss. This modern design is a big reason why many builders prefer it for a clean, minimalist look. While they are a classic for a reason, the two-cable setup of 2.5-inch SATA SSDs is the main hurdle.
Installing a SATA SSD is a rite of passage for many PC builders. It’s straightforward, but involves a few more steps and a bit of cable management.
Here’s the quick version:
The main challenge? Tucking those cables away neatly to keep your airflow optimised and your build looking sharp. It’s not difficult, but it takes a little more patience.
Before buying any drive, quickly check your motherboard’s manual. It will show you exactly where the M.2 slots and SATA ports are located, and if any ports get disabled when others are in use. This five-minute check can save you a massive headache!
This is where things get almost comically easy. An NVMe SSD installation is so simple it feels like cheating.
Here’s the entire process:
That’s it. You’re done. No cables to run, no drive bays to worry about. The sheer simplicity and speed of blazing-fast NVMe SSDs make them a top choice for modern builds where every second (and every inch of space) counts.
So, when it comes to the NVMe vs SATA installation face-off, which is truly easiest?
For pure, undeniable simplicity, the NVMe M.2 drive is the clear winner. ✨ The lack of cables and the direct-to-motherboard connection make it a quicker, cleaner, and more modern installation experience. It’s perfect for new builders who might be intimidated by cable management or those building in compact cases where space is a luxury.
However, that doesn't make SATA difficult! It's still a very simple process, and millions of gamers rely on these dependable drives. If your motherboard lacks a spare M.2 slot or you're on a tighter budget, a SATA drive is an excellent choice. Ultimately, both paths lead to a much faster PC, and you can find a huge range of Solid-State Drives (SSDs) to fit any need or budget.
Ready to Upgrade Your Storage? Whether you choose the straightforward SATA path or the cable-free speed of NVMe, a storage upgrade is one of the best bangs for your buck. Find the best SSD deals in South Africa and give your PC the boost it deserves.
Yes, for most modern motherboards. NVMe M.2 SSDs plug directly into the board without any data or power cables, making for a cleaner and quicker installation.
You typically only need a small Phillips head screwdriver to secure the SSD. For an NVMe M.2 drive, you'll use it for the small standoff screw on the motherboard.
Yes, a SATA SSD installation requires two cables: a SATA data cable that connects to your motherboard and a SATA power cable that connects to your power supply unit (PSU).
Check your motherboard's manual or product page for 'M.2 slots.' It will specify the supported sizes (e.g., 2280) and interface (PCIe/NVMe or SATA) for the slot.
It depends. If your older motherboard lacks an M.2 slot, you can use a PCIe adapter card to install an NVMe SSD, but this adds an extra step to the process.
For ease of installation, an NVMe M.2 SSD is often the easiest SSD to install for beginners. It eliminates cable management, which can be a tricky part of a first build.
Clean gaming keyboard quickly and safely in dusty or humid conditions with step-by-step tips, tool checklist, and maintenance routines to prevent corrosion and switch failure. 🧼💨
Read more
Best gaming keyboard features to prioritize when building a high-end setup: mechanical switches, low latency, hot-swap, RGB, macros, durability and ergonomics 🎮⌨️
Read more
Custom actuation point keyboard setup guide: learn to set per-key actuation on your analog gaming keyboard for faster, precise inputs and better control 🎮⚙️
Read more
Cable management for home entertainment helps you eliminate cable clutter quickly and safely. Learn routing, concealment, and product picks to tidy your setup fast 📺🔌
Read more
conference room setup Microsoft Teams Zoom: Upgrade AV, camera, mic, and network to ensure seamless meetings, clear audio, and crisp video 🎯🔧
Read more
• Audit setup • Link accounts • Configure ViewBoard • Test workflows Integrate Google Workspace with ViewSonic ViewBoard to enable secure SSO, calendar and Drive sync, and smooth collaborative whiteboarding 🔗📋
Read more
Discover webcams that automatically adjust light and color for crystal-clear video calls 🎥✨. Boost your streaming quality today!

Discover webcams that blend into your workflow 🎯 Capture moments while you work, stream, or create. Upgrade your setup with smart, multitasking tech!
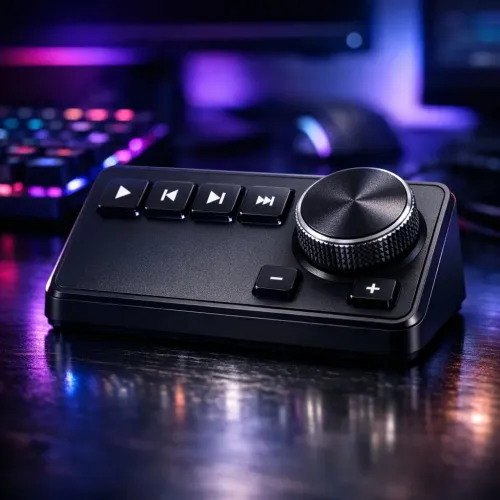
Dedicated media keys give streamers one-touch control to mute, switch scenes, clip highlights, and adjust audio — cutting task time and boosting consistency 🎛️⚡
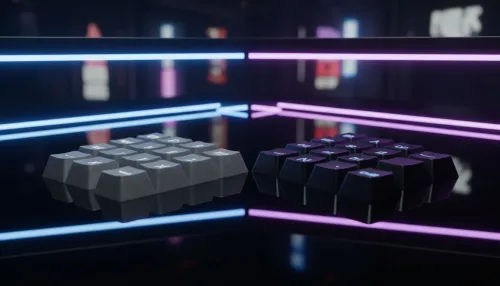
PBT vs ABS keycaps: Clear, local guide for South African gamers—compare feel, sound, durability and where to buy. Find the best material for your budget and playstyle 🎮🇿🇦

- Multi-Function Digital Dial: define benefits - Show gamer setups and macros - Offer buying and setup tips Multi-Function Digital Dial puts programmable control at your fingertips for faster actions and smoother streaming. 🎮⚙️
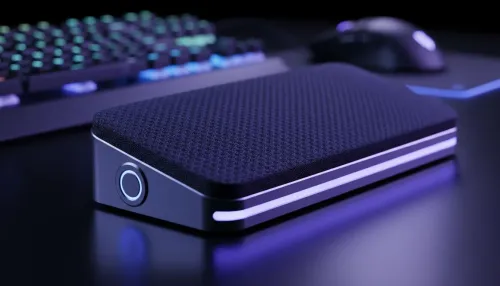
- Explain benefits; - Show the science; - Compare options; - Recommend picks. Magnetic wrist rest for gaming cuts wrist strain and boosts comfort during long sessions 🕹️✨