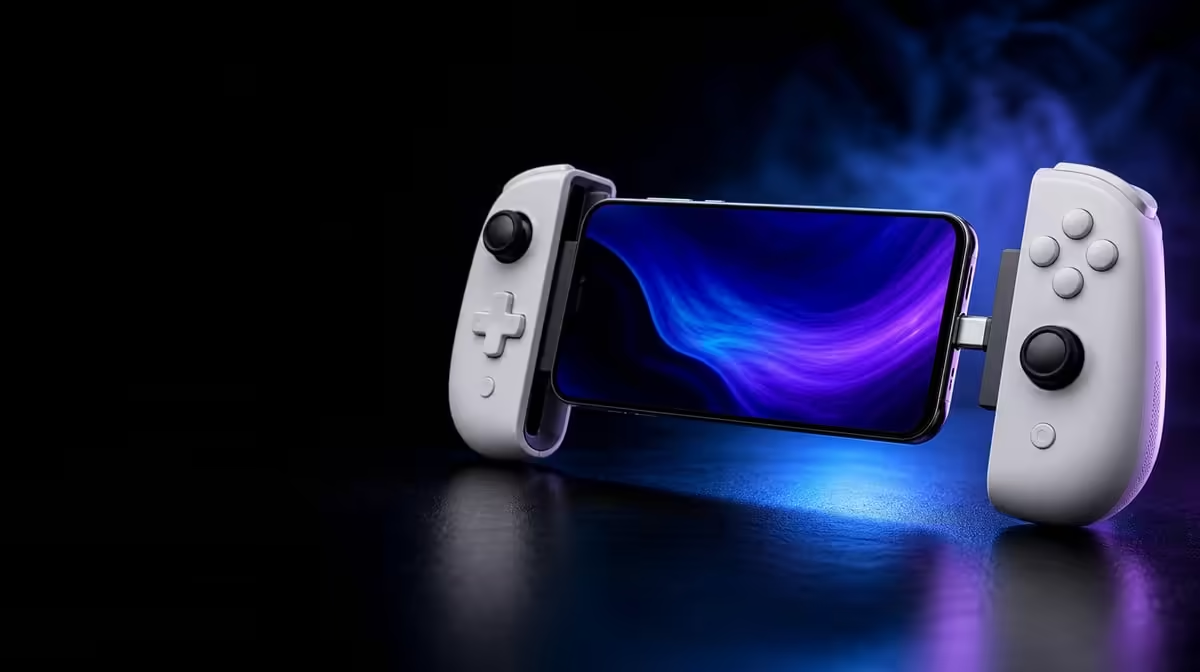
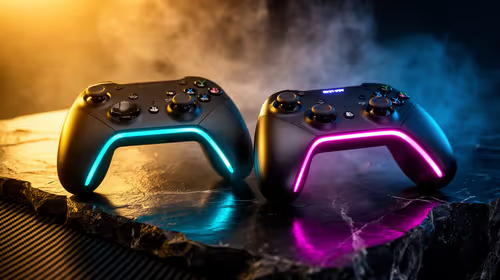
A phone should slide into a controller with deliberate, even pressure, not a last-second shove. A careful USB-C stretchable mobile controller setup protects the connector, keeps the handset balanced and gives every control a fair first test. The GameSir X3 Pro brings its cooler and controls into the same frame, so its R1,199 price covers a more involved installation than simply pairing a pad.
Quick Answer
Start with the phone switched on and its case removed, inspect the USB-C port, then extend the X3 Pro only far enough to align the plug before lowering the opposite edge. At R1,199, the controller also needs a separate check of cooler contact, power routing and supported game input before the setup is complete.
🔌 Seat the phone without loading the connector
Dry-fit the handset before connecting anything. Compare the phone's length, camera bump and port position with the controller's open space, and remove any case that changes those dimensions. A case may appear thin yet still lift the back of the phone away from the cooler or push the USB-C plug sideways.
Extend the stretchable body with both hands. Keep the phone parallel to the controller, guide the connector into the port and then ease the far edge into its support. If the plug meets resistance, stop and inspect alignment. Extra force is not a compatibility test. It is more useful to restart the seating process than to bend either part.
Once fitted, look along the top and bottom edges. The phone should not be twisted, the connector should sit straight and the grip should feel balanced in both hands. Press gently near each end to check for rocking. Buyers comparing physical layouts can inspect the current mobile controller range before choosing a design.
Establish a clean first connection
Unlock the phone and watch for its response after seating. Open the system input screen or a known supported title, move each Hall stick through a slow circle and press every face button once. Test the micro-switch triggers with short, separate presses. This sequence identifies a physical or input issue before a game session makes diagnosis messy.
❄️ Check cooling and cable routing as separate jobs
The integrated cooler needs broad, even contact with the correct part of the phone. Confirm that the camera bump, case lip or decorative panel is not holding the handset away from the cooling surface. Leave the cooler's intake and exhaust areas clear; a hand, cushion or tightly packed cable can compromise airflow even when the controller is fitted correctly.
Charge Cool One Cable reduces cable clutter, but it does not remove the need for sensible routing. Lead the cable away from the grip, give the connector a relaxed bend and make sure hand movement cannot tug it. Power the cooling arrangement and listen for normal operation before starting a game. Then compare phone behaviour during the same repeatable game section rather than judging it from a menu.
The wider gaming accessories section is useful when the planned setup also needs a suitable cable or other supporting item. Count those pieces before deciding how the controller will be used at a desk, on a sofa or while travelling.
🎮 Build a dependable input profile
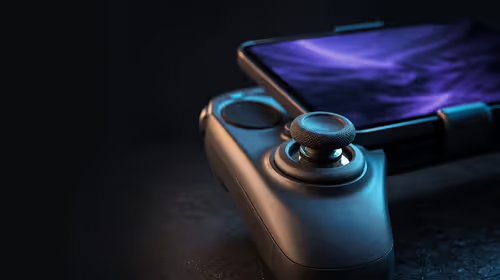
Begin with default game settings. Check that the left stick returns to centre without character movement, then test the right stick at slow and fast speeds. Hall sensing addresses contact wear inside the stick, but deadzones and sensitivity still belong to the game profile. Change only one setting at a time and replay the same short section after each adjustment.
If the title supports 6-axis gyro, place the controller on a stable surface before calibration. Start at low motion sensitivity and use the stick for large turns while the gyro handles small corrections. Dual rumble can be assessed afterwards. Reducing vibration during initial gyro testing prevents feedback from confusing the result.
Finish with a five-minute practical run that uses movement, aiming, triggers and the cooler together. Watch for hand strain, connector movement and accidental button presses. A setup that passes individual checks can still feel awkward when every function is active. The accessories best-seller page provides another route for reviewing popular additions without changing the X3 Pro's core fit requirements.
Before calling the installation finished, disconnect and repeat the seating process once. The second attempt should feel controlled rather than lucky. Note the order that worked, the cable side that kept the hands clear and any game-specific profile used. This creates a reliable routine for travel or cleaning, when the phone will need to be removed and installed again.
Finally, inspect the phone port and controller connector after removal. Neither should show marks from side loading, and the stretch mechanism should return smoothly. A good setup procedure protects the hardware as carefully as it configures the software.
Frequently Asked Questions
Should the phone case stay on during installation?
Remove it for the first fit check. Even a slim case can alter USB-C alignment or reduce contact between the phone and integrated cooler.
What is the safest way to test the Hall sticks?
Use a neutral-input screen first, trace slow circles next and only then adjust the game's deadzone or sensitivity. That order separates hardware seating from profile choices.
Does one-cable routing mean every setup needs the same power arrangement?
No. It simplifies the physical path, while the phone, cooler and intended session still determine what power source and cable position make sense.
How much does this setup example cost?
The GameSir X3 Pro is R1,199. Check the current controller page for the latest availability before planning the rest of the mobile kit.
Ready to build a tidier phone-control setup?
Review Evetech's mobile controller category and choose a layout that suits your handset, grip and favourite supported games.