A pattern of faint waves running along a wall, evenly spaced and repeating past every sharp corner, has a specific cause that a slicer setting alone cannot fix. Ringing and vibration in high-speed 3D prints is stored energy from a direction change, and tracking down where it comes from follows a set order.
Quick Answer
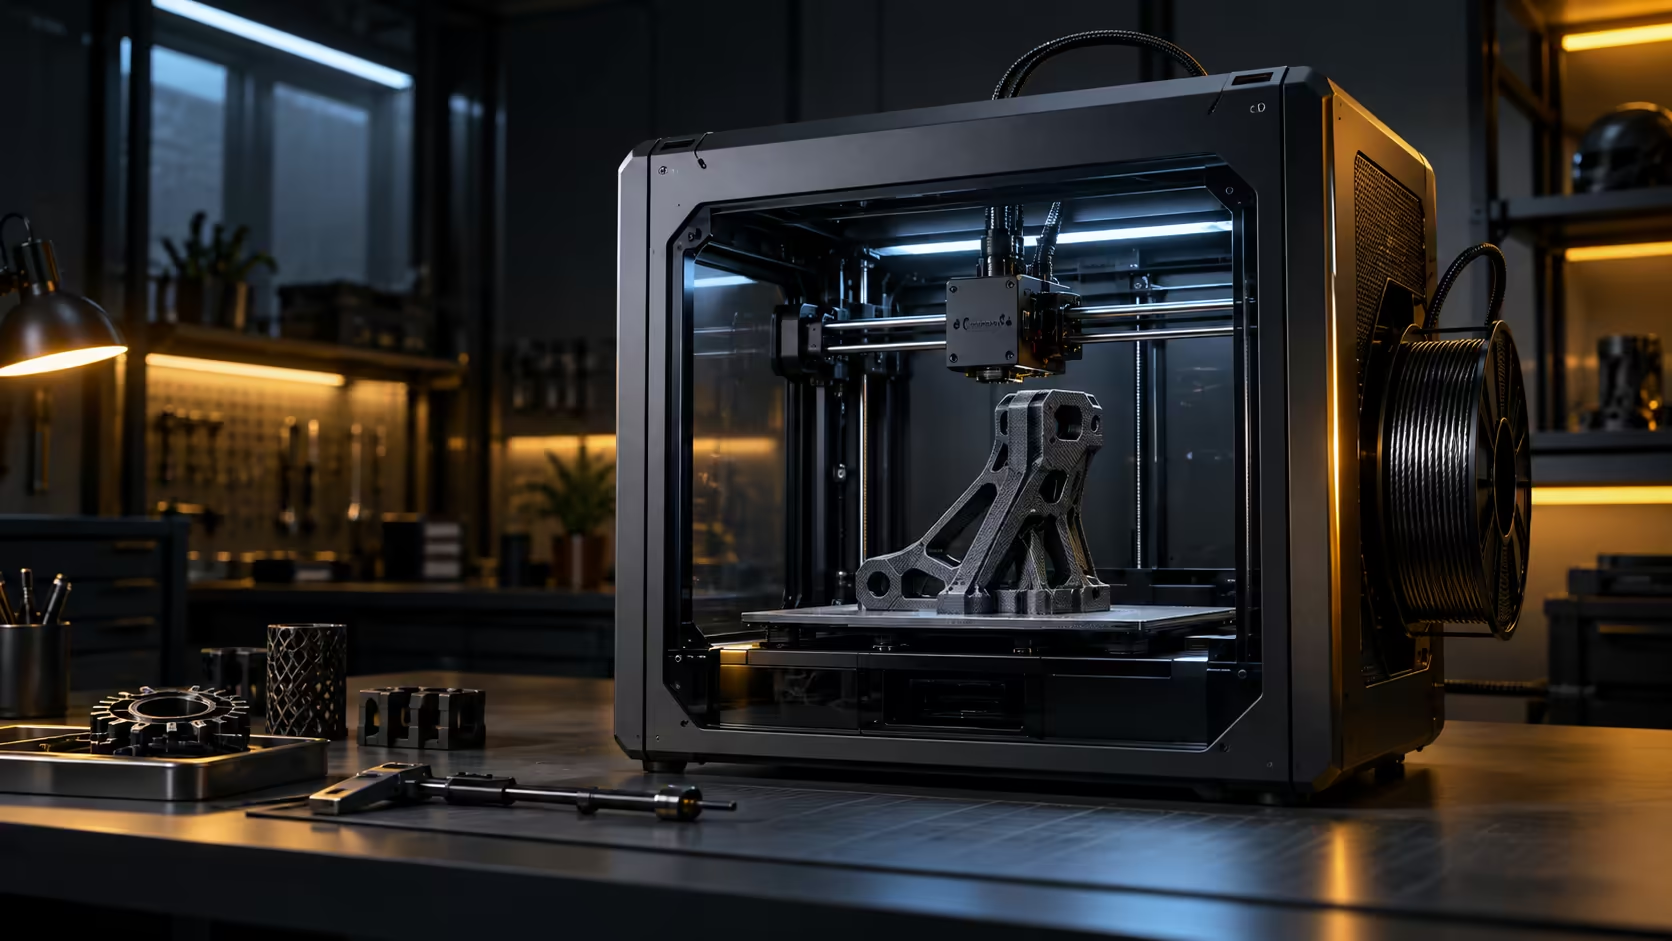
Work through the causes in sequence: belt tension first, then frame and bench rigidity, then input shaping calibration, and only then slicer settings like acceleration and jerk. Ringing is the print recording a vibration that the machine did not fully absorb after a sharp direction change, and fixing the wrong layer of that chain wastes time chasing a symptom rather than the source. The Creality K1C removes one common source of this problem outright by keeping its frame compact and stiff, and costs R12,599.
🎸 Check belt tension before anything else
A loose belt stores and releases energy unevenly as the toolhead accelerates past 10000mm/s2, which shows up as ringing that varies in intensity depending on direction and speed rather than appearing consistently. Pluck each belt gently; a properly tensioned belt should produce a clear, consistent note rather than a dull thud.
This is the cheapest and fastest check to make, and it is worth ruling out before assuming a more complex cause is responsible.
🏗️ Frame and bench: where energy actually goes
Once belts are confirmed tight, the next place energy from a direction change at 20000mm/s2 goes is into whatever the printer's frame is sitting on. A rigid, heavy surface absorbs that reaction force without transmitting it back into the machine; a light or springy surface reflects it straight back, and that reflected energy is what turns into visible ringing on the print.
🧮 Input shaping: correcting what remains
After tension and rigidity are both confirmed, run an input shaping calibration pass. It maps out the specific frequencies a printer's own frame vibrates at and quietly adjusts acceleration around them, so the print stops recording an echo of every direction change. This is a firmware-level fix for vibration the machine's own construction still produces, and it works best once the mechanical causes above have already been ruled out, since calibrating around a loose belt just compensates for a problem that should have been fixed directly.
Run a slicer's built-in ringing test pattern after each step to see whether that specific fix actually helped, rather than changing several things at once and guessing which one mattered. Check desk mats or a similar dampening surface under the machine's feet as a small additional step once the bigger causes are addressed, and stock filament known to hold dimensional accuracy well, since some materials show ringing more visibly than others on their surface finish.
📏 Measuring ringing instead of just eyeballing it
Ringing shows up as a repeating wave pattern beside a sharp corner, and measuring the spacing between wave peaks with callipers, usually somewhere between 1mm and 5mm apart, gives an objective number to compare before and after any fix rather than relying purely on visual impression. A print that goes from clearly visible ringing to a barely measurable 0.1mm wave height is a real, quantifiable improvement even if it is not perfectly invisible.
Keep the same test print and the same measurement points for every comparison, since printing a different model each time makes it impossible to tell whether a change actually helped or the new model simply hides the defect better by coincidence.
🔧 Checking belts the right way
Pluck each belt at the midpoint of its longest run and listen for a clean, consistent note rather than a dull thud, checking both the X and Y axis belts separately since one loose belt can hide behind a properly tensioned other axis. Most CoreXY belts tension to a similar pitch by feel once you have checked one correctly, so use the tighter of the two as a rough reference for adjusting the looser one.
Retension belts every 3 to 6 months under regular use, since belts stretch gradually over time even without any obvious fault developing, and a slowly loosening belt produces ringing that creeps in so gradually it is easy to mistake for the machine simply "getting worse" rather than a specific, fixable cause. Check belt tensioning mechanisms across the 3D printer range, since a tool-free tensioner makes this regular check considerably faster than one needing a screwdriver.
Frequently Asked Questions
Should I calibrate input shaping before checking anything else?
No, check belt tension and bench rigidity first, since calibrating around a mechanical problem just compensates for something that should be fixed directly.
How do I know if a belt is properly tensioned?
Plucking it should produce a clear, consistent note rather than a dull thud; an overly loose belt sounds noticeably different across its length.
Does every printer need input shaping calibration?
Machines that support it benefit from running it at least once, especially after any hardware change like a new belt or a repositioned printer.
Can ringing appear on some prints but not others from the same machine?
Yes, since ringing depends on speed, direction and how much detail a specific model has; a model with more sharp corners shows it more readily.
Chasing ringing on your prints without knowing where to start?
Work through belts, bench and calibration in that order, not settings first.