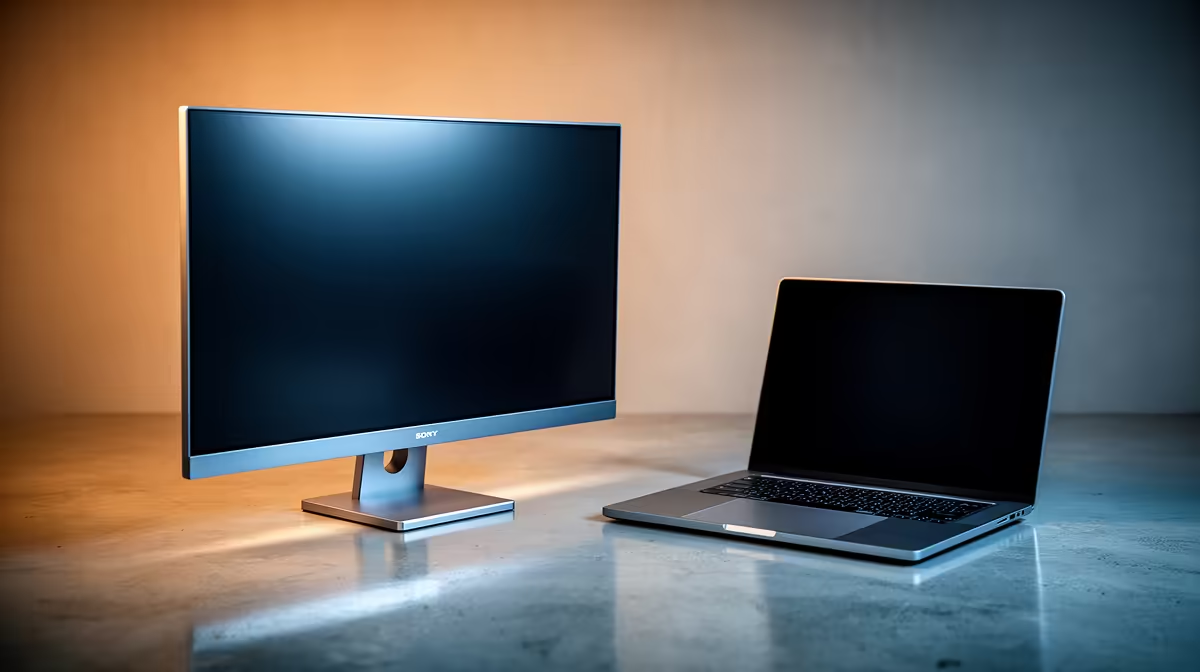
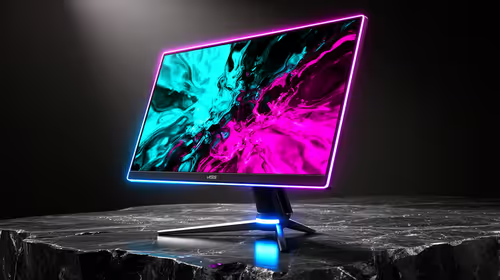
A new MacBook is a small screen attached to a powerful chip, and the fastest way to make it feel like a full workstation is a second display. The good news for South African buyers is that a budget external monitor does almost all of the heavy lifting here, because a base M5 MacBook drives an external screen straight off its own USB-C or Thunderbolt port with no dock required.
Quick Answer
A base M5 MacBook can drive one external display directly over USB-C or Thunderbolt, so you do not need to spend on a docking station first. That makes a value monitor in the roughly R2,500 to R5,000 band the most affordable single upgrade for screen space, and a 27-inch QHD panel is the practical sweet spot.
You do not need a dock for one screen
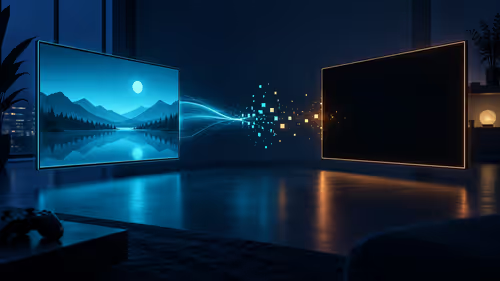
The base M-series chip supports a single external display natively. Plug a USB-C cable from the MacBook into a monitor that accepts USB-C video, or use a simple USB-C to HDMI/DisplayPort cable, and the screen comes up. The cost of a dock only becomes worthwhile when you want to run two or more external panels, charge over a single cable, and add wired ports at the same time. For one monitor, that money is better spent on the panel itself.
It helps to confirm exactly which MacBook you have before buying, since the higher-tier chips support more displays. The current line-up on the MacBook range at Evetech lays out the models so you can match a screen to the machine you own.
What to look for in a budget MacBook monitor
Not every cheap panel pairs well with macOS. A few specifics make the difference between a screen that feels like an extension of the MacBook and one that fights you.
Resolution and size
A 27-inch QHD (2560 x 1440) panel is the value pick. It gives a noticeable jump in usable space over the laptop screen while staying sharp at a comfortable viewing distance. Stretching to 4K sharpens text further but pushes the price up; for budget-minded buyers, QHD is the smarter spend.
Connectivity that suits a MacBook
Prefer a monitor with a USB-C input that carries video. A single cable then handles the display, and many such panels also pass power back to charge the MacBook, simplifying the desk. If a USB-C monitor is out of budget, an HDMI or DisplayPort panel works fine with a cheap adapter cable.
Panel type and colour
For general study and office work, a good IPS panel gives accurate colour and wide viewing angles. Students editing photos or video will appreciate a panel that covers a high percentage of the sRGB range, which keeps colours consistent between the MacBook screen and the external one.
Brightness and the SA office environment
South African offices and study spaces often battle glare from windows and strong overhead lighting. A budget monitor in the R2,500 to R5,000 range typically delivers 250 to 350 nits of brightness, which is adequate for most indoor environments but can wash out if the panel faces a bright window directly. Where possible, position the screen perpendicular to the main light source or use blinds to manage ambient glare, rather than expecting the monitor itself to overpower it.
Glossy panels look vivid in dim conditions but reflect significantly in bright rooms. If the monitor will live in a well-lit study or open-plan workspace, a matte or anti-glare panel finish is the more practical choice even if the glossy option looks more impressive in a dark showroom.
Colour calibration on a budget panel
Out-of-the-box colour accuracy on budget IPS monitors has improved considerably. A good-value panel in 2026 typically ships with 95 to 100 percent sRGB coverage and reasonable factory calibration, which is sufficient for general work, photo editing at the consumer level, and student creative projects.
For professionals who need to match colour precisely for print or broadcast, a hardware colorimeter and a calibration profile solve the remaining gap. macOS handles display profiles natively and will apply a custom profile automatically once set, so the workflow overhead is minimal. If you are doing casual photo editing rather than professional colour grading, the budget monitor is likely fine without calibration.
Setting it up cleanly
Once connected, macOS treats the external monitor as extra desktop space by default. Arrange the displays in System Settings so the cursor flows in the direction your screens physically sit, set the external panel as the main display if it is the larger one, and adjust scaling so text is comfortable. A height-adjustable stand or a simple riser brings the panel to eye level, which matters more for comfort than any spec on the box.
Who this is for
This setup suits SA students splitting time between res and home, professionals who want a desktop-class view without buying a desktop, and anyone whose MacBook spends most of its life parked at a desk. If you regularly need two big external screens, that is the point where a Thunderbolt dock earns its keep, but for the majority a single quality panel is enough. To gauge what other local buyers are choosing, the laptop best sellers list is a useful pulse on popular MacBook pairings.
Frequently Asked Questions
Can a base MacBook run an external monitor without a dock?
Yes. The base M5 MacBook drives one external display directly over its USB-C or Thunderbolt port. A dock is only needed for multiple external screens or extra wired ports.
What size and resolution is best value?
A 27-inch QHD (2560 x 1440) monitor is the sweet spot. It adds real working space at a reasonable price, with 4K available if you want sharper text and can spend more.
Do I need a USB-C monitor specifically?
It is the cleanest option because one cable carries video and often charges the MacBook. A standard HDMI or DisplayPort monitor also works with an inexpensive USB-C adapter cable.
Will a budget monitor match the MacBook's colours?
A decent IPS panel with strong sRGB coverage keeps colours close to the MacBook screen. That is the spec to check if colour consistency matters for your work.
How many external screens can my MacBook support?
The base chip supports one external display, while the higher-tier Pro and Max chips support more. Check your exact model before planning a multi-monitor setup.
Is a matte or glossy screen better for a MacBook pairing?
Matte screens reduce glare and reflections in bright environments, which makes them the practical default for office and study use. Glossy screens can look more vivid in low light but reflect strongly in well-lit SA rooms. If you are unsure, matte is the safer choice for daytime working conditions.
Can a budget monitor be used for photo editing?
Yes, with some limits. A budget IPS panel with strong sRGB coverage delivers accurate-enough colour for casual and student-level photo editing. Professional colour work requiring wide gamut (P3 or Adobe RGB) coverage needs a step up in panel grade, but for most users a quality budget screen is a solid starting point.
Give your MacBook the screen space it deserves. Browse value monitors and confirm your model on the MacBook range at Evetech (https://www.evetech.co.za/macbooks/l/3284), then order with local stock and pricing.