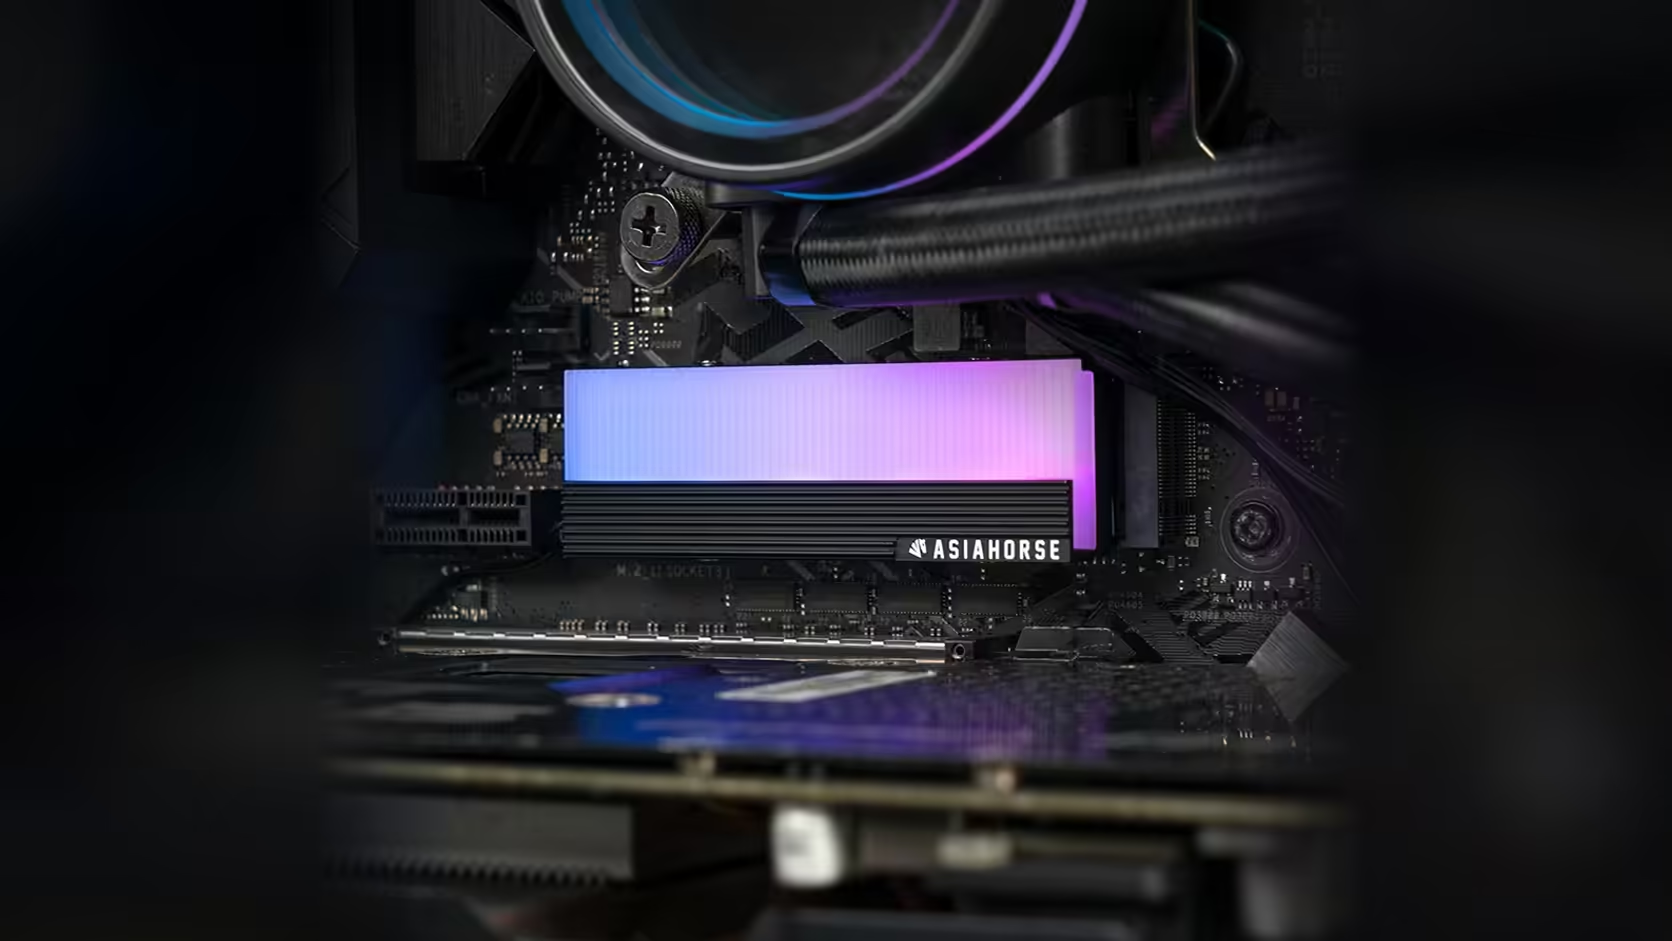
There is a right order and a wrong order to fitting an M.2 cover into a build, and the difference between them is almost entirely about one component: the graphics card. Get the build sequence wrong on this AsiaHorse cover and a five-minute job under an open slot becomes a genuine struggle once the card is already in place.
Quick Answer
Fitting the AsiaHorse M.2 2280 heatsink before the graphics card is installed gives clear, unobstructed access to all four mounting screws and the lighting lead. Doing the same job after the card is already in place, particularly on a top M.2 slot the card physically covers, turns a quick task into an awkward one, since this cover, R199 with VAT already in that number and open to change on Evetech's side, was never designed to be fitted through a narrow gap.
🎯 Why the sequence matters specifically here
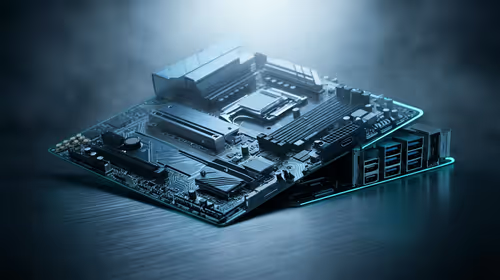
This is not a general build tip that applies equally everywhere. It matters specifically because the top M.2 slot on most current motherboards sits directly beneath where the graphics card mounts, and this cover requires access to four separate screw points plus a lighting connector, not just a single clip or a quick push-fit. Every one of those access points becomes harder to reach once a card is sitting a few millimetres above them.
What "clear access" actually buys you
With the card removed, you can see the entire slot area, angle a screwdriver naturally into all four corners of the cover, and connect the lighting lead without threading your hand around any obstruction. None of that requires careful manoeuvring or working by feel, which is a genuine difference in how long and how frustrating the job turns out to be.
🔧 What needs access during the fit
Three separate things need reaching during this install: the four screws securing the cover itself, the drive's own separate fixing to the board standoff, and the lighting lead, which has to be both connected to a header and given a sensible route out of the slot area. Doing all three with a card in the way multiplies the difficulty of each step rather than adding them up in a simple way.
🔄 Can the card just come out later instead?
Yes, and that is the practical fix most builders reach for once they discover the problem partway through: remove the already-fitted graphics card, do the M.2 work properly with clear access, then reinstall the card. It works fine, but it is more total effort than fitting the cover first would have been, since you are now doing a card removal and reinstall purely to correct the sequence.
🔽 Does this apply to lower M.2 slots too?
Far less so. Lower slots, where a board provides them, generally sit clear of the graphics card entirely and remain accessible whether the card is fitted or not. The sequencing concern here is specific to slots the card physically covers, which on most boards means the primary top slot rather than any secondary positions further down. Planning the build order gets easier once the solid state drive range has settled the drive question and case accessories is bookmarked for whatever the fit still needs.
🔌 Route the lighting lead before the card goes back in
It is worth calling this out separately from the screws, since it is easy to forget. Connecting the lighting lead and giving it a sensible path towards your chosen header is far simpler with the card out of the way, and doing it properly at this stage avoids a pinched or awkwardly routed cable once everything else is buttoned up.
🔁 What about a drive replaced later, after the build is finished?
The same access problem returns in full whenever the drive underneath this cover needs replacing or upgrading down the line. That is worth factoring into which M.2 slot you choose for a drive you expect to change again in future, since a slot the graphics card covers means repeating the same removal-and-refit dance every time.
⚠️ Working around a fitted card carries its own risk
Beyond the sheer inconvenience, working a screwdriver in a narrow gap near a fitted graphics card and other board components is worth avoiding on practical grounds alone. A slipped tool near exposed board circuitry or card connectors is an entirely avoidable risk, and it is one more argument for doing this job in the right order rather than working around an obstruction that did not need to be there.
Frequently Asked Questions
Why does the fitting sequence matter so much for this particular cover?
Because the graphics card covers the top M.2 slot on most boards, and this cover needs access to four screws plus a lighting connector, all of which are harder to reach around a fitted card.
What exactly needs access during the fit?
All four cover screws, the drive's own separate fixing to the board, and the lighting lead, which needs both connecting and routing.
Can the graphics card be removed after the fact to fix a bad sequence?
Yes, and that is the usual remedy, though it means more total work than fitting the cover first would have taken.
Does this sequencing concern apply to lower M.2 slots as well?
Much less. Lower slots typically sit clear of the graphics card and remain accessible whether the card is fitted or not.
Should the lighting lead be routed before the card is reinstalled?
Yes. Connecting and routing it with the card removed avoids threading a thin cable through a narrow gap afterwards.
Is there any risk beyond inconvenience to working around a fitted card?
Working a screwdriver near board components and a fitted card in a tight space is best avoided on safety grounds as well as convenience.
🪟 Does the same order of operations apply to a case with a side window?
Yes, and arguably more so. A windowed case usually means the build is being shown off, which makes a scratched card edge or a slipped screwdriver mark far more visible and far more annoying than the same slip in a closed, solid-panel case. Doing the M.2 work first, before the card that everyone will actually see goes in, protects the part of the build most likely to be on display.
Planning your build order before the graphics card goes in?
Check Evetech's NVMe drive range and fit your storage cover while the slot is still wide open.