A guide to carbon-fibre printing that only ever covers nozzle hardness is really just half a guide, since the material can fail in more places than the tip of the hotend if the rest of the process gets ignored entirely. Printing carbon fibre reinforced filament properly depends on four separate decisions working together.
Quick Answer
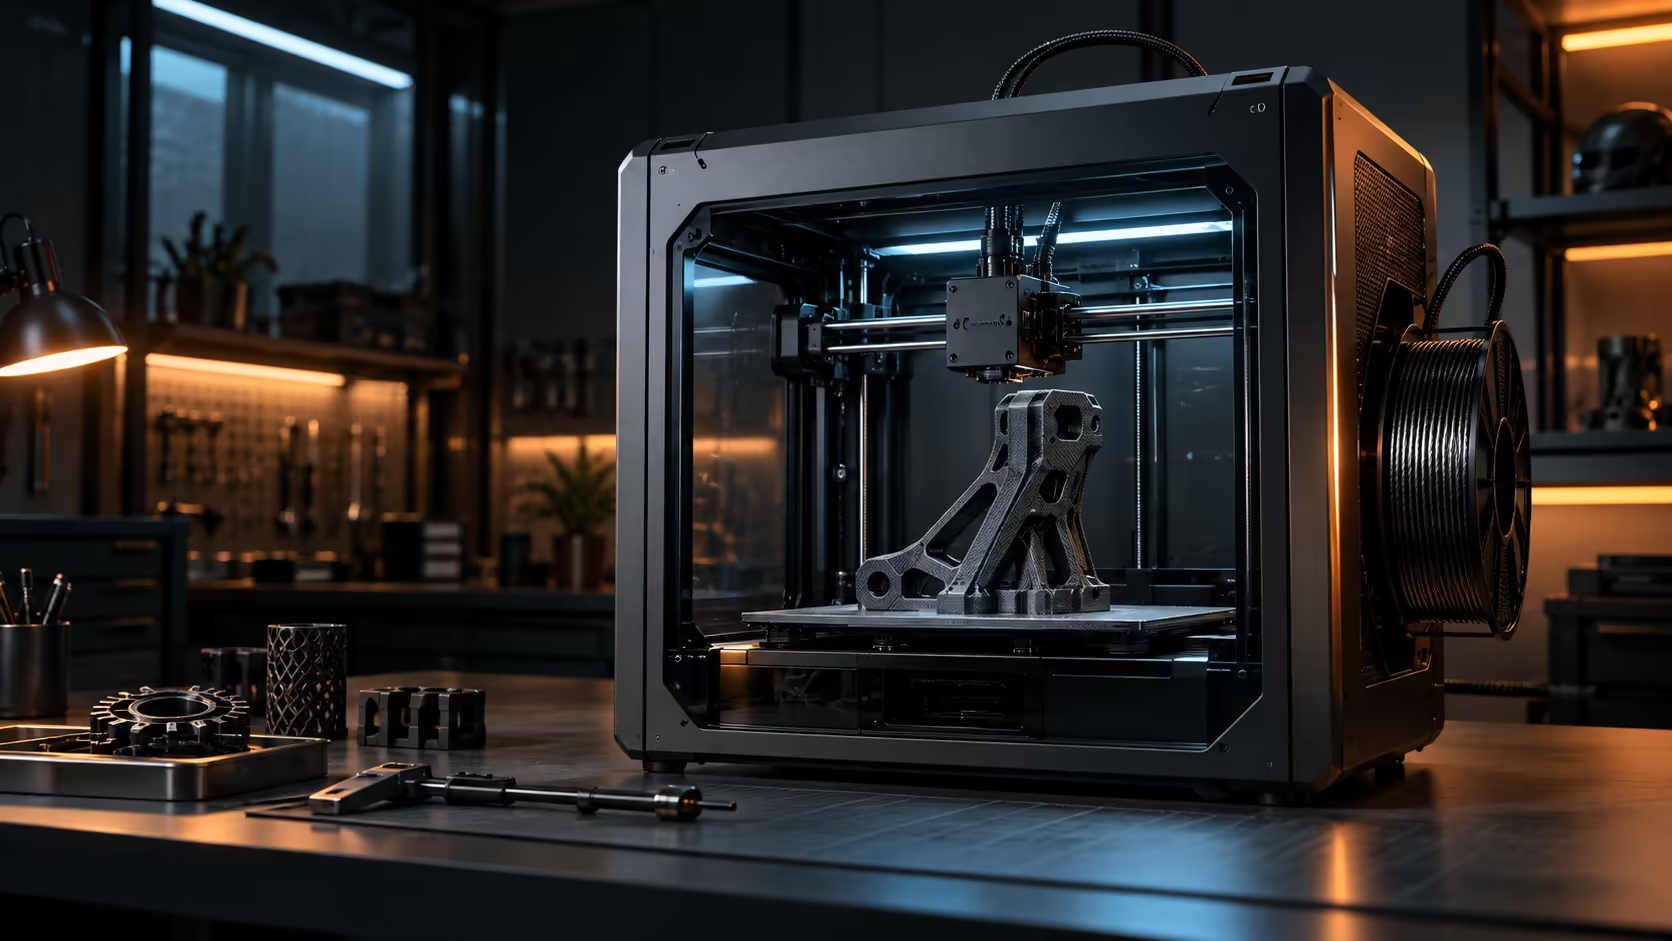
Four things decide whether a carbon-fibre print succeeds: a genuinely dry spool, a hardened nozzle rated for abrasive material, enough heat to fully melt the blend, and a design loaded along the direction of the printed layers rather than across them. Get all four right and PA-CF and similar blends give stiff, dimensionally stable parts. The R12,599 Creality K1C brings the hardware side of this with a 300C tri-metal nozzle tip as standard.
💧 Moisture: the failure that looks like something else
Carbon-fibre blends absorb moisture readily, and a damp spool produces popping, stringing and a rough surface that gets blamed on the printer or the nozzle far more often than the actual cause, the water inside the filament itself. Dry the spool for 6 to 8 hours at around 60C in a dedicated dryer or a food dehydrator before any print that needs to come out clean, especially if the filament has been open for more than a week or two.
🔩 Hardware: nozzle and heat together
A hardened nozzle survives the abrasive fibre content, and adequate heat, generally 10 to 20C toward the upper end of the material's recommended range, ensures the surrounding plastic is fully molten enough to bond well between layers. Neither one alone solves the whole problem: heat without hardness wears the nozzle regardless, and hardness without enough heat produces weak, poorly bonded layers even on a nozzle that will otherwise last for years.
🧭 Design: loading the part along its layers
This is the step most guides skip entirely. Carbon-fibre printed parts are considerably stronger along the direction the layers run than they are across it, since the fibre reinforcement lines up mostly within each layer rather than bonding strongly between them. Orient a design so the load it will carry runs along the layer lines wherever possible, rather than relying on layer adhesion to resist the main force the part will experience.
A bracket loaded correctly along its layers can outperform the same design printed sideways by a meaningful margin, purely from orientation rather than any change to material or settings. Browse filament options suited to your project, and skim model kits for a sense of how load-bearing joints are typically shaped before you commit a load-bearing carbon-fibre design to the plate.
🧪 Testing your own settings before committing a full project
Print a small test bracket, somewhere around 40 to 50mm along its longest side, in the exact same orientation your real project will actually use, and load it carefully by hand or with a simple weight test before scaling anything up to the full-size finished part. This single step catches an orientation mistake or an under-dried spool while it costs a few grams of filament rather than the full project's worth of material and hours of print time.
Keep the test piece afterwards as a physical reference for future projects using the same filament and settings, since a documented, genuinely tested combination is worth considerably more than guessing again from scratch every single time a new part comes up on the list. Photograph the test piece properly with a written note of the exact settings used, since memory alone fades considerably faster than most people expect across a busy few months of varied, overlapping projects.
🛠️ What changes once carbon-fibre parts move from prototype to production
A single successful carbon-fibre part proves the settings work exactly once; a full batch of ten identical parts proves they genuinely work consistently, run after run, without needing constant re-checking. Check nozzle wear specifically before starting any full batch run, since a nozzle that measured perfectly fine for a single test part may already be noticeably and measurably worn by the time an entire batch of several identical parts has finished printing back to back without a break.
Check the 3D printer range for machines genuinely built with sustained abrasive printing in mind if carbon-fibre work is moving from occasional one-off prototypes toward regular, repeated production runs at a meaningful scale.
Frequently Asked Questions
Is nozzle hardness the most important factor in printing carbon fibre well?
It is critical for the machine's longevity, but moisture control and part orientation matter just as much for whether the finished print actually performs well.
Why does part orientation matter so much for carbon-fibre prints?
The fibre reinforcement is strongest within each layer rather than between them, so a part loaded along its layer lines resists force considerably better.
How long should carbon-fibre filament be dried before printing?
This varies by spool and dryer, but several hours in a dedicated filament dryer is a reasonable starting point, longer if the spool has been open a while.
Can carbon-fibre filament be printed without a heated enclosure?
Small parts often print fine without one, though larger parts benefit from the more stable ambient temperature an enclosure provides for layer adhesion.
Why test a small bracket before printing the full-size part?
It catches an orientation mistake or a damp spool while it costs only a few grams of filament, rather than discovering the same problem after committing the full project's worth of material and time.
Does nozzle wear change between a single test part and a full batch?
Yes, a nozzle that measured fine for one test part can already be measurably worn by the time a batch of several identical parts has finished printing.
Is it worth keeping test parts as a reference?
Yes, a documented, physically tested combination of settings and filament is genuinely more reliable for future projects than guessing again from scratch each time a similar part comes up on the schedule.
Does testing a small bracket first slow down an urgent project?
Only by a small margin, since a 40 to 50mm test part finishes in well under an hour, which is a modest cost against redoing an entire full-size part that failed under load.
Ready to print carbon-fibre parts that actually hold up under load?
Get the spool dry, the hardware right, and the design oriented before you start.