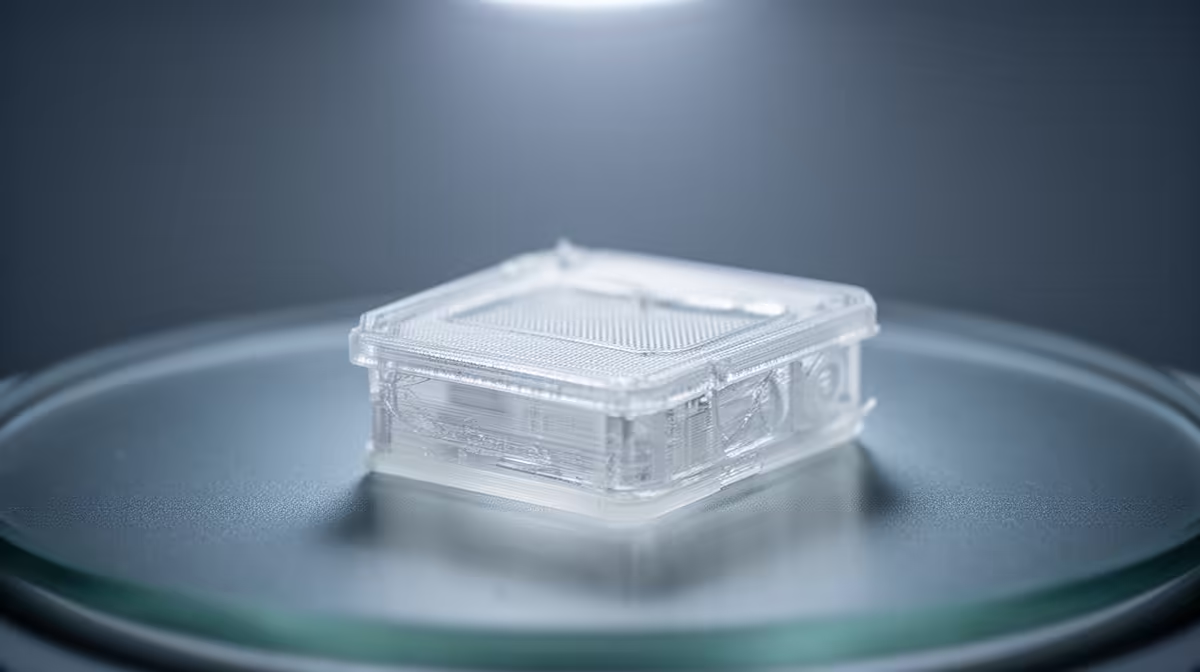
A model pulled straight off the build plate looks finished, but it is not. Resin prints need washing and curing because the part still carries a film of sticky, uncured photopolymer, and the plastic itself has only partly hardened. Skip the wash and you trap that goo onto the surface. Skip the cure and the part stays soft, brittle and prone to warping for weeks. Both steps take minutes, and both are non negotiable if you want a print that lasts.
Quick Answer
Wash the print in isopropyl alcohol (or water for water washable resin) for two to ten minutes to strip uncured resin, then UV cure it for one to ten minutes depending on size and resin type. The wash removes the tacky surface layer that would otherwise harden into blobs and streaks, and the cure takes the part from partly polymerised to full mechanical strength.
What a Fresh Resin Print Actually Is
An LCD or SLA printer hardens resin layer by layer using UV light from the screen, but that exposure is deliberately short. Each layer is solidified just enough to bond to the one below it, which leaves the finished part in a green state: structurally formed, but only partially cross linked. On top of that, the whole model is coated in a thin layer of liquid resin that never saw enough light to set.
That coating is the immediate problem. Raw photopolymer is mildly toxic and a skin irritant, so handling an unwashed print with bare hands is a bad idea. It is also optically and mechanically inconsistent, meaning if you expose it to UV as is, the puddled resin cures into bumps, drips and dull patches that bury the fine detail you printed for.
Why Washing Comes First
Washing dissolves and carries away the uncured surface resin before any curing locks it in place. Isopropyl alcohol at 95 percent or higher is the standard solvent because it breaks down standard photopolymers fast, usually within a couple of minutes of agitation. Water washable resins skip the alcohol and rinse in plain water, which is cheaper and less smelly but leaves a slightly softer surface that needs careful drying.
Getting the Wash Right
Two short baths beat one long soak. A first wash knocks off the bulk of the resin, and a second, cleaner bath rinses away what the first one left behind. Keep total immersion under roughly ten minutes, because leaving a part in IPA too long lets the solvent seep in, soften thin walls and cause fine features to swell or go cloudy. After washing, dry the part fully with compressed air or a gentle wait, since trapped solvent or water interferes with the cure.
Why Curing Is the Step You Cannot Fake
Curing is where the part earns its strength. Flooding the washed model with UV light finishes the cross linking reaction that the printer only started, converting the remaining liquid monomers into a solid polymer network. A properly cured part reaches its rated tensile strength, hardness and temperature resistance. An uncured one stays flexible, dents easily and can keep slowly hardening (and warping) on a shelf for days.
The catch is that over curing is also real. Too much UV makes many resins brittle and can yellow clear or light coloured parts. Most prints need only one to ten minutes in a curing station, with small detailed minis at the short end and chunky functional parts at the longer end. Tough and engineering resins often want a warm cure, so a station with a turntable and gentle heat gives the most even result. A roll of nitrile gloves, a sealed wash tub and a UV station are the post processing basics worth picking up alongside a printer, and you will find a solid spread of consumables in the accessories best sellers list.
Curing Times Are a Starting Point, Not a Rule
Published cure times assume ideal conditions, and your setup is rarely ideal. A clear resin lets UV penetrate deeply and cures fast, while a dense black or heavily pigmented resin blocks light and needs longer. Bulk dictates the rest: a thin, flat part cures through quickly, but a solid block can stay soft in the core long after the surface feels hard. Turning the part partway through, or using a station that rotates it for you, stops one side from baking while the other stays green. When in doubt, give it a little more time rather than less, and watch light coloured resins for the first sign of yellowing.
The Full Workflow in Order
Putting it together, the path from build plate to finished part is short but strict. Lift the print off the plate and let the bulk of the loose resin drip back into the vat. Wash it in IPA or water, ideally across two baths, agitating to lift resin out of recesses and off detailed surfaces. Dry it completely, since any trapped solvent or water spoils the cure. Remove the support structures now, while the part is still slightly soft and the supports snap away cleanly with less risk of cracking a feature. Only then cure it under UV to full strength, and inspect for any tacky spots that need a touch more time. Skipping or reordering these steps is where most disappointing prints come from.
Frequently Asked Questions
Can I use a resin print without curing it?
Not safely. An uncured part still holds reactive resin, stays mechanically weak, and remains a skin irritant. It will feel tacky, deform under light pressure and degrade faster, so curing is what turns a fragile green model into a usable object.
Does sunlight work instead of a UV station?
Sunlight does cure resin because it contains UV, but it is slow and uneven. Parts can take hours, only the sun facing side cures properly, and over a long exposure many resins yellow and grow brittle. A dedicated UV chamber is faster, more even and far more predictable.
What can I substitute for isopropyl alcohol?
Water washable resins rinse in plain water. For standard resins, mean green or other resin specific cleaners exist, but high strength IPA remains the most effective and widely used solvent. Whatever you pick, dry the part completely before curing.
How do I know if a print is fully cured?
A cured part is hard, no longer tacky and rings slightly when tapped rather than feeling soft. If the surface still feels sticky or the model flexes under finger pressure, it needs more UV time. Larger and thicker parts almost always need longer than they look like they should.
Is water washable resin worth it for the easier cleanup?
It is, if you want to avoid handling litres of alcohol, and it suits hobbyists printing at home. The trade off is a marginally softer finished surface and the need to dry parts thoroughly, since trapped water ruins the cure. Many makers keep both types on hand for different jobs.
Ready to start printing properly? Browse the resin and FDM machines in the 3D printer range at Evetech and pair one with the wash and cure gear you will need from day one.