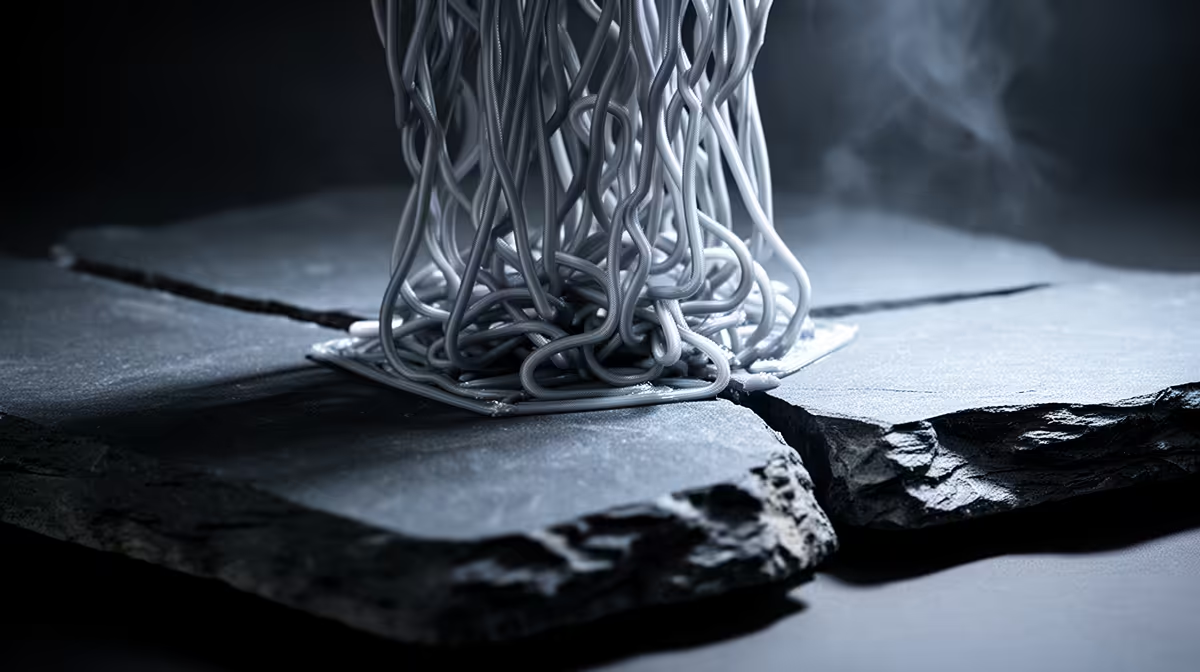
You walk back to the printer expecting a finished model and find a bird's nest of stringy plastic piled around the bed. That mess has a name, and a 3D print turned into spaghetti almost always traces back to one thing: the part broke free of the build plate partway through, and the nozzle kept extruding into thin air over the gap. Catch why the first layer failed and the spaghetti never starts.
Quick Answer
Spaghetti happens when the print detaches from the bed mid-job and the nozzle keeps laying filament over empty space. The fix is first-layer adhesion: dial the Z-offset so the first layer is lightly squished, wipe the plate with isopropyl alcohol before every print, and add a brim. Get those three right and detachment stops.
Why the spaghetti forms
The print head has no idea the part has come loose. Slicer software tells it where to deposit filament layer by layer, assuming everything below is solid. The moment a corner lifts or the whole model slides, later layers land on nothing and coil into the tangled mass you found. So the spaghetti itself is a symptom. The real event is the detachment, and detachment is an adhesion problem nine times out of ten.
A few other causes can mimic it, a collapsed support tower, a layer shift from a loose belt, or the nozzle catching a curled edge and knocking the part off, but bed adhesion is where to look first.
Get the Z-offset right
The first layer should look slightly flattened, wide ribbons of plastic pressed firmly onto the plate, not round strands sitting on top like a string of beads. If the nozzle rides too high, the filament barely touches and the print lifts the moment it cools. Too low and almost nothing extrudes. A gap off by even 0.05mm is enough to send a job to the bin. Run your printer's live Z-adjust on the first layer and tune until the lines merge into a smooth, even sheet.
Clean the plate, then add a brim
Fingerprints, dust and old filament residue all kill adhesion, and you cannot see most of it. Wipe the build surface with isopropyl alcohol before every print and let it flash off. That single habit fixes more failed first layers than any setting change.
Then add a brim in your slicer. A brim lays a few extra outlines around the base of the model, widening the footprint that grips the plate so tall or small-contact parts cannot peel up at the corners. Slowing the first layer to give the plastic time to bond helps too. If you are still building out your kit, the 3D printer range at Evetech covers machines with auto bed levelling that take most of the guesswork out of the Z-offset entirely, and a tidy spool holder from the accessories best sellers stops mid-print filament tangles that cause the other common spaghetti event.
Frequently Asked Questions
Why does my print turn into spaghetti halfway through?
The part detached from the bed and the nozzle kept extruding over the empty space. Mid-print detachment is usually a first-layer adhesion failure that only shows its consequences once enough height has built up for the loose part to wobble free.
Does a brim really stop spaghetti?
A brim widens the contact area between the model and the plate, so it grips harder and resists the corner lifting that triggers detachment. It will not rescue a print with a badly set Z-offset, but combined with a clean plate it solves most adhesion failures.
How do I know if my Z-offset is wrong?
Watch the first layer. If the lines are round, glossy and easy to peel, the nozzle is too high. If barely any plastic comes out, it is too low. You want flat, matte ribbons that fuse into each other with no gaps.
Could a clog cause spaghetti instead?
Yes, though it usually looks different. A clog stops extrusion, leaving an empty void rather than a tangle. A true spaghetti mass means filament was flowing the whole time with nothing underneath to catch it.
Tired of binned prints and wasted filament? Browse the 3D printer range at Evetech for machines with reliable auto bed levelling, and start every job with a clean plate and a brim.