One warm sensor does not explain the whole PC. To reduce high motherboard temperatures safely, first identify what is being measured, reproduce the workload and inspect airflow through the completed case. Performance settings should not be changed until assembly, cooling and sensor context are understood.
Quick Answer
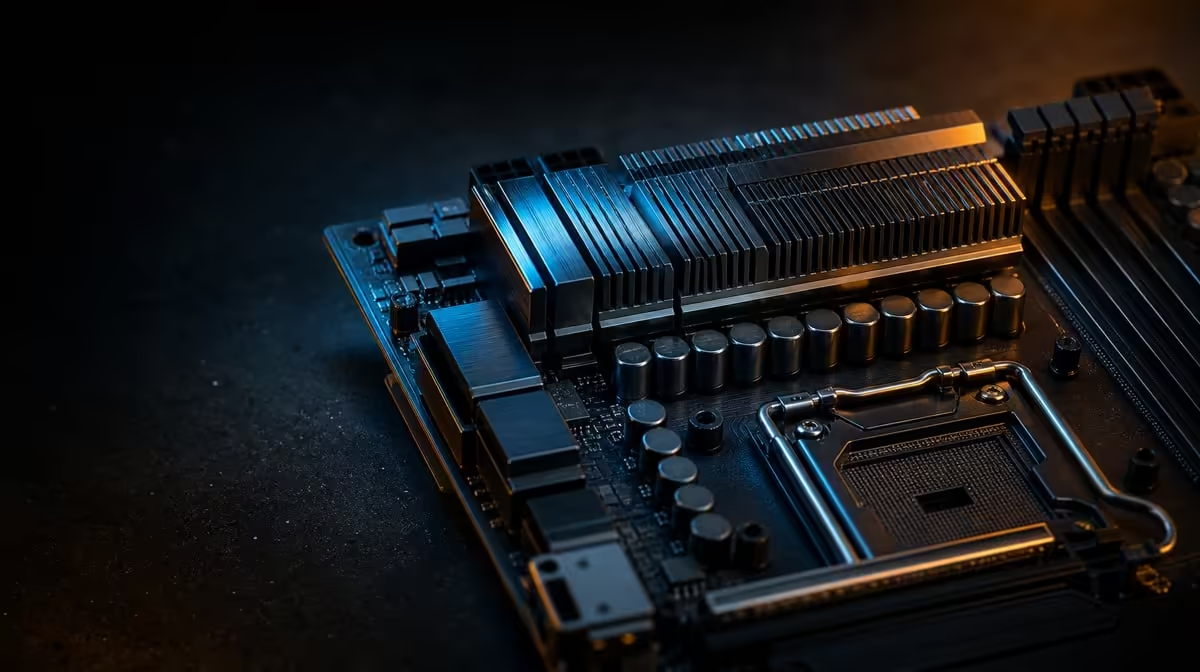
Record the sensor, workload and duration, then check fan operation, dust, cable obstruction, intake and exhaust paths, plus heat from nearby components. The R24,899 ROG Crosshair X870E Extreme is an E-ATX board, so its full chassis layout should be assessed before tuning is altered.
?? Confirm the reading
Use consistent monitoring and repeat the same task. A brief peak, a sustained rise and an incorrectly interpreted sensor are different situations. Note any instability, unusual smell, visible damage or abrupt shutdown and stop the heavy workload if the system behaves abnormally.
The X870 motherboard selection provides platform context, but temperature comparisons only help when sensor meaning and test conditions are comparable.
?? Inspect the airflow path
Check that intended fans operate and that filters, panels and cables do not block movement. The graphics card and fast storage can add heat near the board, so test the complete build rather than an isolated motherboard.
Clean dust safely with the PC powered down. Do not spin or force components, and return every panel and filter to its working position before retesting.
?? Adjust cautiously
A fan-curve change may improve airflow, but alter one control at a time and record the original. More fan speed can add noise without fixing a poor intake route.
Processor choice and cooling must remain balanced. Use Evetech's AMD CPU range when planning the platform, followed by an exact cooling and compatibility check.
?? Account for E-ATX fit
The larger board requires a compatible case with sensible cable and fan placement. Check clearances around storage, graphics and board edges.
Compare broader AMD motherboard options if the R24,899 flagship format makes the intended chassis unnecessarily crowded.
Create a before-and-after record
Photograph the fan and cable layout, note ambient conditions and repeat the same workload after each improvement. Evidence prevents random tuning.
Separate nearby heat sources
Repeat a motherboard-focused observation under a CPU-heavy task and a graphics-heavy task. Different patterns can reveal whether heat is arriving from the processor area, graphics card or storage activity. This does not diagnose a sensor by itself, but it guides the next physical inspection.
Do not touch components while the machine is powered or hot. Allow a safe cooldown before checking seating, dust or cable placement.
Keep noise in the decision
Maximum fan speed is not automatically the best long-term answer. Establish the lowest control change that produces stable behaviour in the representative workload, then listen from the normal desk position.
If safe temperatures require an unacceptable noise increase, revisit fan placement, obstruction and chassis suitability. A balanced cooling path can be more effective than forcing one fan to compensate for a weak route.
Inspect after transport or rebuilding
A PC that became warmer after being moved deserves a physical review. Check that fans remain connected, filters are seated and cables have not shifted into a blade or intake. Confirm that the case still has clear space around its vents at the new desk.
Run the previous representative workload after the inspection. If behaviour returns to normal without tuning changes, the evidence points towards the physical setup rather than the motherboard configuration.
Compare idle, gaming and transfer patterns
Record the same sensors after a settled idle period, a sustained game and a long storage task. Each workload heats a different mix of components. A reading that rises only beside heavy graphics activity points towards a different airflow investigation from one that follows an SSD transfer.
Keep case position, panels and fan controls unchanged during the comparison. Note room temperature if it changes materially. The purpose is to identify a repeatable pattern, not to chase the coolest isolated run.
After one physical improvement, repeat all three states. A successful airflow change should improve the relevant pattern without introducing instability or unreasonable noise elsewhere.
Frequently Asked Questions
Should one high reading trigger major changes'
Not by itself. Confirm the sensor, duration, workload and system behaviour first.
Can the graphics card affect board heat'
Yes. Nearby components contribute heat and alter airflow within the case.
Is an open side panel a fair final test'
It changes airflow. Use it only as diagnostic evidence, then verify the completed closed-case arrangement.
When should a heavy task be stopped'
Stop if the system becomes unstable, shuts down unexpectedly or shows other abnormal behaviour.
Does E-ATX automatically run hotter'
No. Format alone does not determine temperature; the complete chassis, components and airflow matter.
Ready to build a cooler AMD platform'
Review Evetech's motherboard options with your chassis and fan layout in hand, then choose a board the complete case can cool and service cleanly.