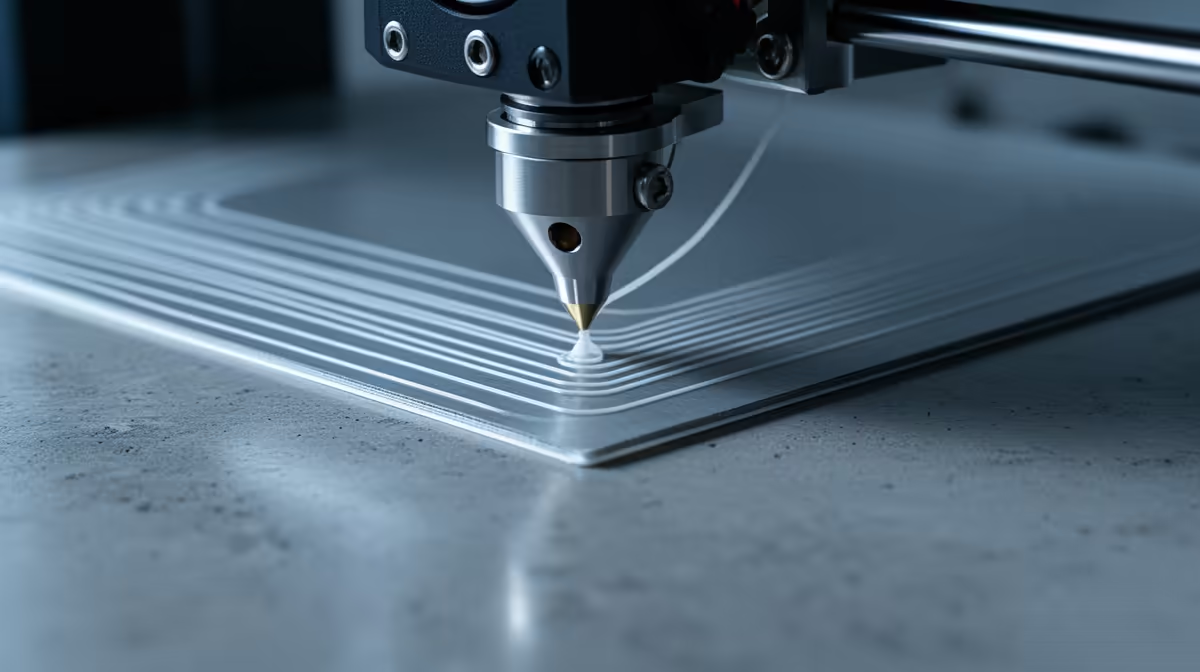
A first layer that looks glassy, wavy, or ironed flat is the classic sign of a Z-offset that is too low. The nozzle is sitting so close to the bed that it drags through the plastic it just laid down, smearing each line into the next and leaving translucent ripples where the molten filament has nowhere to go. The fix is not a new printer or a new bed. It is nudging the nozzle a hair further away from the build surface, and you can do it mid-print in seconds.
Quick Answer
Raise the Z-offset in 0.01mm to 0.02mm steps using the live tuning or baby-stepping menu while a test print runs. On most Marlin boards each click moves roughly 0.025mm; Klipper setups usually step 0.005mm or 0.010mm. Stop when individual lines are still visible but sit flush against each other with no gaps.
Why a Squished First Layer Happens
When the gap between nozzle and bed is smaller than the layer height, the extruder still pushes the same volume of plastic but there is not enough vertical room for it. The excess gets forced sideways and the nozzle skirt smears over the top, producing the rippled, semi-transparent finish people mistake for a clogged nozzle or bad filament. A correctly set first layer should read as a sheet of neat, rounded lines touching shoulder to shoulder, slightly shiny but not mirror smooth.
The direction of the adjustment depends on your firmware. On a printer using a negative Z-offset, raising the nozzle means a number closer to zero. On others a more positive value lifts it. Check your machine's behaviour before you start so you are turning the dial the right way.
The Live Adjustment Method
The reliable way to dial this in is to watch it happen rather than guess. Slice a single-layer test square, around 75mm by 75mm at a 0.2mm layer height, and start the print. As the first lines go down, open the Tune menu and find Z-offset or Babystep Z. Raise it one small step at a time and watch the lines change in real time.
You are looking for the moment the glassy sheen breaks up into distinct, lightly joined lines. If you push too far and gaps open between the lines, drop back a step. Saving this value as your new default once it looks right means future prints start clean. If you are equipping a workshop, the consumables and finishing tools in the accessories best sellers selection cover the spatulas, brushes, and adhesion aids that make first-layer work less fiddly.
Frequently Asked Questions
How much should I raise the Z-offset at a time?
Move in 0.01mm to 0.02mm increments. Larger jumps overshoot and you end up chasing the setting up and down. Small steps let you see exactly where the lines go from smeared to clean.
Is a squished first layer ever a bed-levelling problem instead?
It can be. If only one corner squishes while another shows gaps, the bed is not level or tram, and Z-offset alone will not fix it. Level the bed first, then set the Z-offset for overall height.
What should a good first layer actually look like?
Neat parallel lines that are touching with no gaps, lightly fused, with a soft sheen rather than a glassy mirror finish. You should still be able to make out each individual line.
Will raising the Z-offset hurt bed adhesion?
Only if you raise it too far. A correctly set gap still presses the plastic onto the bed enough to grip. Adhesion problems appear when the nozzle is too high and the lines sit rounded and barely touching the surface.
Dialling in a clean first layer is the foundation of every good print. Browse the printers, filament, and finishing gear in the 3D printer range at Evetech to build out your setup.