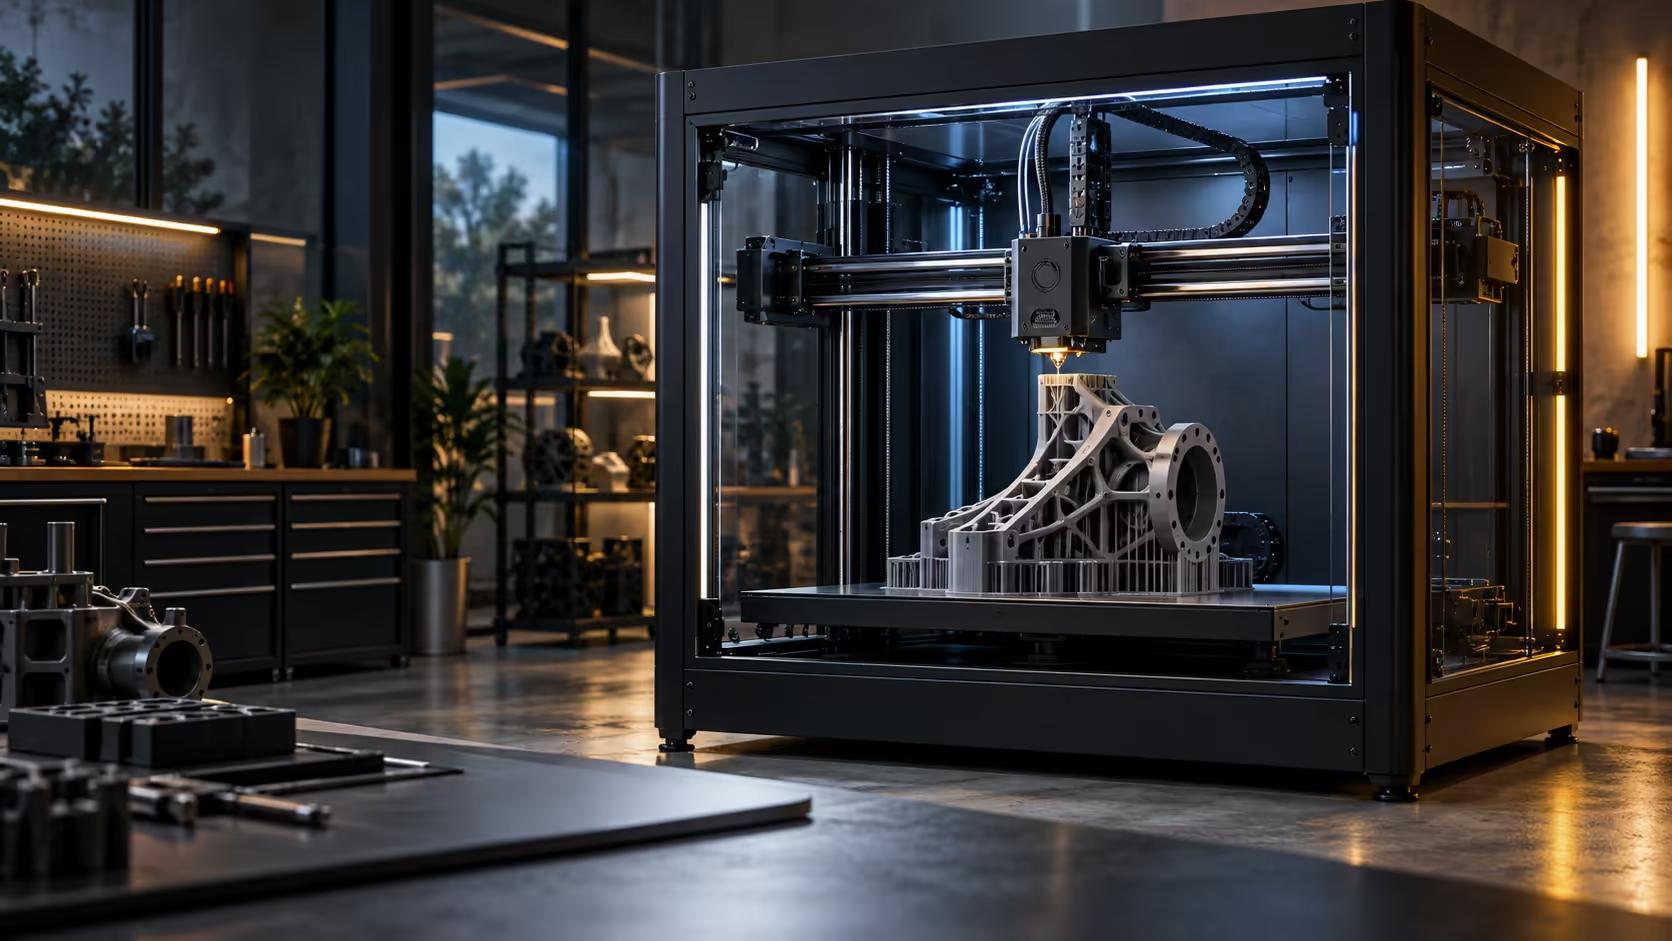
Cosplay armour, a batch of enclosure brackets and a single prototype ask completely different things of the same 300mm build volume, even though all three technically fit inside it. The plate size is one number; how you use it changes with the job.
Quick Answer
A 300 x 300 x 300mm plate takes a full helmet in two halves, a 280mm prop blade printed standing upright in one piece, or sixteen small brackets nested flat in a single run. Cosplay work wants height and a smooth outer surface, batch production wants floor area and repeatable settings, and prototyping wants the 600mm/s the Creality K1 Max reaches at R13,999 more than it wants raw size. Match the job to the dimension that actually matters before assuming bigger is simply better.
🎭 Cosplay: height and surface finish over speed
A helmet, a chestplate or a prop weapon usually cares about vertical clearance more than floor area, since the tallest single piece decides whether you are splitting the design or printing it whole. A 250mm helmet shell prints upright in one piece on this plate, avoiding the seam line that comes from gluing two halves together afterwards.
Surface finish matters more here than print speed, since a prop gets sanded, primed and painted by hand regardless of how it came off the plate. Slow the outer wall down deliberately for cosplay work; the time saved by printing fast is smaller than the time spent sanding a rough layer line out afterwards.
📦 Batch production: floor area and repeatable settings
Small-batch work flips the priority to floor area and consistency across a run. Sixteen 60mm brackets nested with a few millimetres of clearance fit comfortably on a 300 x 300mm plate in one job, which turns sixteen separate print cycles into one.
The trap in batch runs is changing settings between batches. Lock in a profile once it produces a good part, then leave it alone; the variation that ruins batch consistency almost always comes from someone tweaking a setting mid-run rather than from the machine drifting on its own.
⚡ Prototyping: speed over both of the above
A prototype cares about neither height nor batch count, it cares about how many design revisions you can test in a day. That is where 600mm/s and 20000mm/s2 of acceleration earn their keep, cutting a coarse test print down from an hour to a fraction of that so a design flaw gets caught and fixed the same afternoon rather than the next day.
If your work moves between all three jobs, keep a couple of slicer profiles saved and named for what they are, one for cosplay finish, one for batch speed, one for prototype speed, rather than adjusting settings from memory each time. Check the filament aisle for materials suited to each: PLA for most cosplay and prototype work, something tougher for functional brackets that will actually see load, and a look through model kits can be a handy source of proportions and detail to copy when a prop is being designed from nothing.
🗂️ Keeping the three jobs from bleeding into one another
The easiest mistake on a machine capable of all three jobs is letting one profile quietly drift to cover all of them, which usually ends with cosplay work printing too fast to finish smoothly and batches printing too slow to be worth running as a batch at all. Name each saved profile for the job it does, not the material, since two cosplay projects in different filaments still want the same speed and finish settings, while two prototypes in the same filament still want the fast, coarse profile regardless of colour.
Keep a small physical log near the printer too, even a scrap of paper taped to the enclosure, noting which profile is currently loaded and for which job. This sounds unnecessary until the third project of the week comes off the plate at the wrong settings because someone assumed the last person to use the machine had already switched back.
Browse 3D printers built with this kind of mixed workload in mind if switching between jobs is a daily occurrence rather than an occasional one, since a machine with well-organised onboard profile storage saves real time over one where every switch means re-entering settings from scratch.
Frequently Asked Questions
Should I print a helmet in one piece or split it?
A 250mm shell fits upright in one piece on this plate, which avoids a seam line, but splitting still helps if the design needs to be washable or postable separately.
How many small brackets fit on one plate at once?
Around sixteen 60mm parts nested with clearance between them, depending on their exact shape and orientation.
Does batch printing need different settings to a single part?
Not necessarily, but consistency matters more; once a profile works, leave it alone rather than adjusting between batches.
What matters most for fast prototyping, speed or accuracy?
Speed, provided the part is accurate enough to test fit and function; save the fine-detail settings for the confirmed final design.
Printing cosplay, batches and prototypes off the same machine?
Match your settings to the job, not just the plate size, and keep a profile saved for each.