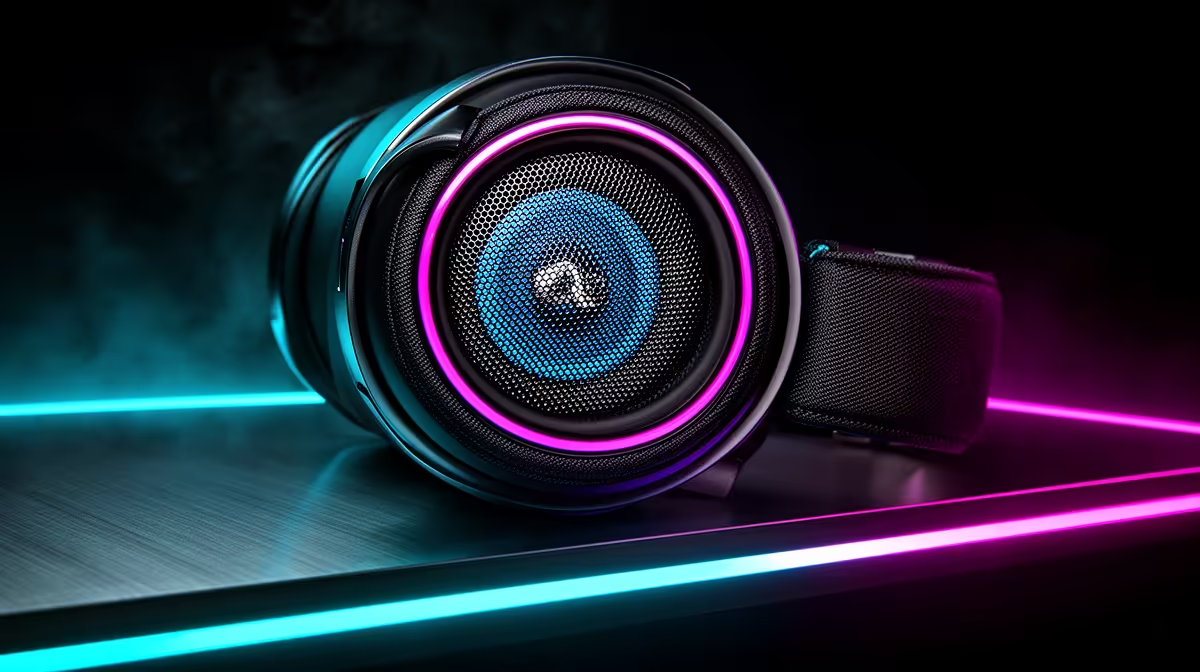
Headset pads collect sweat and oil while the delicate drivers sit a thin mesh away. To clean a gaming headset safely, control moisture, remove only supported parts and let every cushion dry before reassembly.
Quick Answer
Clean a gaming headset with power disconnected, removable cushions taken off through the manual's method and liquid kept away from driver mesh, microphones, controls and ports. Wipe hard surfaces with a barely damp cloth approved for the material. Clean cushions according to whether they are fabric, leatherette or replaceable foam, then let them air dry before reassembly. Never submerge an earcup, powered headband or part that contains a driver or battery.
Identify removable and electronic parts
Read the exact headset care guide. Some ear pads twist off, some pull from a retaining lip and others use clips that can snap if forced. A wireless headset may hide antenna, battery or touch controls in the cup.
Photograph pad orientation and seam position. Remove the microphone only when the design permits it. Keep small windscreens, clips and adapters in a tray.
If the pads are glued or the manual provides no removal route, clean them in place with less moisture and extra care around the driver opening.
Start dry
Use a clean soft brush to lift hair and loose dust from cushion seams, yokes and headband hinges. Hold the earcup so debris falls away from the driver.
Do not blow hard into the driver mesh. Compressed air at close range can stress the diaphragm or push dirt deeper. Never poke a cotton bud, pin or vacuum nozzle through the mesh.
Wipe hard plastic with a dry microfibre cloth first. Skin oil often comes off without cleaner.
Match cleaner to the cushion material
Fabric pads can absorb water and take a long time to dry. Use the maker's recommended mild solution on a cloth, work the surface and blot with another cloth. Do not soak memory foam.
Leatherette can crack or peel when exposed to strong alcohol, solvents or heat. Use the approved product and a barely damp wipe. Real leather needs its own care route.
Velour traps hair and dust. A lint roller used with light pressure on a removed pad can help when the maker permits it. Avoid pulling at seams.
Test any approved cleaner on a hidden edge. Stop when colour transfers, coating turns tacky or adhesive lifts.
Keep the driver side dry
The driver mesh protects a delicate diaphragm and electronics. Clean the outer screen with a soft dry brush while the cup faces down. Do not remove the mesh unless the headset is designed for service.
If liquid entered an earcup, switch the headset off, disconnect charging and stop testing it. Follow manufacturer support. Repeated power-on attempts can worsen an electrical fault.
Do not use a hair dryer, heater or direct sun. Heat can warp the driver, age the battery and damage pad adhesive.
Clean the headband and controls
Wipe a hard headband with the same material-safe method. Fabric suspension straps may detach for hand cleaning, while padded bands often contain glued foam and should stay barely damp.
Work around volume wheels and buttons with a dry brush. A damp cloth can carry liquid down the control shaft. Rotate the wheel after dry debris is removed and listen for normal movement once the headset is dry.
For the microphone, remove a foam windscreen when supported. Wash only the removable foam through its care instructions, squeeze without twisting and dry it for a full cycle before replacement. Wipe the boom with a dry or approved damp cloth away from its capsule opening.
Air drying takes longer than the surface suggests
Place removable pads in a ventilated room away from direct sun. Set them on a clean rack so air reaches both sides. Foam can feel dry outside while holding moisture inside.
Give the pads a full day when they were damp, or follow the maker's longer time. Reattaching wet cushions can trap odour and bring moisture close to the driver.
Do not put pads in a tumble dryer, oven or on a radiator. Mechanical and heat damage can change fit and seal.
Odour points to pads and storage
After every long session, wipe the contact surfaces and let the headset breathe before putting it in a case. A sealed bag traps moisture.
Wash hair and skin oils from the pads through regular light cleaning rather than one soaked deep clean. Alternate a spare pad set when the model supports replacement.
Replace cushions when foam no longer returns, seams split, leatherette sheds or odour remains after correct cleaning. Worn pads also change ear distance, seal and sound.
Inspect before reassembly
Check pad rings for cracks, clips for damage and fabric for full dryness. Remove hair from the retaining channel without touching the driver.
Align tabs and seams from the photo, then apply even pressure through the documented method. A pad mounted with one section loose can leak bass and feel uncomfortable.
Reconnect a wired headset and test left, right, microphone and controls at low volume. Charge a wireless unit only after every port and surface is dry.
Keep a small maintenance kit
Store two microfibre cloths, a soft brush and any maker-approved cleaner away from the headset. Label one cloth for electronics so household polish never reaches it.
Browse replaceable-pad and material options through the gaming headset deals. Use the headset best-seller page to compare models whose cushions and cables can be serviced.
FAQ
Can I use alcohol wipes on ear cushions?
Only when the headset maker approves them for that exact material. Alcohol can dry, fade or peel some surfaces.
How do I clean driver mesh?
Keep the cup facing down and use a soft dry brush on the outside. Do not poke, vacuum or wet the mesh.
Can I submerge removable cushions?
Follow the pad care guide. Foam can trap water, and any part containing electronics must never be submerged.
Disconnect the headset, clean each material through its own care guide and give every cushion a full air-dry before reassembly.