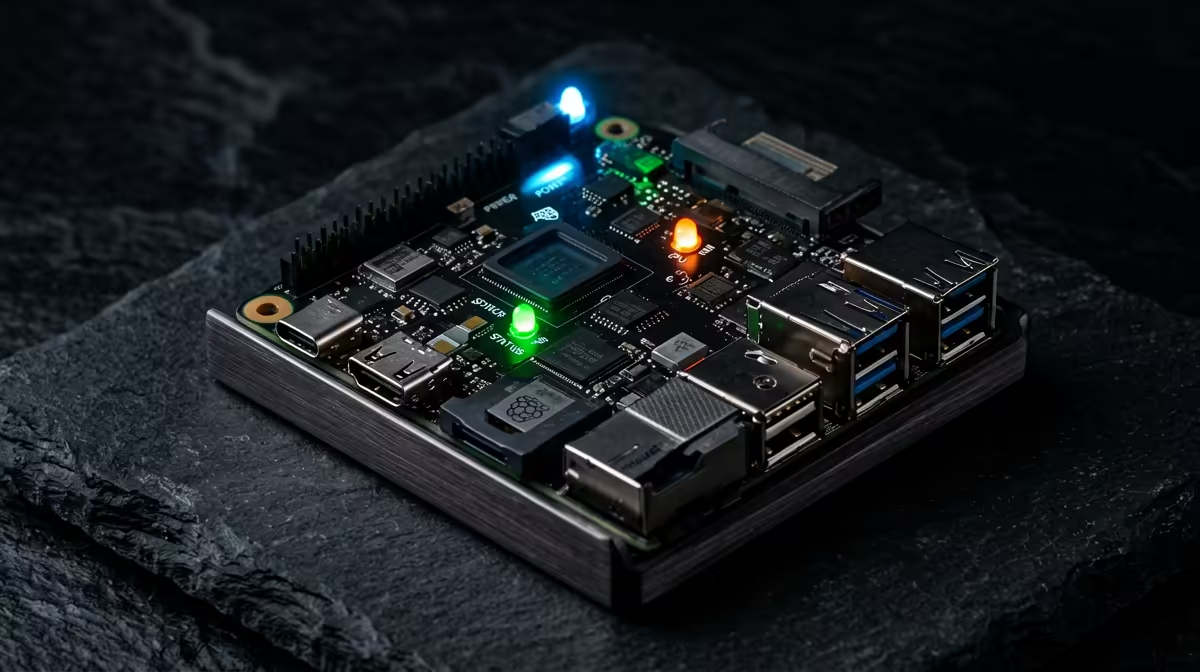
A shared drive the whole household can reach, without a monthly cloud bill, fits neatly on a credit-card-sized computer. Building a home NAS with a Raspberry Pi 5 and OpenMediaVault gives you exactly that, and the Pi 5 changes the game by supporting NVMe SSDs through an M.2 HAT, pushing throughput far past the old USB-drive approach. This is a weekend build that ends with proper network-attached storage running on a device that sips power.
Quick Answer
Install Raspberry Pi OS Lite 64-bit on a Pi 5, run the OpenMediaVault install script, then mount your storage and share it over the network. An NVMe drive on an M.2 HAT can read around 800 MB/s on the Pi, though Gigabit Ethernet caps real network transfers near 115 MB/s, which is still roughly ten times faster than running off a microSD card.
What You Need Before You Start
Gather a Raspberry Pi 5, a 64-bit copy of Raspberry Pi OS Lite, a Class 10 microSD card of 32 GB or more for the operating system, a wired Ethernet connection, and a storage drive. For the fastest result, add an M.2 HAT and an NVMe SSD rather than relying on USB drives.
The official Raspberry Pi M.2 HAT+ is the simplest choice, mounting on the GPIO header and linking to the PCIe port with a short cable. One catch worth knowing: the official HAT+ fits only 2230 and 2242 length drives, so the common 2280 desktop SSDs will not seat on it. Check the drive length before you buy. A capable little machine like this sits comfortably alongside the mini PC range at Evetech for anyone who wants a NAS with more horsepower out of the box.
Building It Step by Step
- Flash the OS. Write Raspberry Pi OS Lite 64-bit to the microSD card. Use the Lite version, not the desktop edition, because a NAS has no need for a graphical environment and the extra software just wastes resources.
- Boot and update. Insert the card, connect Ethernet, power on, and from the command line update the system fully before installing anything else.
- Fit the M.2 HAT and NVMe drive. Power down, attach the HAT to the GPIO header, connect the PCIe cable, and seat a compatible 2230 or 2242 NVMe SSD. Confirm the drive is detected after the next boot.
- Install OpenMediaVault. Run the community install script for OMV. It pulls in everything needed and reboots into the web interface, which you then reach from any browser on your network using the Pi's IP address.
- Create the file system. In the OMV web interface, open Storage, find your NVMe disk under Disks, then create and mount an ext4 file system on it.
- Set up shares. Create a shared folder on the new file system, enable a sharing service such as SMB for Windows and macOS access, and add a user. Your network storage is now live.
Why NVMe Beats USB Here
Older Pi NAS builds hung a USB hard drive off the board, and the USB bus throttled both speed and reliability. The Pi 5's PCIe support lets an NVMe SSD read around 800 MB/s locally, a different class of performance entirely. Gigabit Ethernet still limits transfers across the network to roughly 115 MB/s, but the fast local drive removes the storage as a bottleneck, so the Pi can serve files, run plugins, and handle several users without choking.
Keeping the Build Reliable
Power matters more than people expect. Use a proper Pi 5 supply, because an underfed board throttles and corrupts data. Keep the system on the microSD card and your files on the NVMe drive so the two never compete. And remember a NAS is not a backup by itself; copy anything irreplaceable to a second location as well. For drives, cables, and accessories to round out the build, the PC best sellers at Evetech cover the supporting parts.
Frequently Asked Questions
Do I have to use an NVMe drive?
No, a USB drive still works and is cheaper. But NVMe on an M.2 HAT is dramatically faster and more reliable, and it lets the Pi 5 run extra services without slowing down. If you can stretch to it, the NVMe route is well worth it.
Why install the Lite version of Raspberry Pi OS?
A NAS runs headless with no monitor, so the desktop edition only adds software you will never see. Lite keeps memory and storage free for the actual job of serving files.
How fast will transfers actually be?
On a wired Gigabit network, expect around 115 MB/s in real use, since the network is the limit rather than the drive. The NVMe SSD reads far faster locally, which keeps the Pi responsive even under load.
Will any NVMe SSD fit the official M.2 HAT+?
No. The official HAT+ takes only 2230 and 2242 length drives, so the common 2280 desktop SSDs do not fit. Confirm the physical length before buying, or choose a third-party HAT that supports longer drives.
Is the Pi NAS a proper backup solution?
Treat it as central storage, not a backup on its own. A single device can still fail, so keep a second copy of anything you cannot afford to lose, whether on another drive or off-site.