


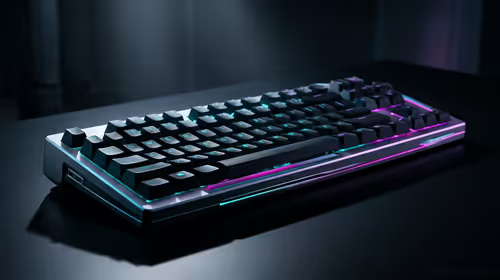
Stuck Pixel Checks for a Mechanical Keyboard Setup
Stuck pixel on a Mechanical Keyboard is likely a display symptom around that setup, not the part itself. Check the monitor, cable, GPU output, drivers, and warranty path first.
Read moreSet up remote access to your Synology NAS with QuickConnect by registering a free QuickConnect ID in DSM Control Panel - Synology relays your connection through its servers so no inbound router ports need to be opened. QuickConnect works with all first-party DSM apps.
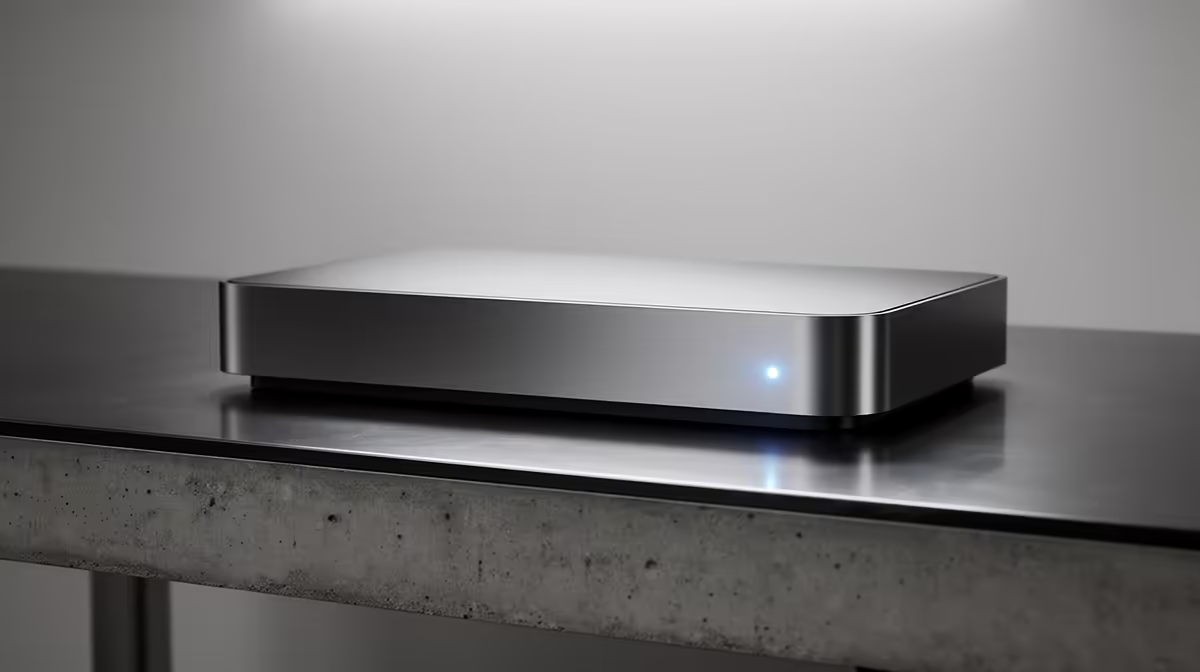
Reaching the files on your Synology box while you are out of the house normally means wrestling with router settings, dynamic IP addresses and firewall rules. Synology QuickConnect removes all of that. By registering a single free ID inside DSM, you let Synology relay your connection through its own servers, so your phone or laptop can reach the NAS from anywhere without you opening a single inbound port on your router.
To enable QuickConnect, open Control Panel, go to External Access, then QuickConnect, tick Enable QuickConnect, sign in with a free Synology Account, and choose a memorable QuickConnect ID. That ID becomes your remote address. Synology brokers the connection, using a direct path when possible and relaying when not, so no port forwarding is ever required. It works with all the first-party DSM apps.
Traditional remote access asks you to forward ports on your router, which exposes your NAS management interface to the public internet. Automated scanners find exposed ports within hours, making that approach risky for a device holding your personal files. QuickConnect avoids it entirely by keeping the NAS off the open internet and routing your connection through Synology's infrastructure instead.
When a direct connection between you and the NAS is possible, DSM uses it for speed. When your network blocks that, the optional relay service quietly steps in and passes the traffic through Synology's servers. Either way, you never touch the router firewall, and there is nothing open for a scanner to find.
Once applied, your NAS is reachable at an address built from your QuickConnect ID, with no router changes at all.
On a computer, you reach the NAS through a browser using your QuickConnect ID, and DSM loads as if you were at home. On mobile, install the relevant Synology app, such as DS file for files or DS photo for images, and sign in with the same ID. QuickConnect is compatible with the full set of first-party DSM apps, including File Station, Synology Drive, Synology Photos, Surveillance Station and Download Station, so each one connects without separate configuration.
If you are still choosing the drives that will live inside the NAS, the options in the diskless NAS and storage range cover the enclosures, while the best-selling SSD line-up is worth a look for cache drives or all-flash builds that keep remote browsing snappy.
QuickConnect secures the transport, but a few extra steps are worth taking so the account itself stays tight.
Enable two-factor authentication on your Synology Account. This means a stolen password alone is not enough to reach your NAS from outside; the second factor is required as well. DSM supports authenticator apps and hardware keys, and the setup is in Account > Security in the Synology Account portal.
Use a strong, unique password for both the Synology Account and the DSM admin account. Since your QuickConnect ID is reachable from the public internet, the admin account is the real target if someone knows your ID, so a strong passphrase and a non-obvious admin username reduce that exposure considerably.
Finally, review which DSM services and applications you expose through QuickConnect. If you only need remote file access, there is no reason to have Surveillance Station or other management services available remotely. Limiting the exposed surface keeps risk low without touching the router at all.
Yes. QuickConnect and the Synology Account it requires are both free. You only need administrative access to your DSM and a chosen QuickConnect ID. There is no subscription for the standard remote-access function.
No, and that is the whole point. QuickConnect brokers the connection through Synology's servers, so your router firewall stays closed and nothing is exposed to the public internet for scanners to probe.
When a direct path is available, speed is close to native. When your network forces the relay service to step in, traffic passes through Synology's servers, which can add some latency. For everyday file access and app use, most people find it perfectly usable.
All the first-party DSM applications, including File Station, Synology Drive, Synology Photos, Surveillance Station, Download Station and the matching mobile apps. Once QuickConnect is enabled, each connects using the same ID without extra setup.
Keep it short, memorable and not tied to personal details a stranger could guess. Since the ID forms part of your public remote address, treat it a little like a username rather than something obvious like your home address or full name.
With QuickConnect set up, your files travel with you and your router stays locked down. If you are planning the storage side of the build, browse the diskless NAS and storage options at Evetech to match the right enclosure and drives to your needs.
Yes. QuickConnect and the Synology Account it requires are both free. You only need administrative access to your DSM and a chosen QuickConnect ID. There is no subscription for the standard remote-access function.
No, and that is the whole point. QuickConnect brokers the connection through Synology's servers, so your router firewall stays closed and nothing is exposed to the public internet for scanners to probe.
When a direct path is available, speed is close to native. When your network forces the relay service to step in, traffic passes through Synology's servers, which can add some latency. For everyday file access and app use, most people find it perfectly usable.
All the first-party DSM applications, including File Station, Synology Drive, Synology Photos, Surveillance Station, Download Station and the matching mobile apps. Once QuickConnect is enabled, each connects using the same ID without extra setup.
Keep it short, memorable and not tied to personal details a stranger could guess. Since the ID forms part of your public remote address, treat it a little like a username rather than something obvious like your home address or full name.
Stuck pixel on a Mechanical Keyboard is likely a display symptom around that setup, not the part itself. Check the monitor, cable, GPU output, drivers, and warranty path first.
Read more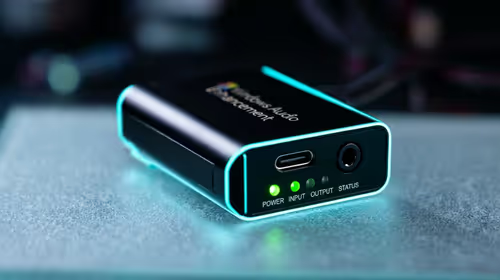
How to fix stuck pixel Windows 11 USB DAC issues starts with display-only tests. Check HDR, scaling, monitor input, USB cable movement, and safe South African support options before connecting the pixel issue to audio hardware.
Read more
Windows 11 Steam Deck monitor issues often start with display mode, USB-C output, drivers, or dock power. Use this how to fix monitor not detected windows 11 steam deck checklist for SA handheld PC setups.
Read more
Stalker 2 Heart of Chornobyl PC build planning at R100,000 should stay cautious about parts and settings. Balance GPU, CPU, RAM, storage, cooling, and upgrade room before picking a South African gaming PC.
Read more
RX 9070 XT build stuttering needs a step-by-step check before replacing parts. Review drivers, settings, thermals, power, background apps, display limits, cables, and game options before changing hardware.
Read more
GTA 6 on R15,000 needs careful part balance. This SA build guide frames CPU, GPU, RAM, SSD, cooling, and upgrade trade-offs without promising live prices, stock, or exact FPS.
Read more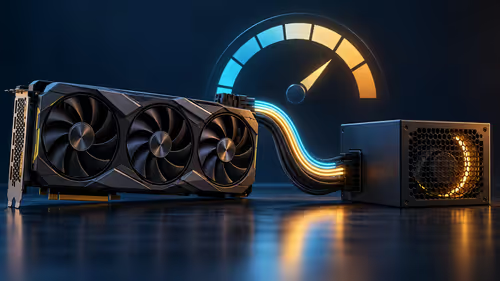
NVIDIA lists 550W required system power for the RTX 5060 reference specification, based on a high-end test system. A quality 550W unit can be enough, but CPU draw, transient load, connectors and ageing decide real headroom.
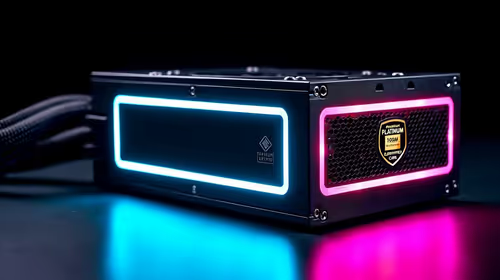
80+ Gold vs 80+ Platinum for couch co-op gaming is about PSU efficiency, heat, fan behaviour, quality, and wattage headroom, not direct FPS. SA buyers should compare the whole build.
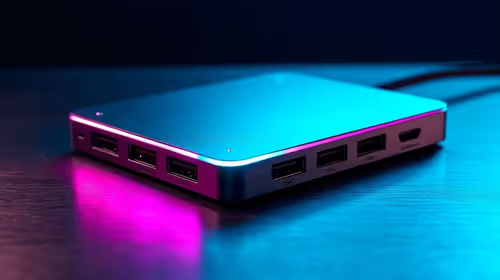
Upgrade your setup with the best USB-C hubs for creators. Discover why high-capacity card readers and dual 4K output are essential for professional South African content production. 🚀💻

B850 motherboard FPS drops needs a methodical troubleshooting pass. Review drivers, thermals, power settings, background apps, cables and game settings before replacing parts in an SA gaming setup.
NVIDIA lists 550W required system power for the RTX 5060 reference specification, based on a high-end test system. A quality 550W unit can be enough, but CPU draw, transient load, connectors and ageing decide real headroom.
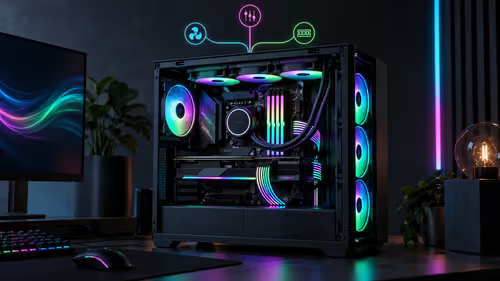
OpenRGB's master branch now carries changes labelled for 1.0 final, including translation and platform work, but the official tags page still lists 1.0rc3.1 as the newest packaged release. Stable users should wait for the signed release channel.
A motherboard can remain useful for many years when power, cooling and connectors stay healthy. Replace it for confirmed faults, damaged power delivery or a blocked platform need, not simply because the calendar reaches a fixed age.
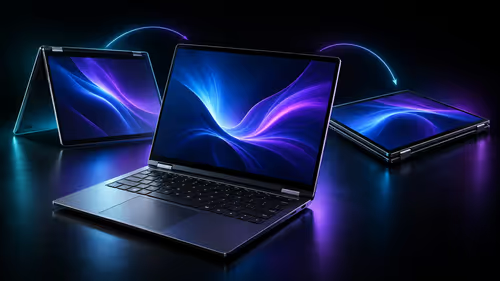
The VAIO T combines a 13.3-inch display with a multi-flip mechanism for laptop, tablet and outward-facing viewing modes. Orders begin in Japan on 18 September; South African availability is unconfirmed.
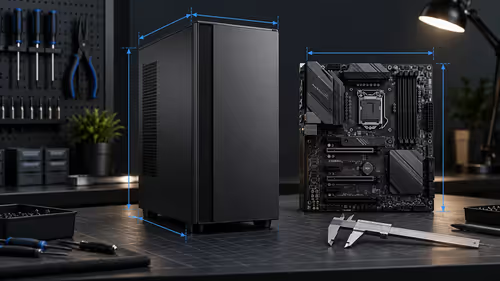
The smallest ATX case 2026 buyers should choose is the smallest chassis that still fits their exact graphics card, cooler, power supply and airflow plan. ATX support alone does not prove a case has the smallest footprint or volume.
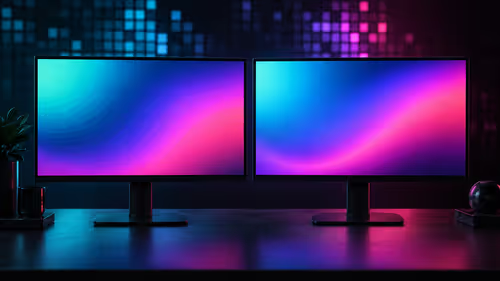
In a 6 bit + FRC vs 8 bit comparison, native 8-bit panels can produce 256 levels per colour channel directly, while 6-bit plus FRC rapidly alternates nearby values to approximate the wider palette. Panel quality still depends on more than bit depth.
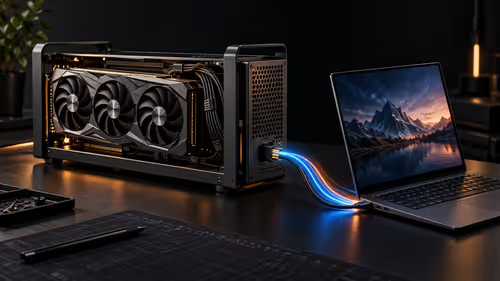
The UGREEN LinkStation Pro eGPU dock combines Thunderbolt 5 and OCuLink connections with an integrated 850W ATX 3.1 power supply and up to 140W laptop charging. South African availability is unconfirmed.
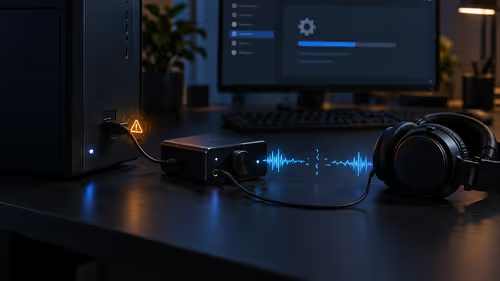
Windows 11 KB5124008 can leave some USB Audio Class 1.0 devices with no sound, Code 10 or failed multichannel output. Microsoft confirms the issue and says switching to two-channel stereo can restore audio for some users.