Intel PL1 and PL2 describe sustained and higher short-duration power boundaries on many desktop generations, but motherboard behaviour and terminology have changed. A board can apply a performance profile that lets the processor hold high package power, while Intel's current baseline guidance may set firmer limits for that CPU.
Quick Answer
Identify the exact processor and board BIOS first. Load the Intel default or baseline profile intended for that model, then check Long Duration Package Power Limit, Short Duration Package Power Limit and the time window where those names apply. On newer platforms, follow the CPU's Processor Base Power and Maximum Turbo Power guidance instead of copying PL values from an older generation.
Find your model in the Intel CPU range and compare it with the AMD processor catalogue. Power labels are not interchangeable between brands or generations.
What the Limits Do
PL1 is associated with the sustained package-power target on traditional Intel turbo control. PL2 allows a higher level for boost, while Tau describes the averaging time window used by the control logic. Current desktop firmware may present these as long-duration power, short-duration power and time-window fields.
They are boundaries, not a promise that the CPU will consume each value. Workload, temperature, current limit, voltage and active cores determine actual package power.
Intel's Processor Base Power and Maximum Turbo Power specifications give a model-specific starting point on recent products. Do not assume that the marketing TDP, PL1 and a cooling requirement are the same thing.
Start With Supported Defaults
Update the BIOS through the motherboard's documented process, then load optimised defaults. Look for an Intel Default Settings, Baseline or Performance profile and read the release notes. Board makers may revise these profiles after microcode or stability guidance changes.
Record every CPU power and current field before editing it. Disable automatic overclocking features for the baseline. Keep XMP unchanged only if memory has passed its own stability test.
Boot Windows and monitor CPU Package Power, Effective Clock, temperature, thermal throttling and power-limit flags. A multi-core render or benchmark will expose sustained behaviour; a short burst shows how turbo starts.
Match the Cooler and Workload
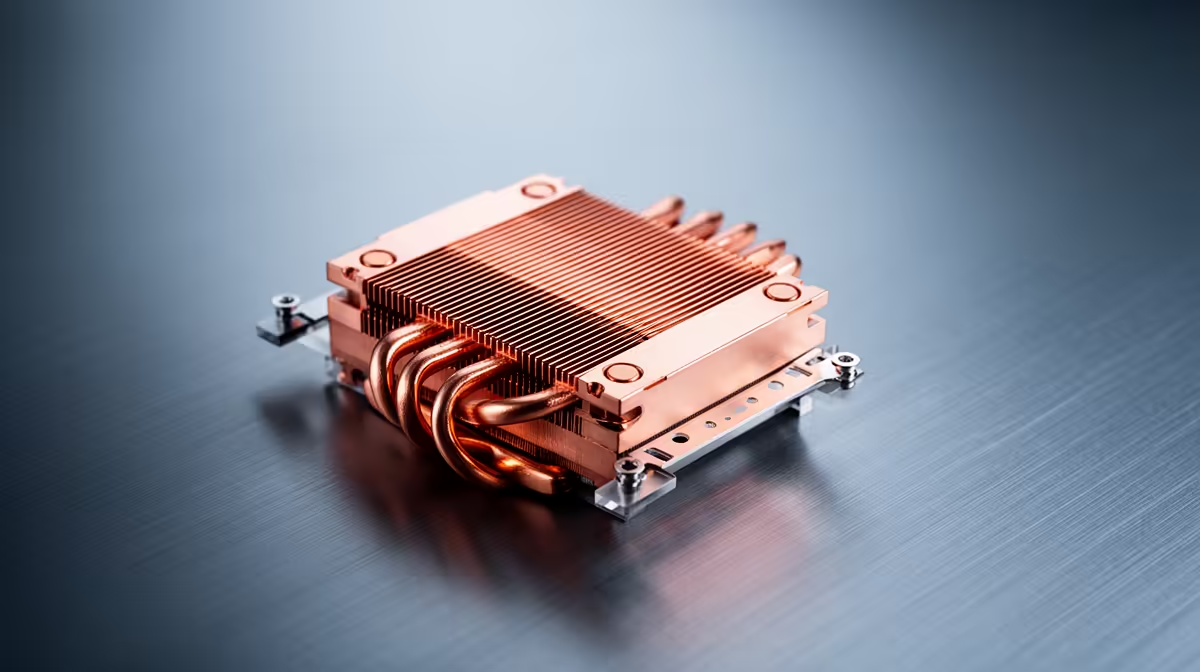
An unlimited or raised profile can increase heat and fan noise for a small performance gain. It can also push a compact cooler into thermal throttling, leaving no useful speed advantage. A supported stock limit may produce steadier clocks and quieter operation.
If rendering speed matters, measure task completion time after temperatures settle. For gaming, test a CPU-heavy scene and one-per-cent lows. Many games will not hold the package at the same power as an all-core stress tool.
Do not lower limits until a score looks right. Choose values from Intel's specification and the board's supported profiles, then measure the consequence.
Check More Than PL1 and PL2
Current limits, thermal velocity behaviour and motherboard voltage settings can affect the result. A board may raise an ICCMAX value or apply aggressive load-line calibration even when PL fields look reasonable.
Leave those controls at supported defaults while establishing power behaviour. If the processor still runs too hot, inspect cooler mounting, pump or fan operation and case airflow before blaming the limits.
Build a Two-Part Power Test
Begin with a ten-minute burst that shows initial turbo behaviour. Note peak package power, highest temperature, score and whether any limit flag appears. Follow it with a longer run until the cooler and case reach a steady temperature. Record the settled package power and effective clock near the end.
The gap between those two stages explains more than one peak screenshot. A short benchmark can finish while PL2 is active and make an aggressive profile look fast. A long render exposes the sustained limit and the cooler's real operating point.
Repeat both stages after loading the supported Intel profile. Keep fan control and room conditions close. If the second run scores within normal variation while using less power, the old board profile offered little useful work for its extra heat.
Validate the Final Profile
Run a sustained CPU workload until temperature and power reach a steady state. Follow it with a light single-core test, a game and idle time. Check Event Viewer for WHEA hardware errors and confirm that performance repeats across several runs.
Save the known-good BIOS profile and note the firmware version. A future BIOS can rename or reinterpret settings, so retest after updating.
If the system came prebuilt, use its approved firmware and cooling specification. Retail-board menus and values may not apply to an OEM design, even when the processor name matches.
FAQ
Should PL1 and PL2 always be equal?
No. Use the specification and supported board profile for the exact processor generation.
Does a 125W processor always consume 125W?
No. Actual package power changes with workload, boost state, limits, voltage and cooling.
Will lower power limits always reduce gaming FPS?
No. GPU-bound games may change little, while CPU-heavy titles can respond more. Test the actual game.
Load the supported Intel profile for your exact CPU, monitor sustained package power and temperature, then validate the result in both rendering and games.