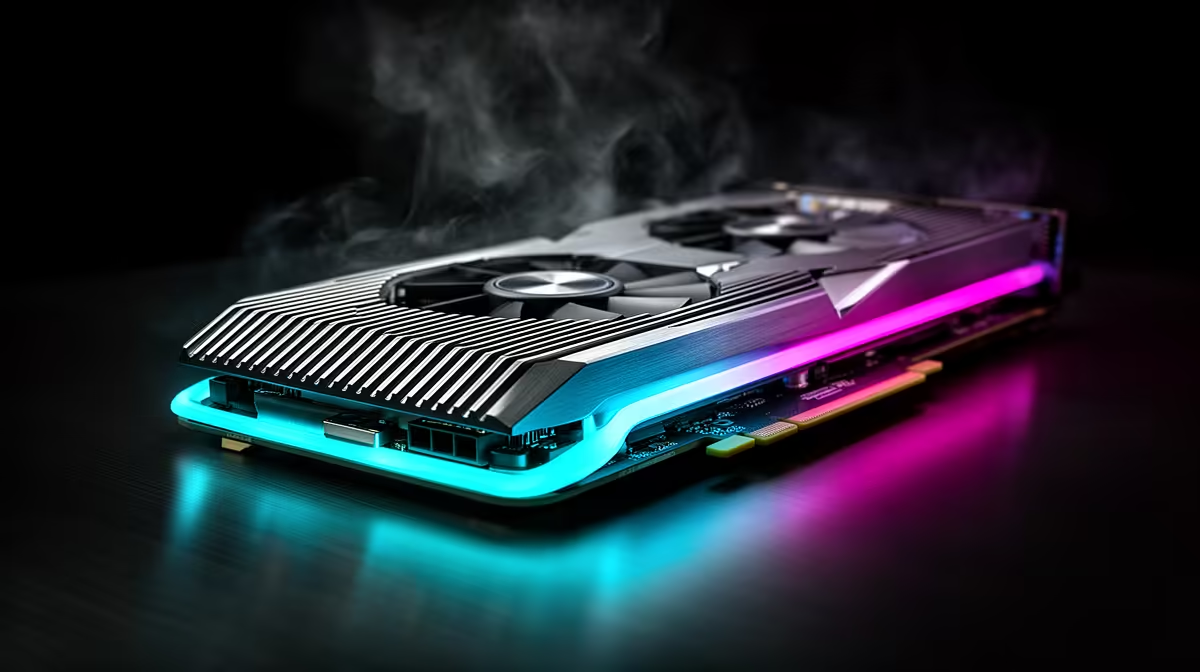
A new GPU deserves a controlled first boot before any game, overclock or cosmetic tuning. Seat the card, verify the entire power path, confirm the system recognises the right model and record stock temperatures. This gives you a clean baseline for the return window.
Quick Answer
Install with power disconnected, use only approved PSU cables and connect the monitor to the card. Boot at stock settings, install a supported driver and run one monitored game. Stop for burning smell, connector heat, artefacts, abnormal fan noise or shutdown.
Identify exact models through current NVIDIA GPU listings, then compare practical alternatives under best-selling graphics cards. Use the ordered product page and card manual for its connector and support details.
Before Opening the Box
Check the model and serial on the outer label against the invoice. Photograph any shipping damage. Keep all packaging and anti-static material.
Measure the case again. Confirm GPU length, thickness, height and power-cable clearance. Move drive cages or front fans only through the case's intended design.
Check PSU model, wattage, age and native connectors. Use the card maker's system-power guidance as the starting point.
Step 1: Prepare the PC
Download the supported driver and any required cleanup instructions before removing the old card. Back up important data.
Shut down, switch off and disconnect wall power. Press the case power button once after disconnection. Work on a stable surface with normal static precautions.
Photograph old cable routing. Remove display and GPU power leads. Support the old card while releasing its bracket and PCIe latch.
Step 2: Inspect the Slot
Check the PCIe slot and retention latch for damage. Remove dust with safe methods. Confirm no cable runs under the new card or into its fan path.
If the motherboard has several long slots, use the primary slot specified by the manual. Secondary slots can have fewer lanes or share bandwidth.
Install any anti-sag support that must sit beneath the card before access becomes difficult.
Step 3: Seat the Card
Align the bracket and connector without forcing them. Press evenly until the slot latch engages. The bracket should sit square with the case.
Install the case screws and support bracket. A card can appear inserted while one end remains high because the bracket caught on the chassis.
Look along the slot and confirm an even seat. Do not flex the motherboard or cooler to make holes line up.
Step 4: Connect Power
Use the cables supplied or approved for the exact PSU. Never reuse modular cables from another unit because PSU-side pinouts can differ.
For eight-pin connectors, use the arrangement stated by the card and PSU makers. For 12V-2x6, push the plug fully until the latch engages and no visible gap remains.
Leave room before the first cable bend and keep side-panel pressure off the plug. Route cables away from fans.
Step 5: Connect the Display
Plug the monitor into the new graphics card, not the motherboard. Use a known good cable and one display for the first boot.
If the screen remains blank, wait through any motherboard memory training, check input selection and reseat after powering down. Integrated graphics can help diagnosis where the CPU and board support it.
Avoid changing firmware settings blindly. Use motherboard status LEDs and manual guidance.
Step 6: Observe Power-On
Watch for fan spin or a brief self-test, while remembering zero-RPM cards can stop fans at idle. Listen for scraping, repeated relay clicks or electrical crackling.
Check that no cable touches a blade. Smell for hot insulation. Power down immediately when something is wrong.
Enter firmware if needed and confirm the slot detects a device. Leave overclock and resizable BAR changes until the desktop is stable.
Step 7: Install the Driver
Boot into the operating system at a basic resolution. Install a suitable supported driver from the GPU maker.
Use a clean-install or old-driver removal process only when needed and through a trusted method. Do not stack several tuning utilities at once.
Reboot and confirm the exact GPU, memory capacity and driver appear in the control panel and a hardware-information tool.
Step 8: Set the Display
Choose the monitor's native resolution and intended refresh rate. Re-enable HDR, adaptive sync and additional displays one at a time.
Check colour depth and output connection. A cable or port can cap refresh before the GPU does.
Test every display output you plan to use during the applicable return window.
Step 9: Run an Idle Check
Open monitoring and record idle GPU temperature, hotspot where available, fan RPM, power and clock. Background apps can prevent deep idle, so close launchers for the baseline.
Zero-RPM behaviour can hold the card warm and silent. Use the exact model's intended range.
Check motherboard, CPU and SSD temperatures too; moving cables or a large GPU can change airflow.
Step 10: Run the First Game
Use a familiar game at known settings for fifteen to twenty minutes. Watch temperature, hotspot, fan RPM, board power, clock and frame times.
Keep the side panel on for the real result. A safe temporary open-panel comparison can diagnose airflow later.
Stop for artefacts, driver resets, black screen, shutdown or a temperature crossing the exact card's limit.
Step 11: Check the Connector After Load
Power down and unplug. Inspect the GPU power plug for full seating, discolouration or unusual heat. Do not touch an energised connector.
Check that cable tension did not pull the plug sideways and the support bracket stayed firm.
Close the panel without compressing the cable. Change the route if clearance is poor.
Step 12: Compare the Baseline
Save the game settings, frame-time result, temperatures and fan speed. Compare with reputable results for the exact card and similar test conditions.
A difference can come from CPU, game version, case airflow or power limit. Diagnose before tuning.
Keep the card stock for several days. Overclocking immediately makes a fault claim harder to understand.
First-Week Tests
Run several game engines, every display port, sleep and wake, video playback and any creation workload you use. Long heat soak can reveal issues a short run misses.
Check for fan rattle at different RPM and coil whine at different frame rates. Coil whine can be normal, while extreme noise may affect your acceptance decision.
Keep packaging and the old GPU until the applicable return period passes where practical.
FAQ
Should new GPU fans spin at first boot?
They may spin briefly and stop under zero-RPM mode. Confirm they start under a monitored load.
Can I use the old PSU's modular cable?
Only when the PSU maker explicitly confirms compatibility with the exact supply. Plug shape alone is unsafe evidence.
When should I start undervolting?
After the card proves stable at stock across several games and workloads.
Seat the card and power connector with the PC off, then save a stock first-game baseline before changing clocks, voltage or fan behaviour.